Hello everyone, how are you? Today’s tip is a beautiful and easy dress. I tested it in size 36, and all measurements were made for this mannequin.
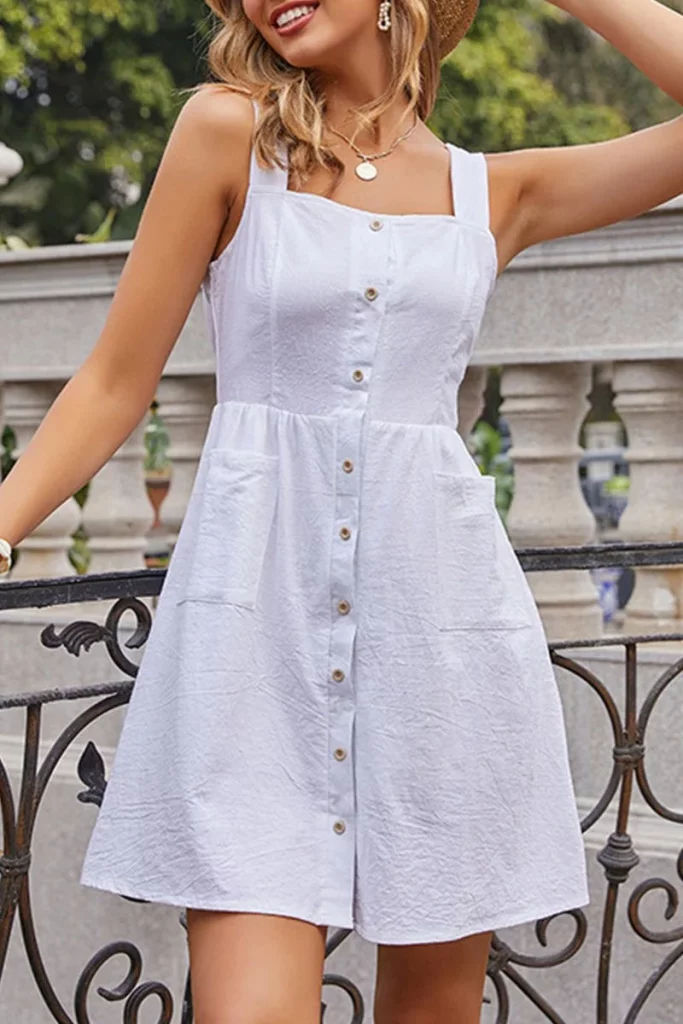
Here’s the model below, tested in Style3D, and I loved the result.
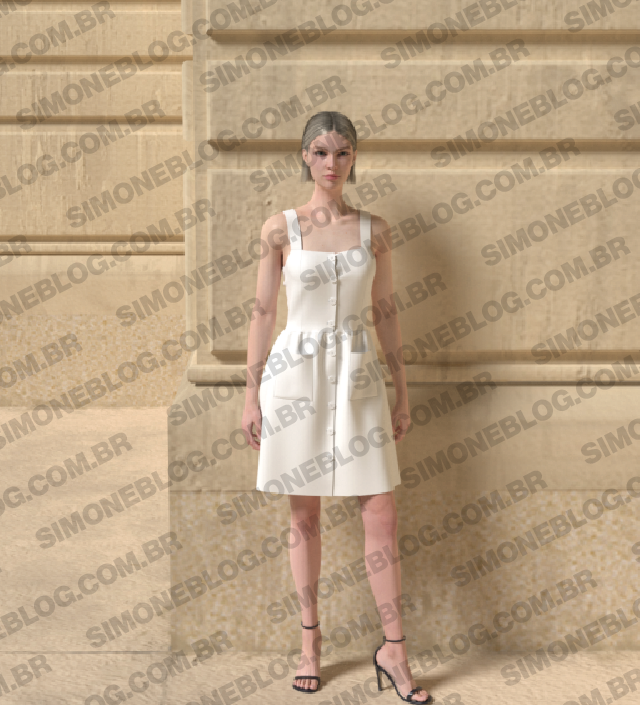
Pattern tested on a 3D mannequin below.
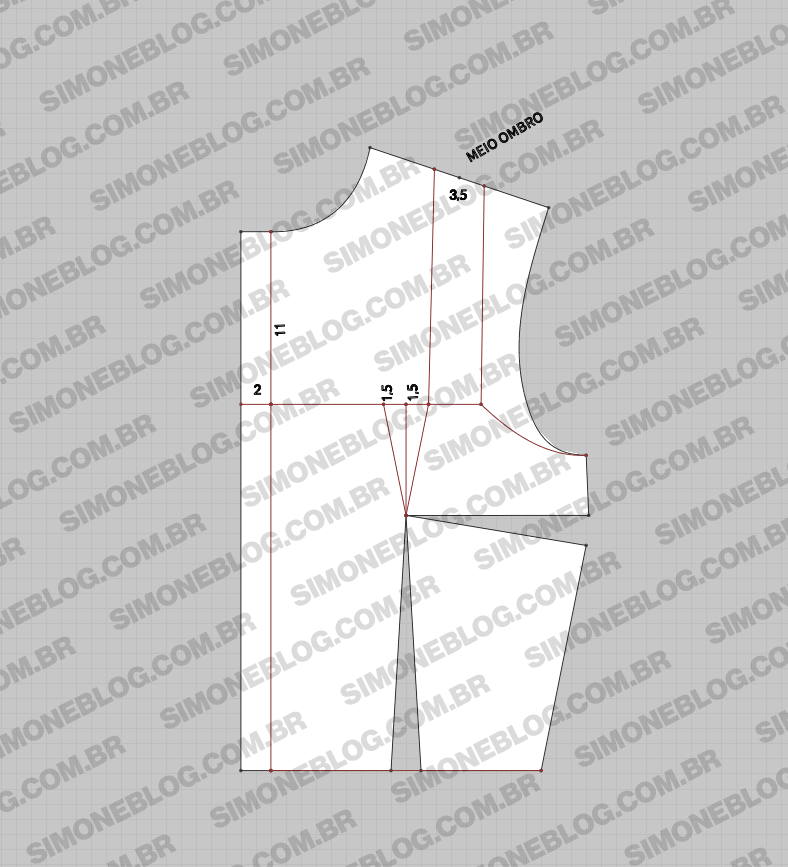
To create the front bodice base, I lowered the neckline by 11 cm and drew the pattern at this height. I made a 1.5 cm adjustment on each side along the bust line. For the shoulder, I marked 1.75 cm on each side, totaling a strap width of 3.5 cm. For the button placket, I marked 2 cm.
I cut out the pattern and closed the bust dart.
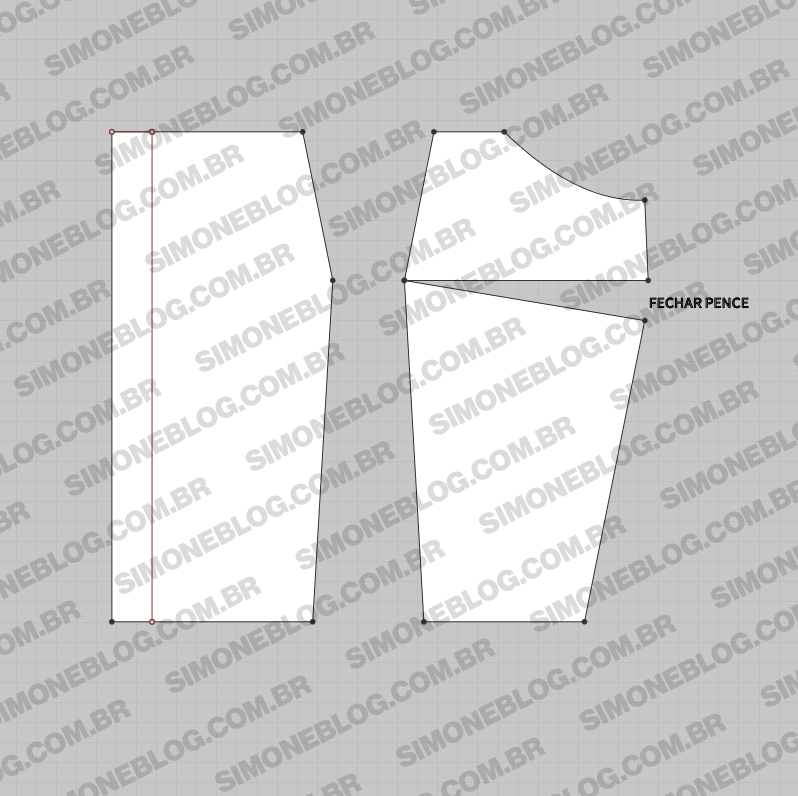
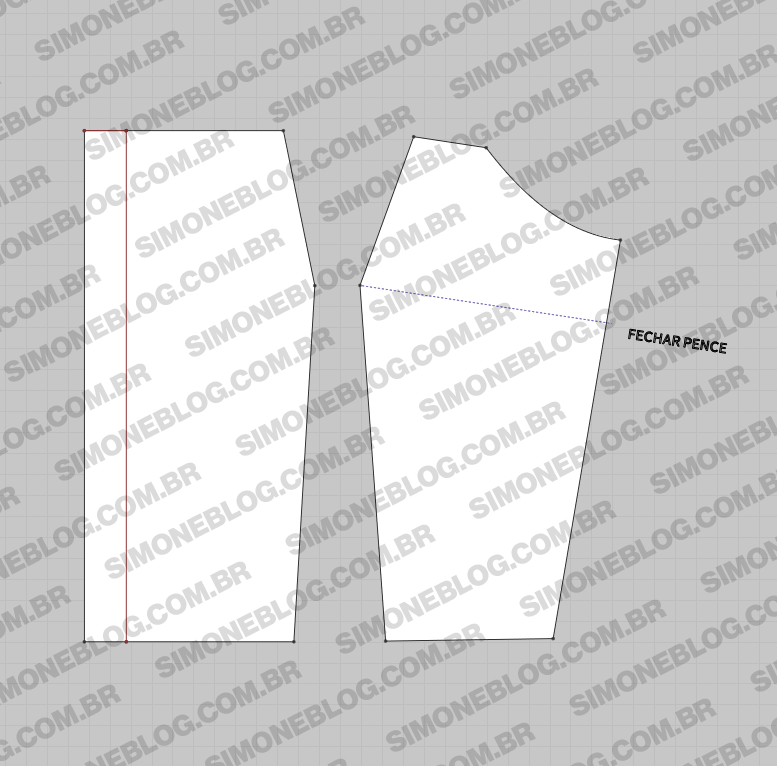
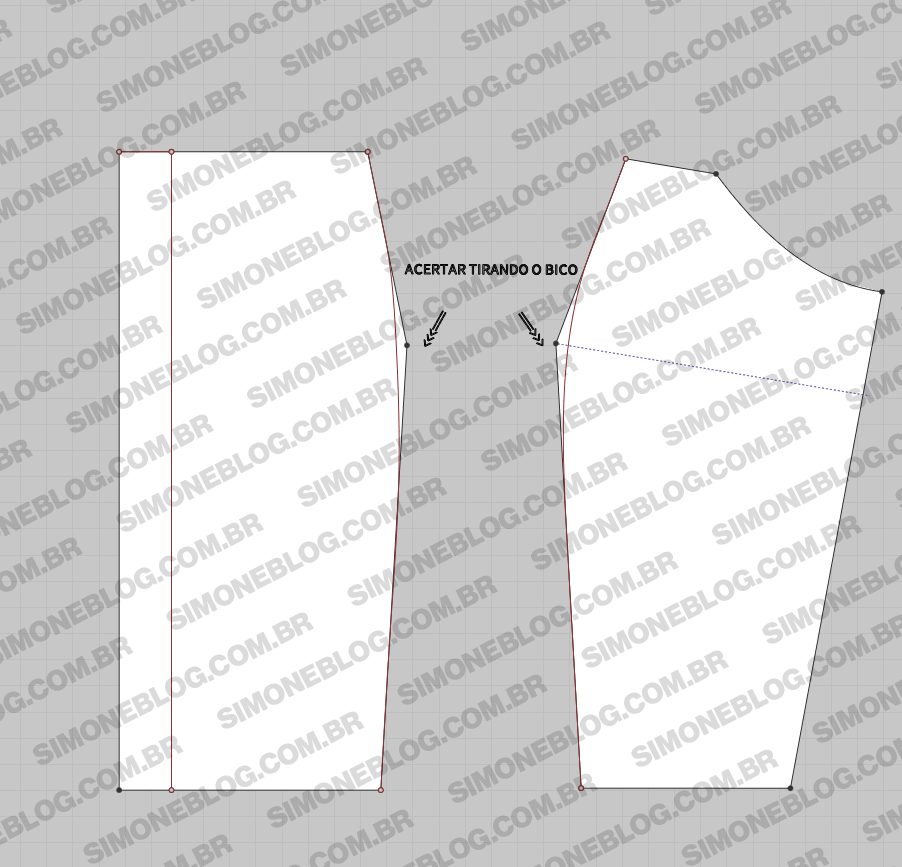
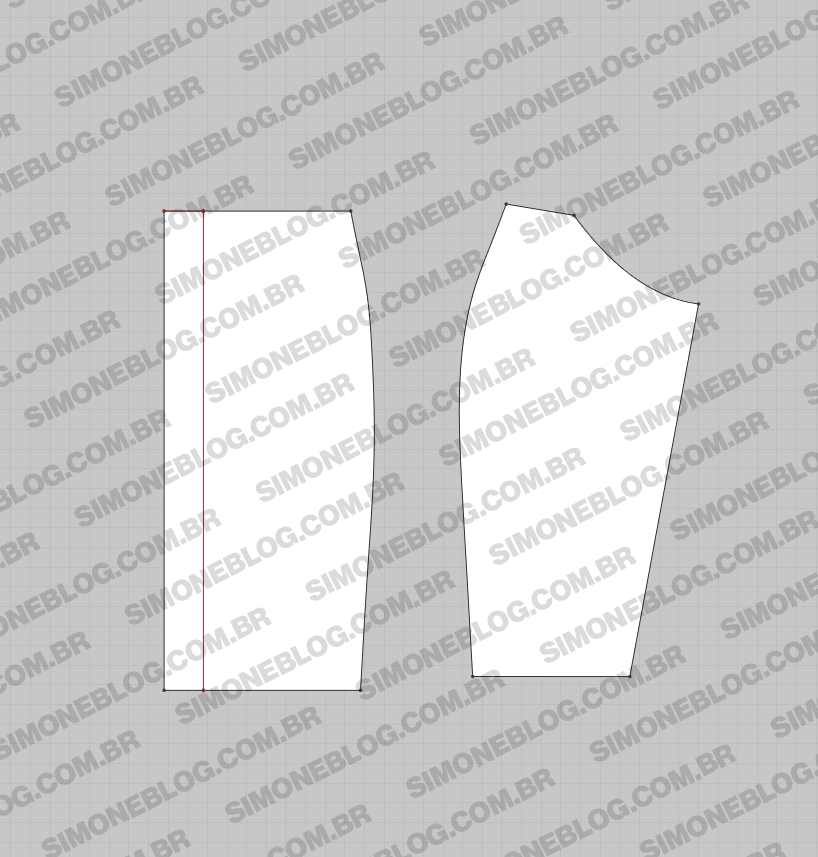
I trimmed the excess fabric to even out the edges.
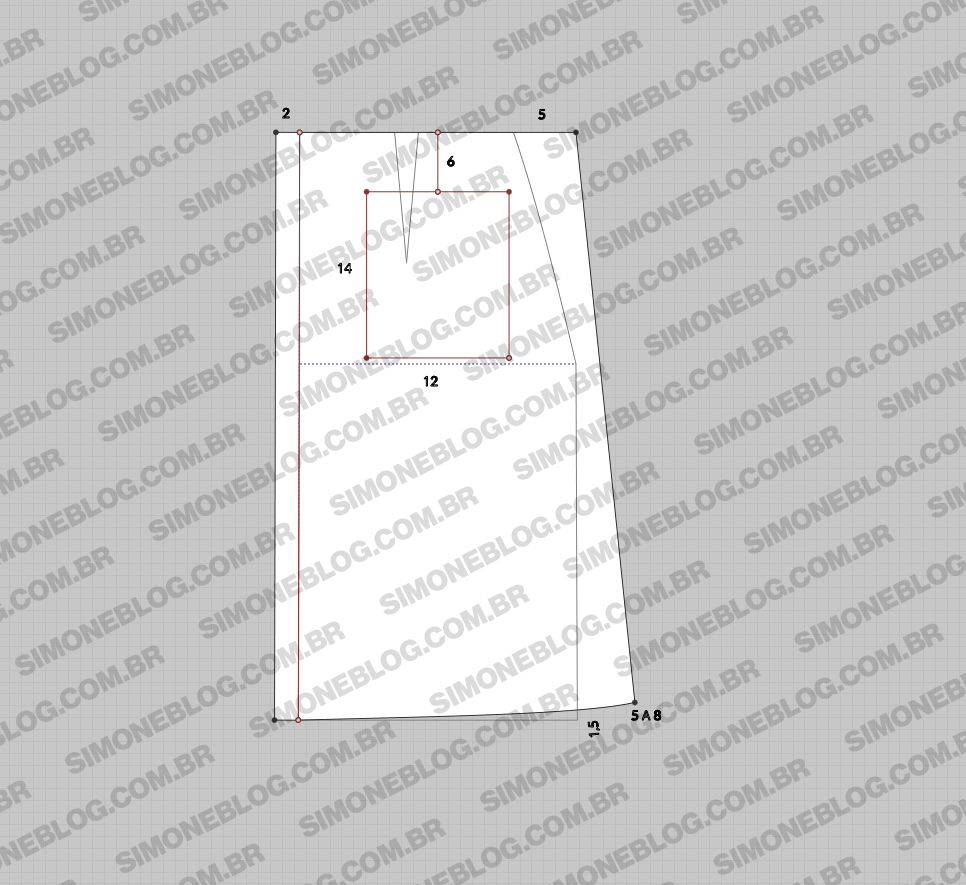
For the front skirt, I marked the button placket at 2 cm and added 5 cm at the waistline. At the hem, you can increase by 5 to 8 cm and raise by 1.5 cm to even out the hem. For the pocket, I marked 6 cm below the waistline and drew it with a width of 12 cm and height of 14 cm.
For the back, I lowered the neckline by 16.5 cm and drew the pattern. Like the front, I marked the center of the shoulder and created a strap width of 3.5 cm (remember to mark 1.75 cm on each side to get the full 3.5 cm width). Then, just cut out the pattern.
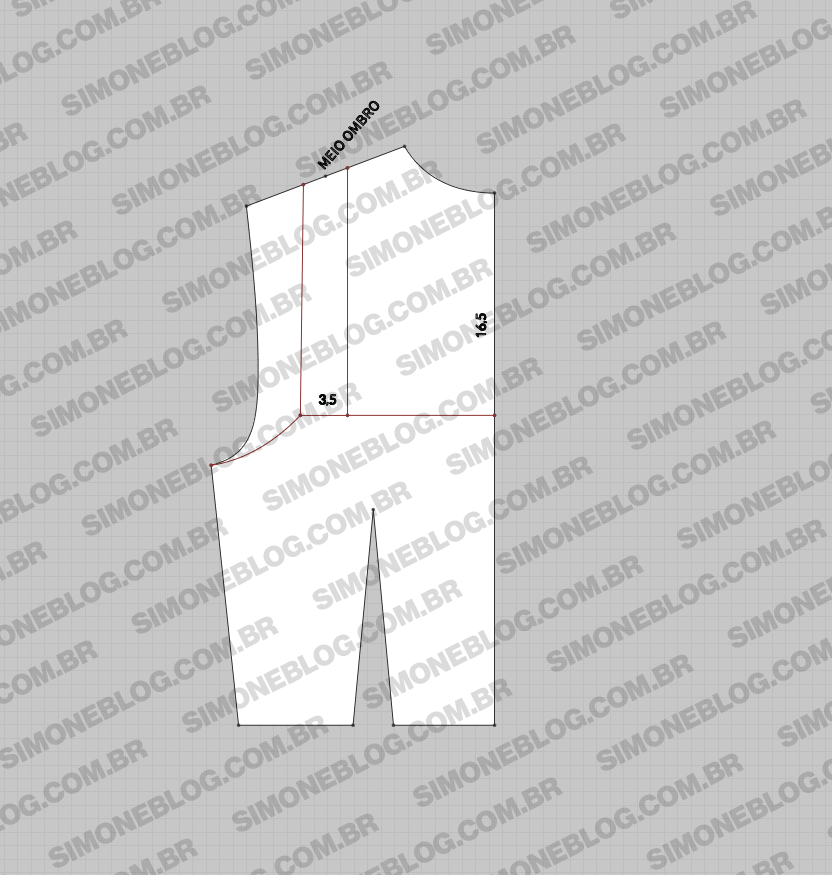
For the straps, combine the height from the front and back bodice and create a rectangle with a width of 3.5 cm and the length matching the strap measurement.
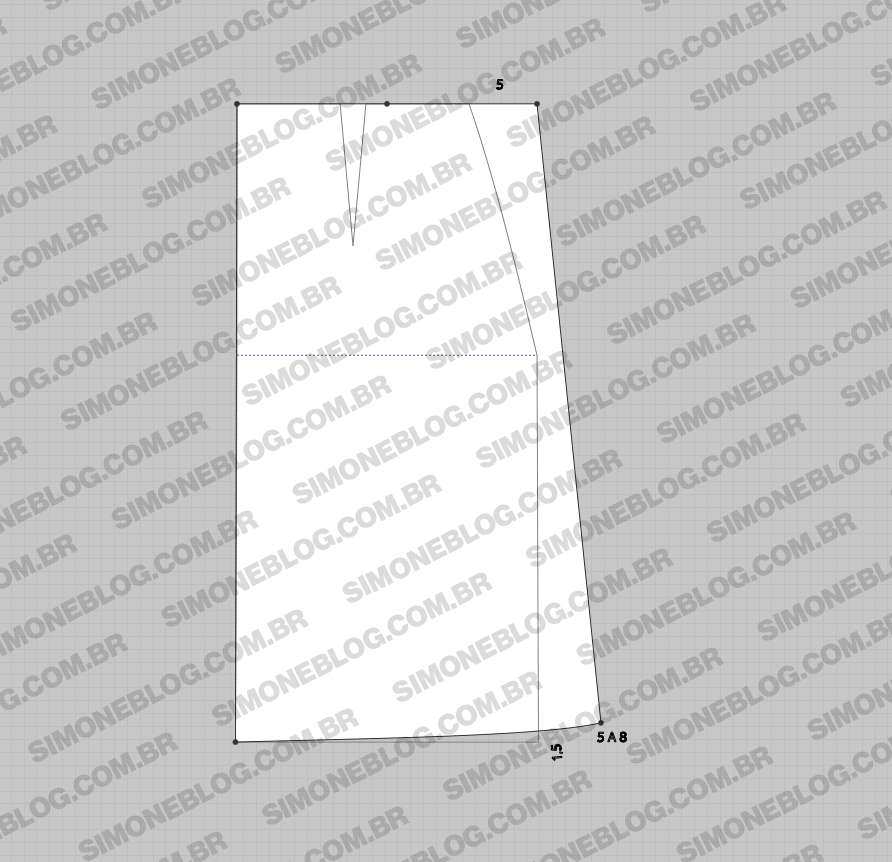
For the back skirt, add 5 cm at the waistline, and as mentioned for the front, increase by 5 to 8 cm at the hem and raise it by 1.5 cm to even out.




Deixe um comentário