Hello everyone, how are you? Today, I’m sharing a step-by-step guide for creating a very beautiful one-shoulder blouse.

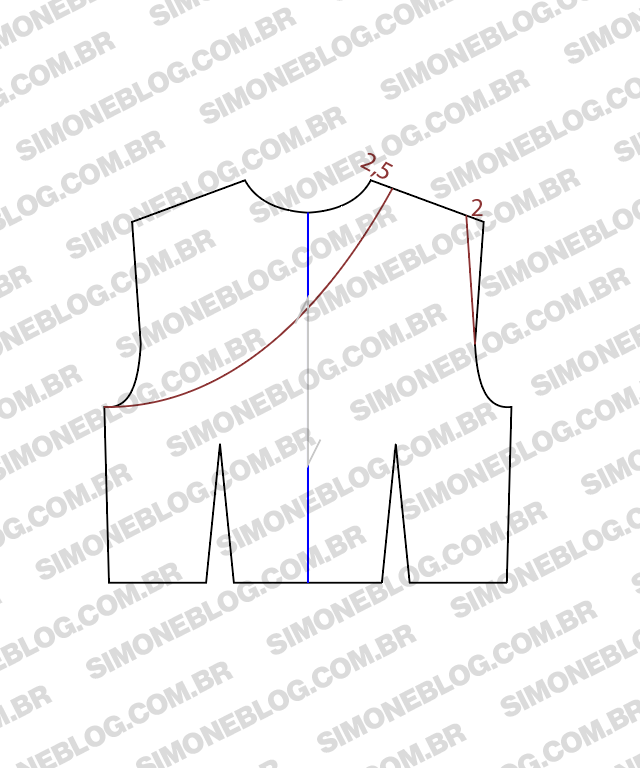
To create the front pattern, I marked 2.5 cm at the beginning of the shoulder and 2 cm at the end, and then I drew the pattern.
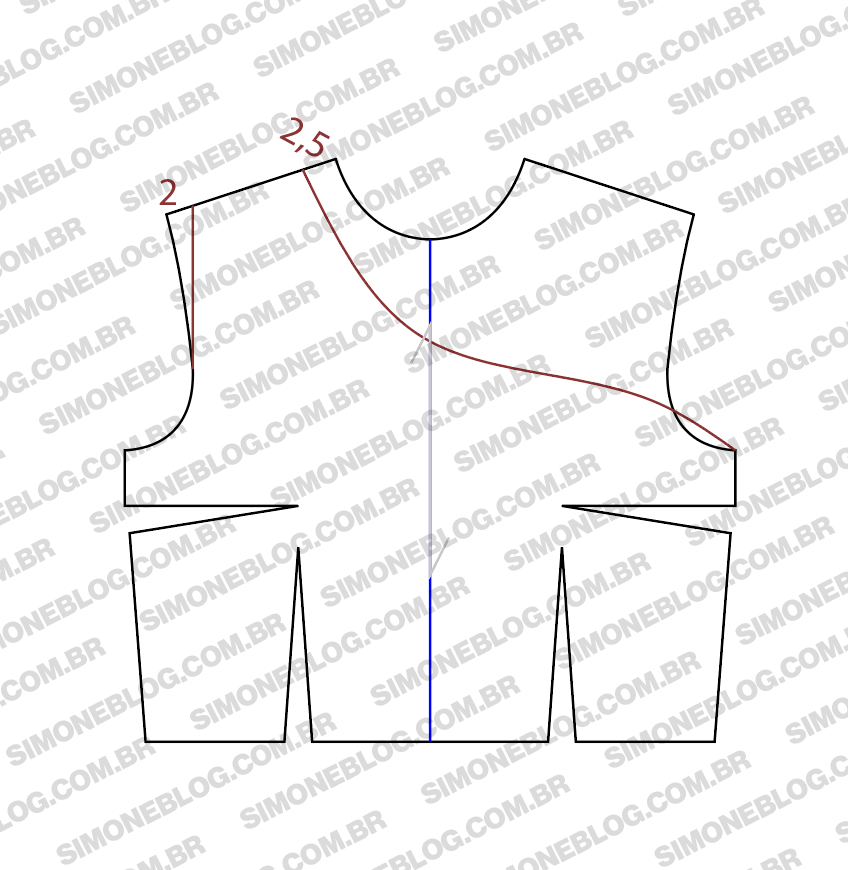
In the pattern, I marked a 2 cm adjustment for a size small (P) at the armhole. I made a 1.5 cm and 2 cm adjustment to the new neckline.
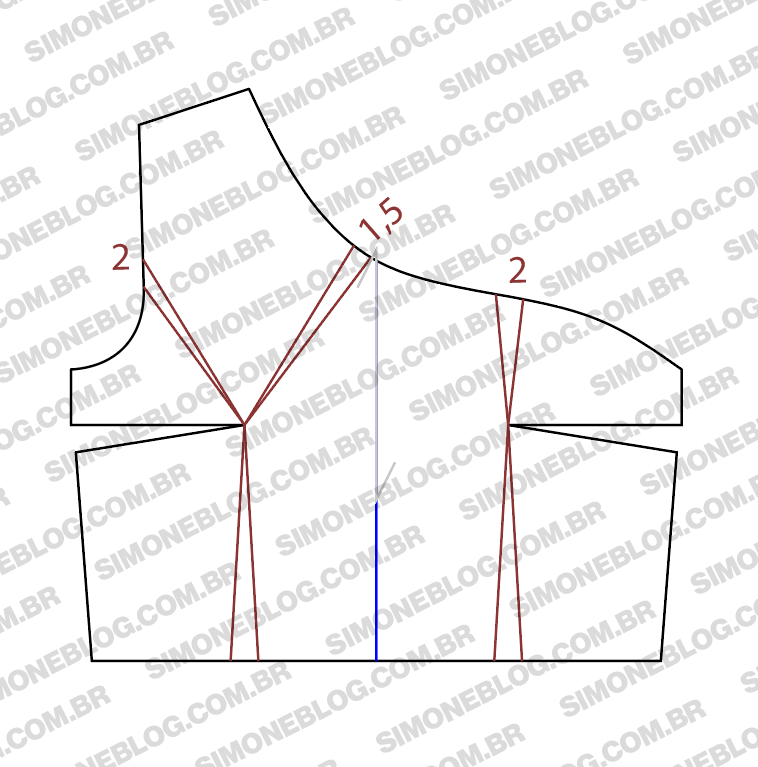
I drew the cutting lines and cut out the pattern. Remember to make the necessary adjustments after closing the darts.
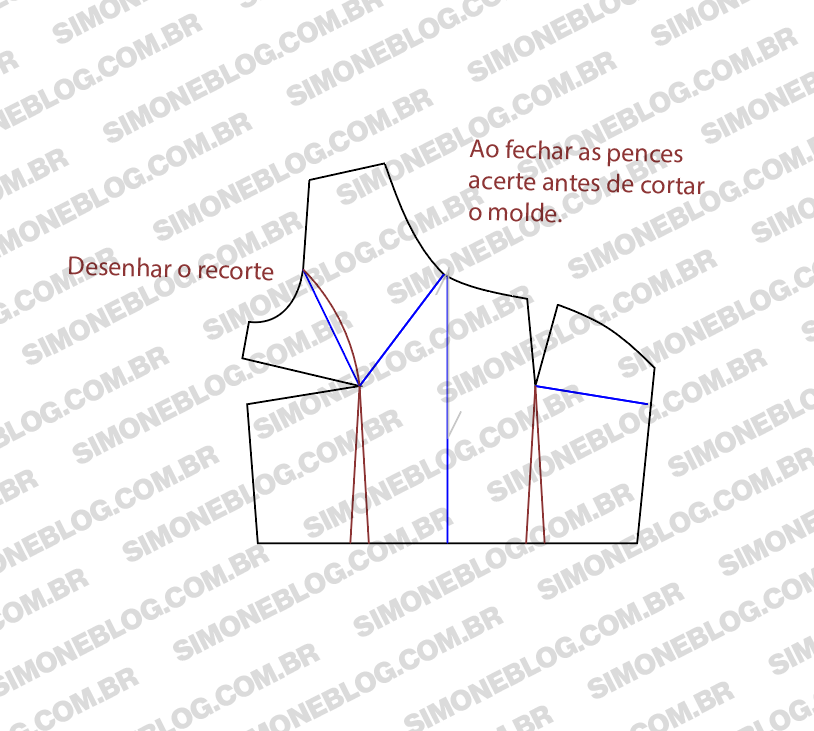
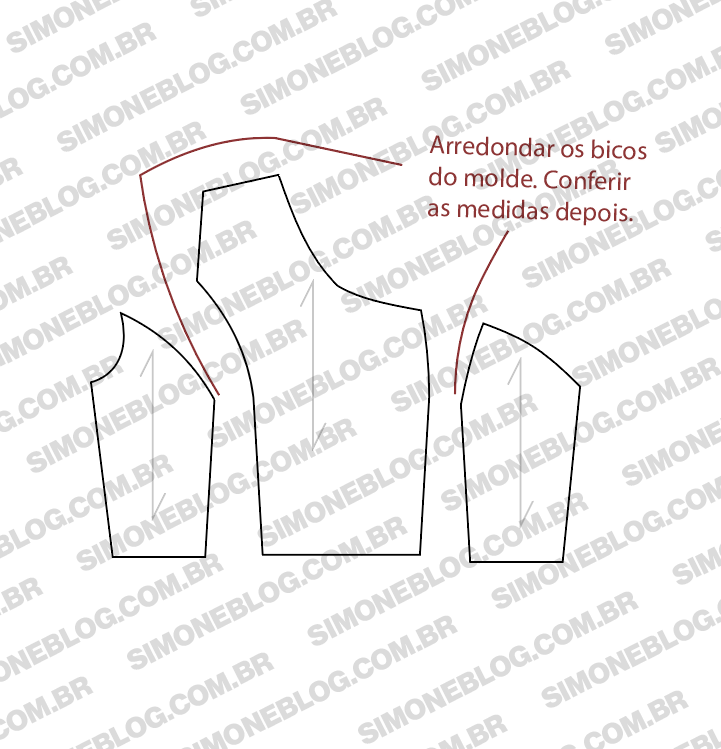
When cutting the pattern, you may see some corners; cut them out and check the measurements to ensure they align properly when sewn.
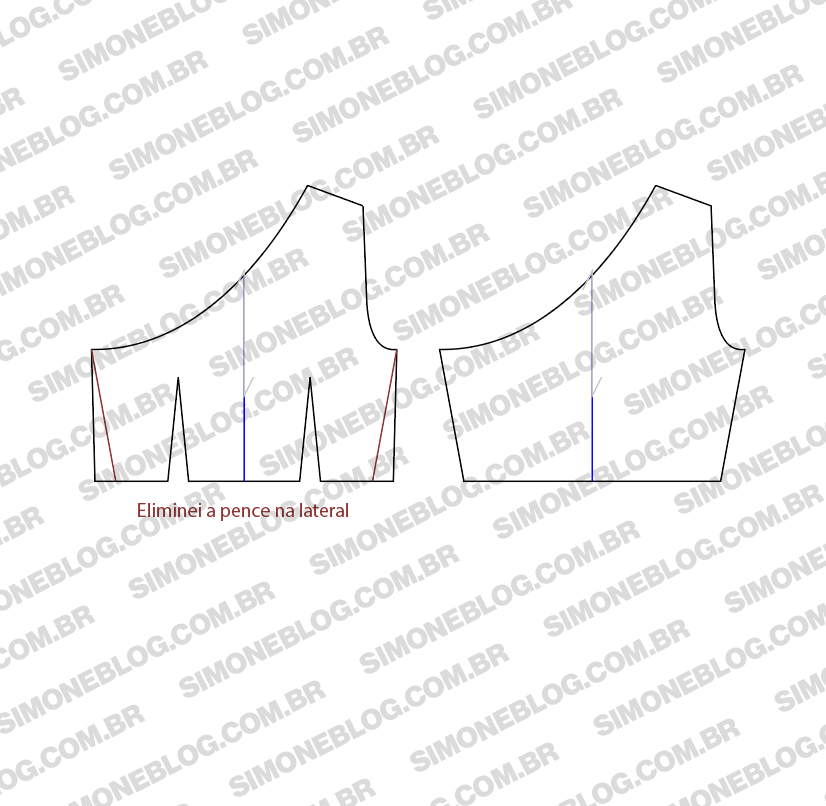
For the back pattern, I used the same shoulder measurements as the front—2.5 cm and 2 cm.
I cut out the pattern and eliminated the dart at the side seam.
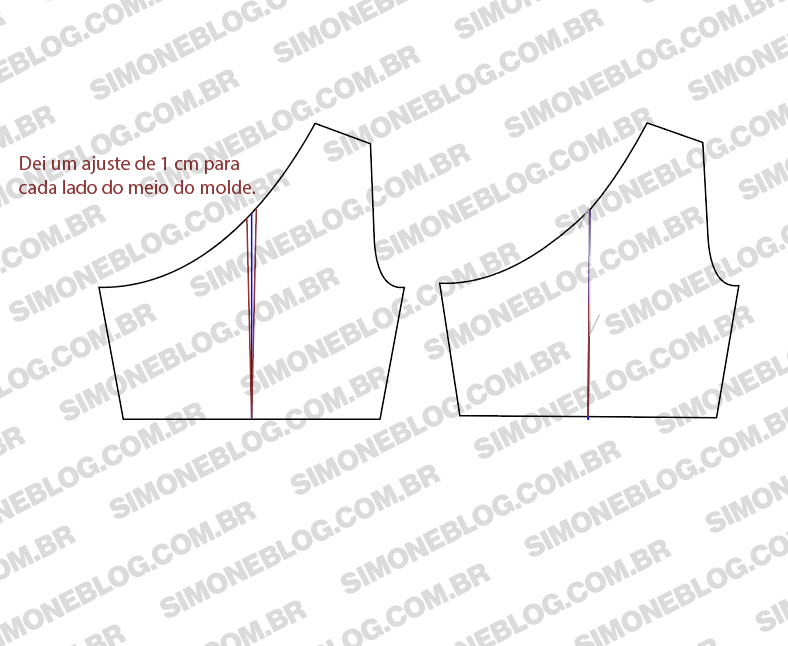
I made a 1 cm adjustment on each side of the center of the back pattern. After testing several patterns, I noticed this extra ease in the back.
I also made a 0.5 cm adjustment on the front and back shoulders.
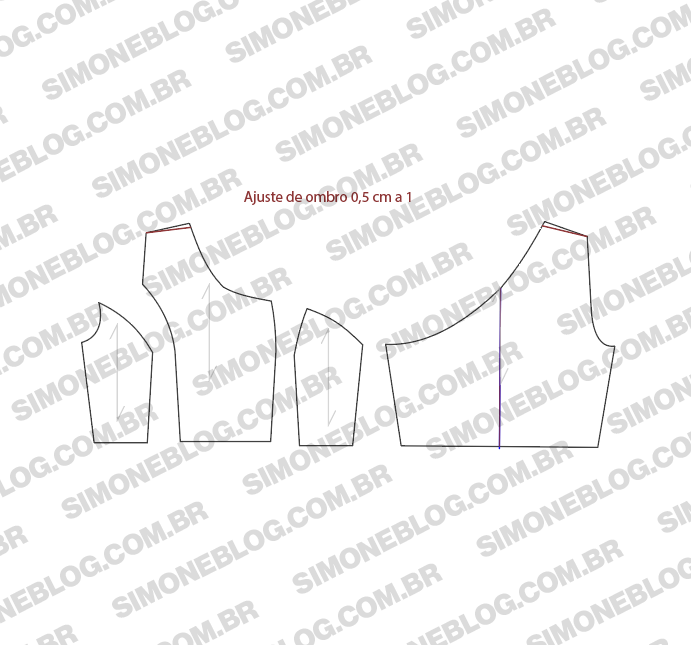
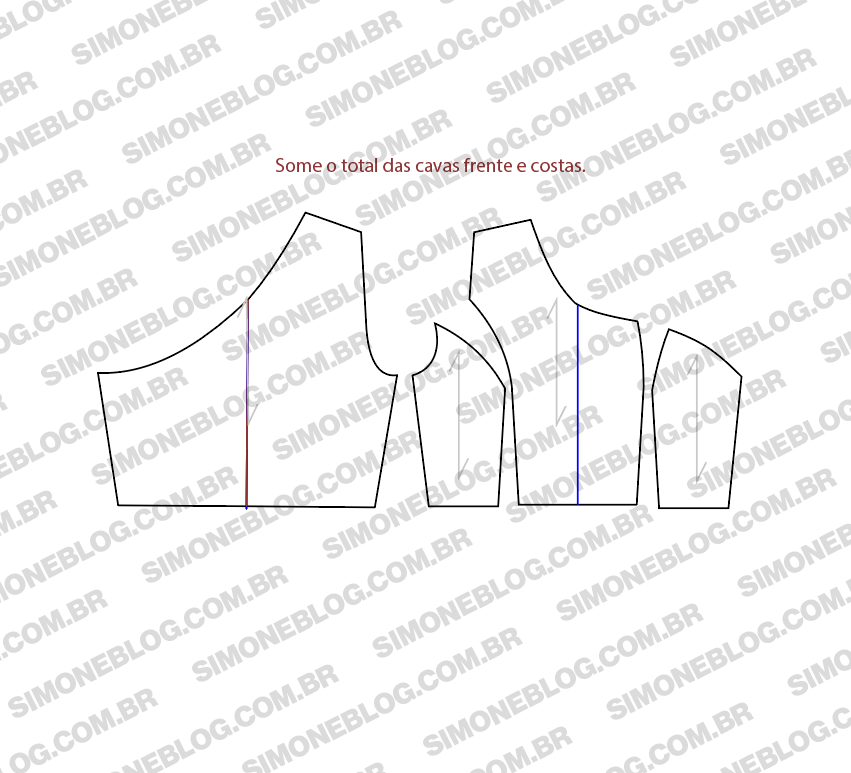
Now, add the armhole measurements of both the front and back pieces.
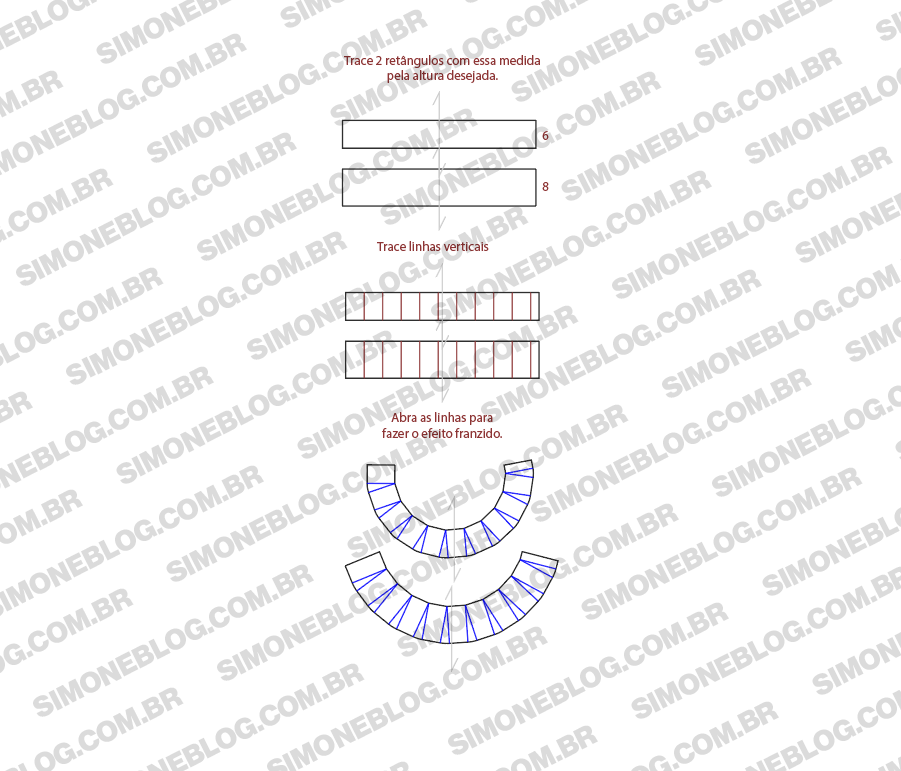
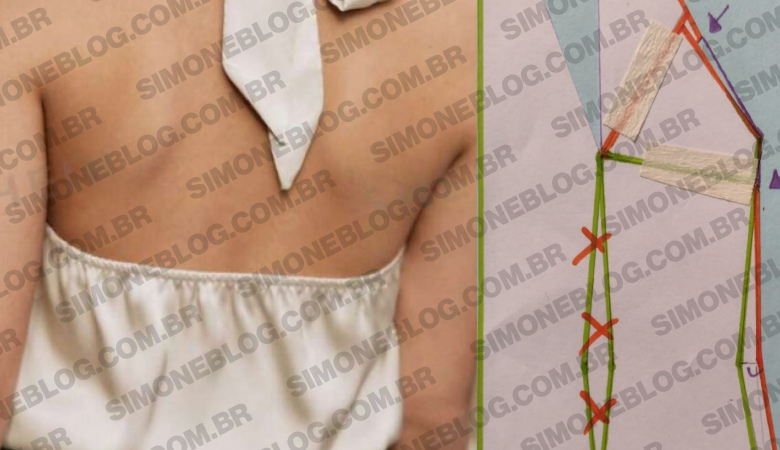
Draw a rectangle with the combined armhole measurements for the width. The height can be as desired; I used 6 cm for the first one and 8 cm for the second. I drew vertical lines on them and spread them out to create a gathered effect.
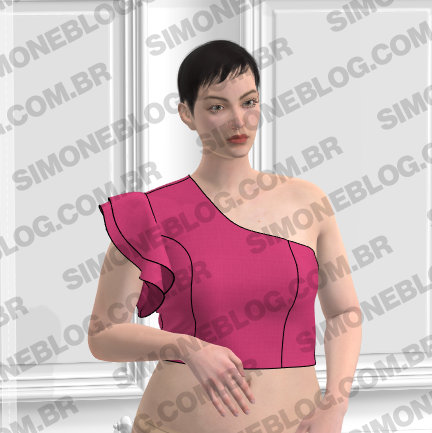
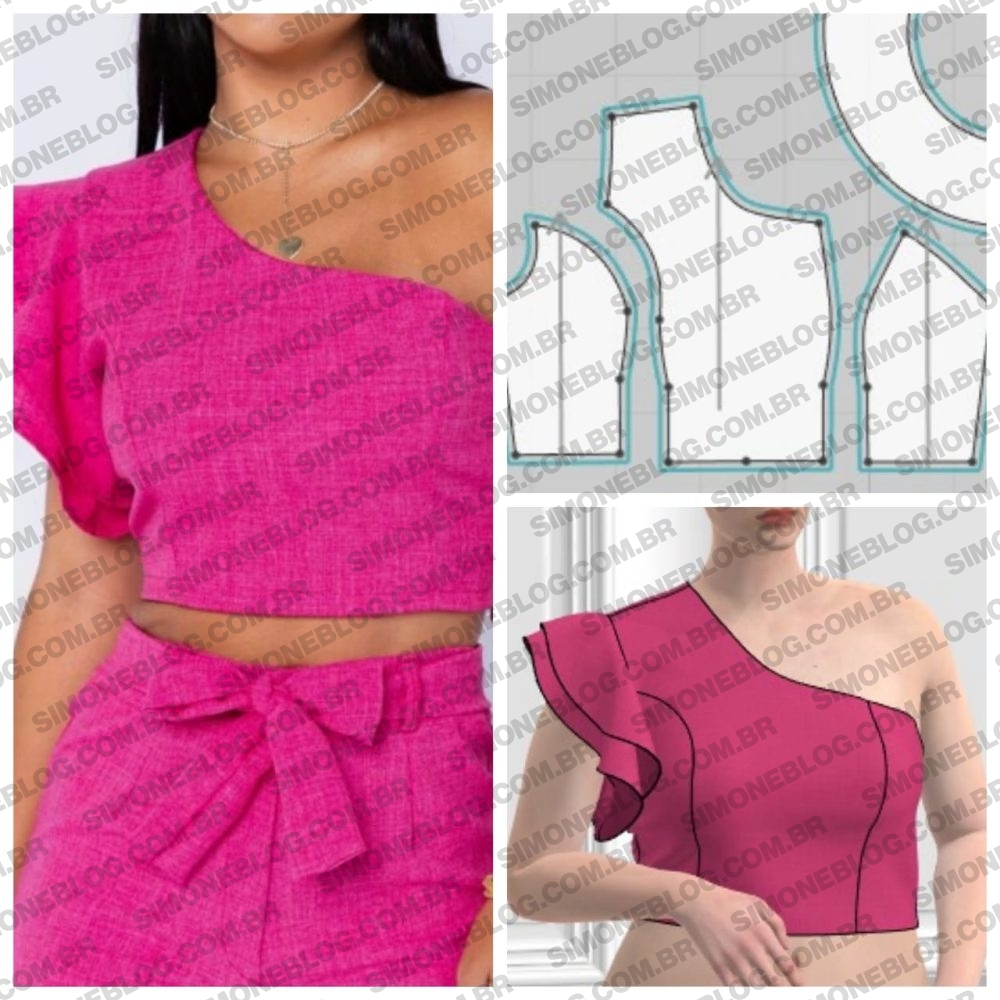
Here’s the final result.
I hope this tip was helpful! See you in the next post.





Deixe um comentário