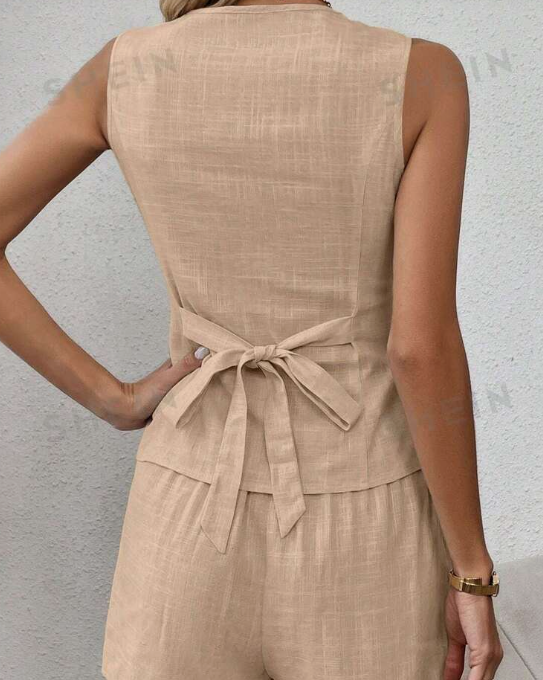
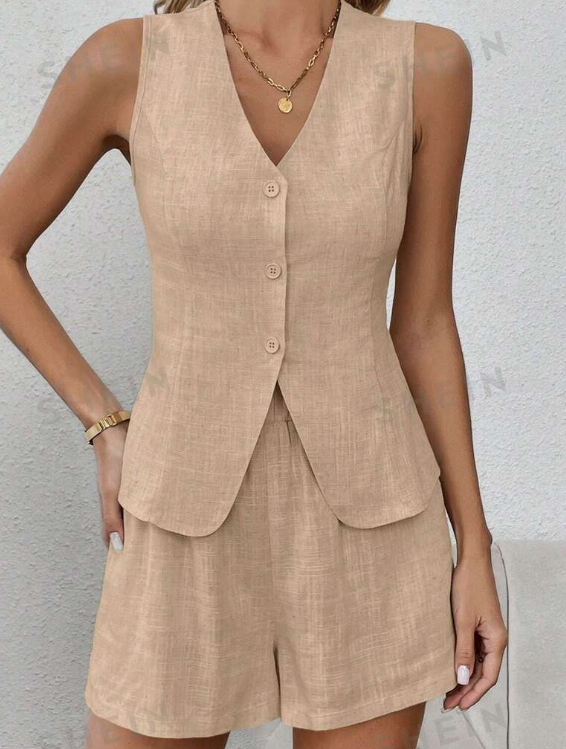
Hello everyone, how are you? Today’s tip is a simple and easy-to-make vest, inspired by Shein.
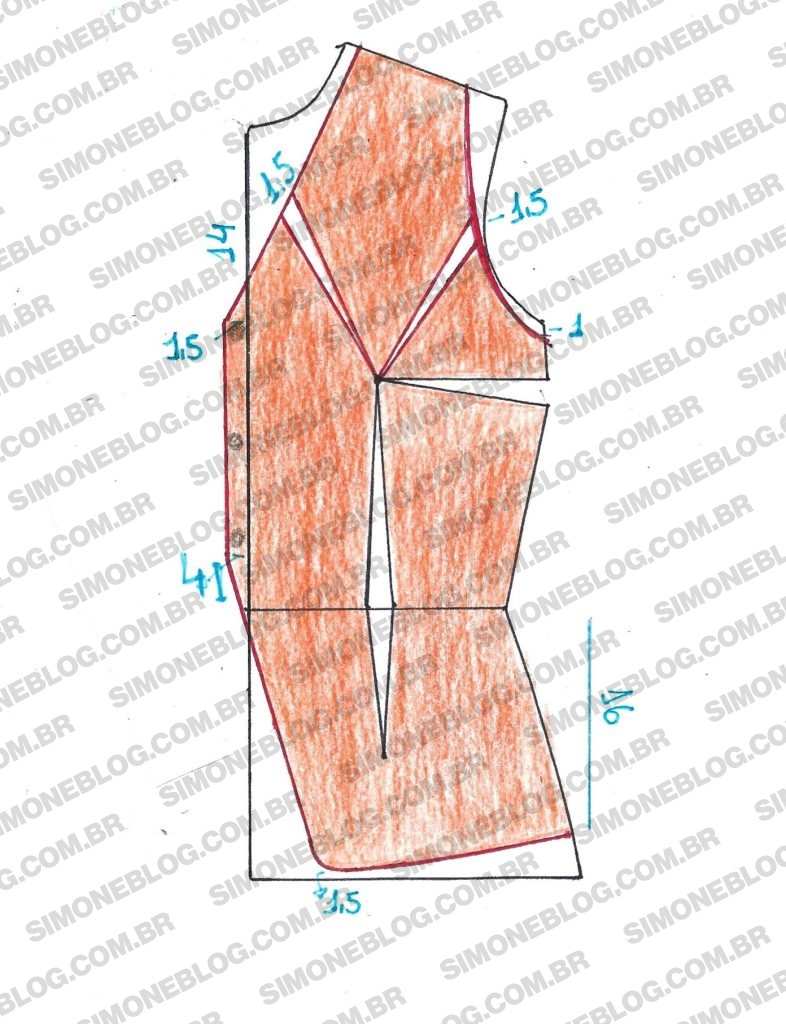
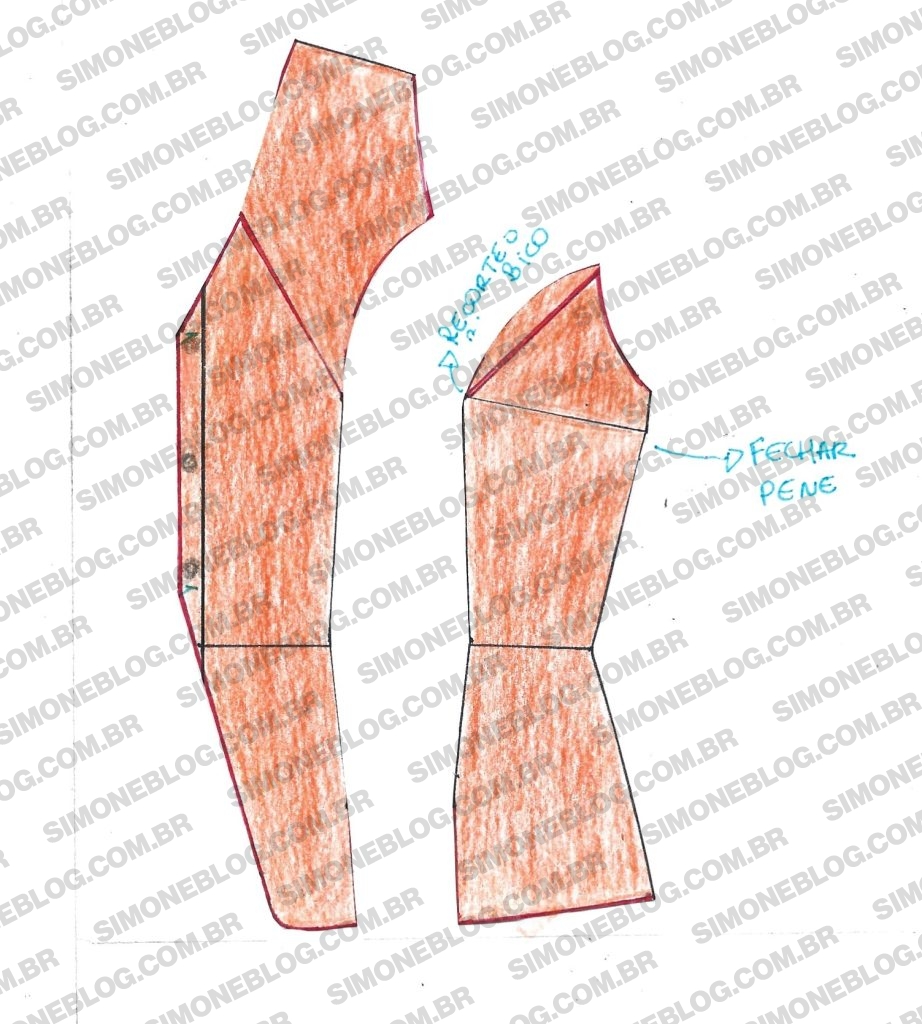
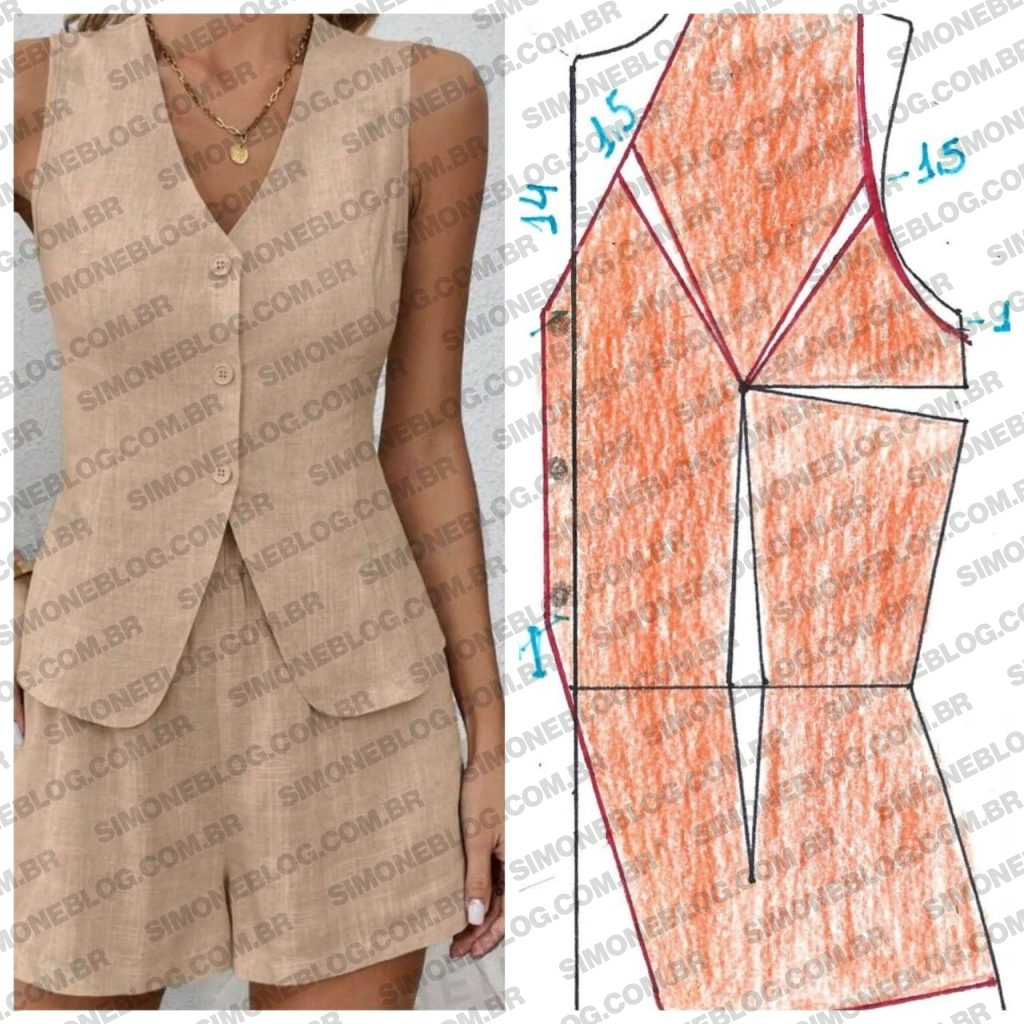
To create the pattern, I adjusted the shoulder by taking in 1 cm (though it’s not marked on the pattern, that’s the measurement I used). For a size 36, I set the strap width at 8.5 cm. I lowered the neckline by 14 cm and made a 1.5 cm adjustment. For the armhole, I lowered it by 1 cm and also adjusted by 1.5 cm. For the facing, I left a 1.5 cm measurement. From the waist upwards, I marked 4 cm to create the detail, and from the waist downwards, I marked a height of 16 cm and drew the model’s design.
I refined the adjustments and transferred them to the bust dart, then drew the princess seam.
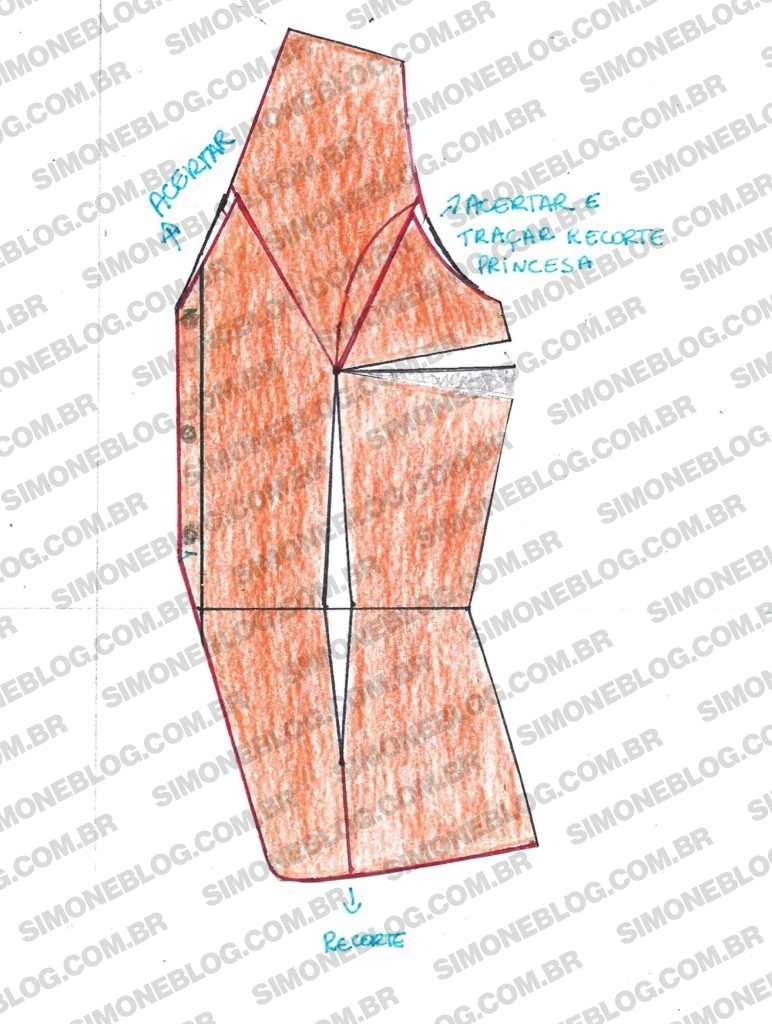
I closed the bust dart, removed the peak that forms, and checked the seam measurements to ensure accuracy when sewing.
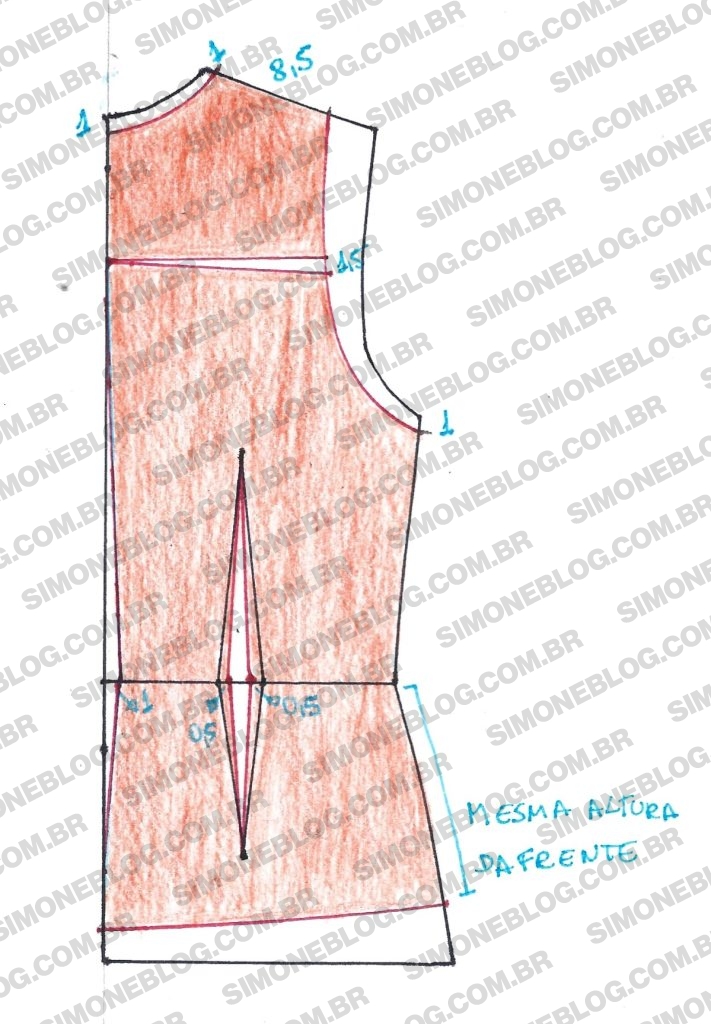
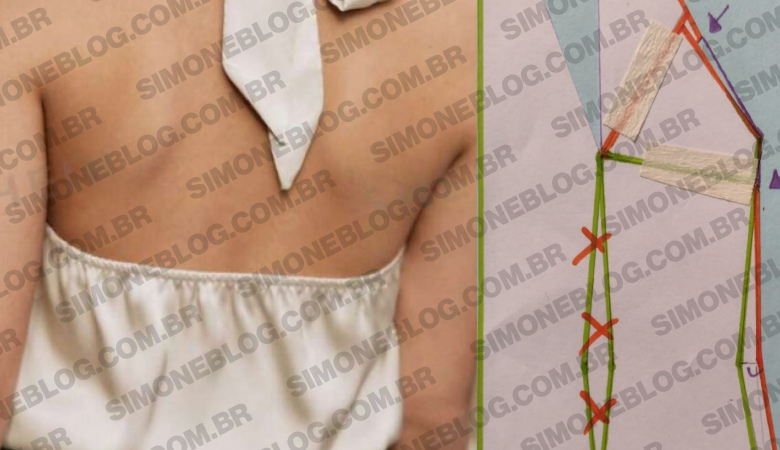
For the back pattern, I lowered the neckline by 1 cm and took in the shoulder by 1 cm. I kept the strap width the same as the front at 8.5 cm. In my base, it’s necessary to adjust the back armhole by 1.5 cm in certain models. I lowered the armhole by 1 cm and drew the design. At the waist, I marked 1 cm inwards for adjustment, reducing the dart by 0.5 cm on each side to compensate for the 1 cm taken in. The side seam below the waist was marked with the same measurement as the front. Lower the center back a bit to create a slightly rounded effect. I opted for a center back seam.
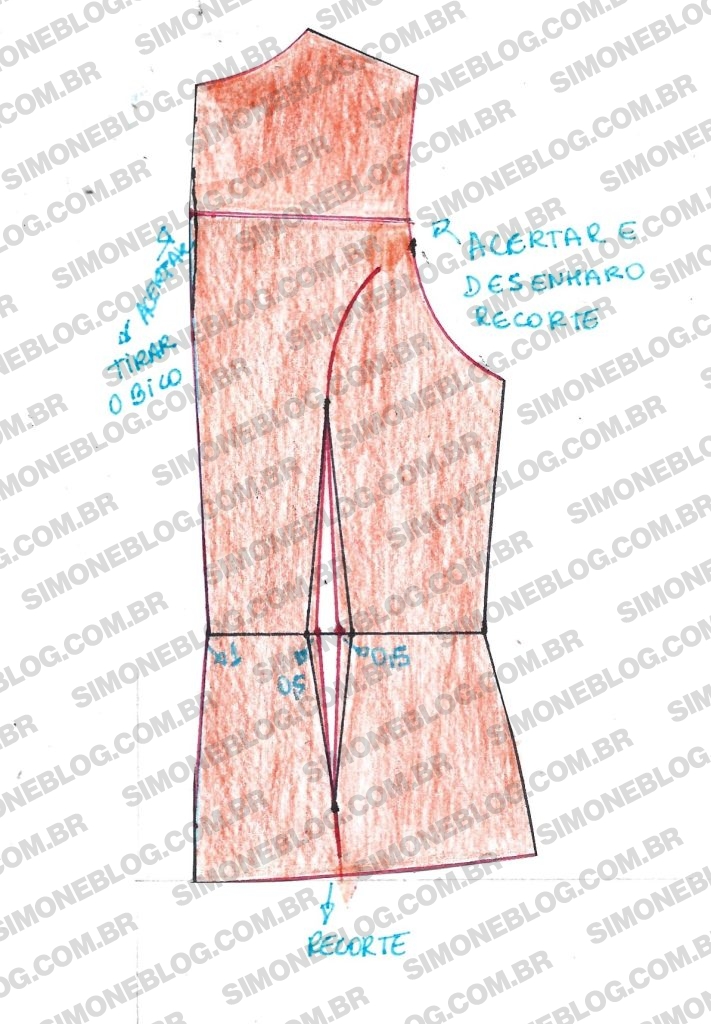
I fixed the peak that forms when closing the adjustment and refined the armhole. Then, I drew the back seam.
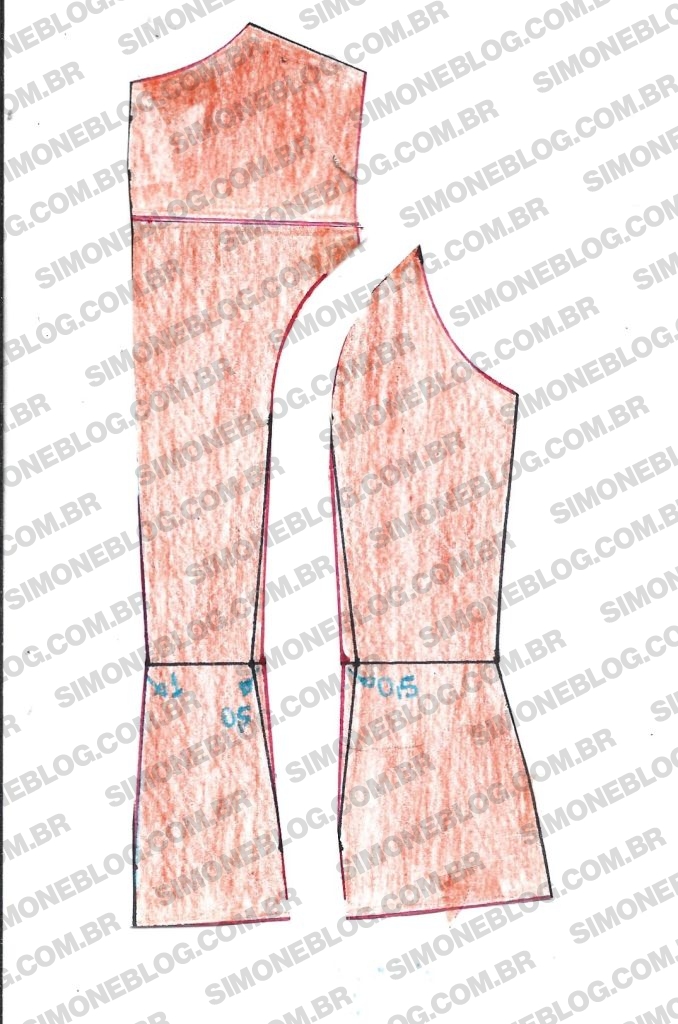
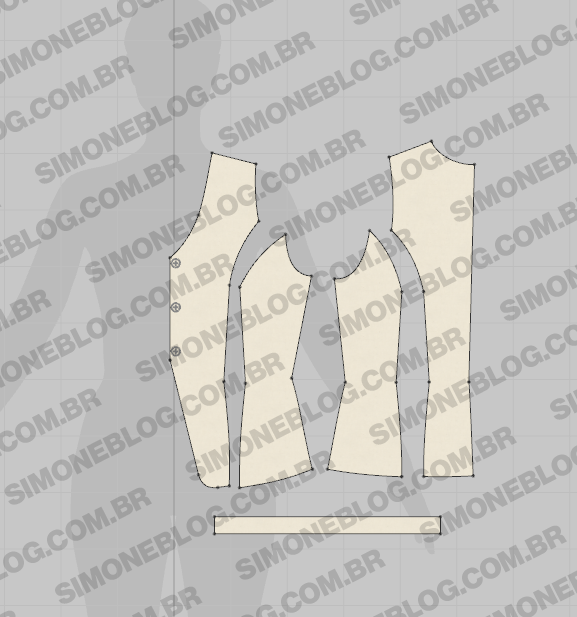
Pattern cut.
For the belt, cut a rectangle measuring 3 cm by 55 cm. I tested it in 3D and loved the result—soon I’ll be showcasing it on my YouTube channel.
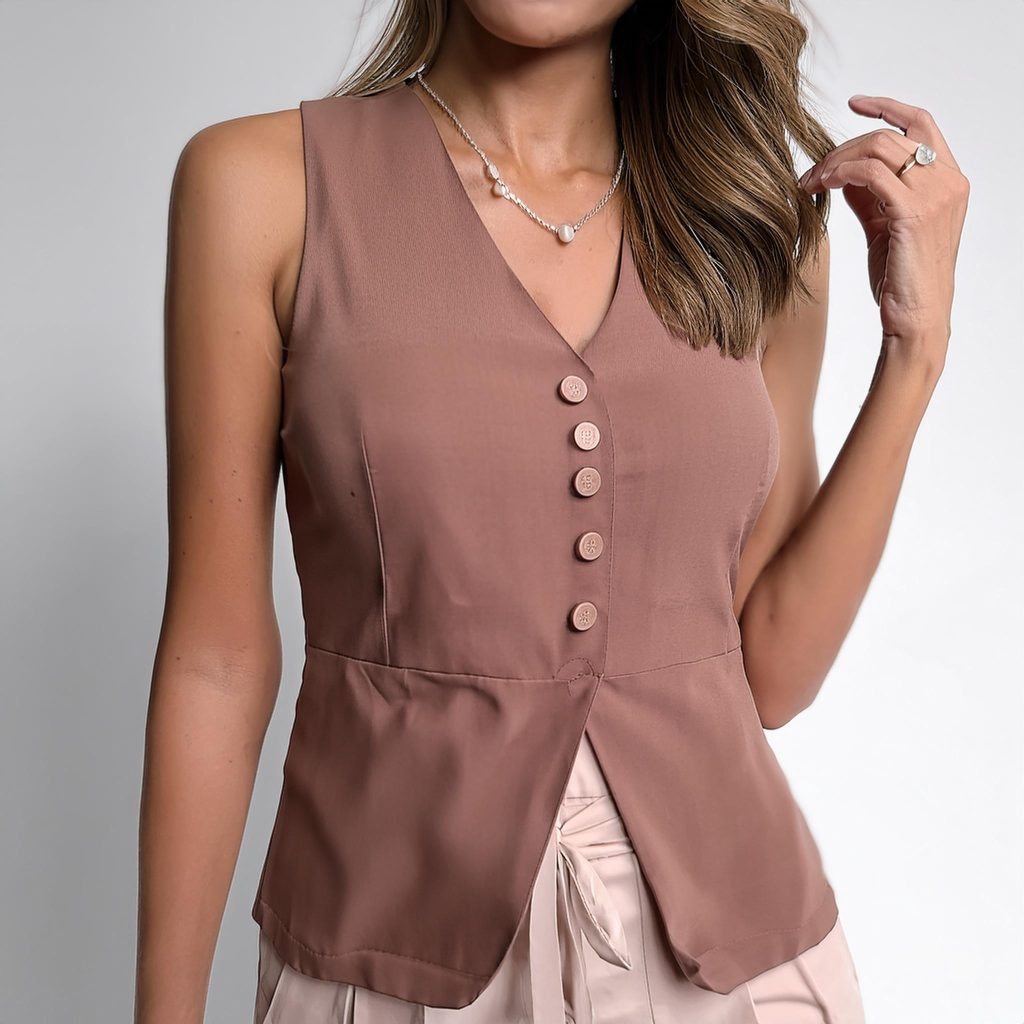
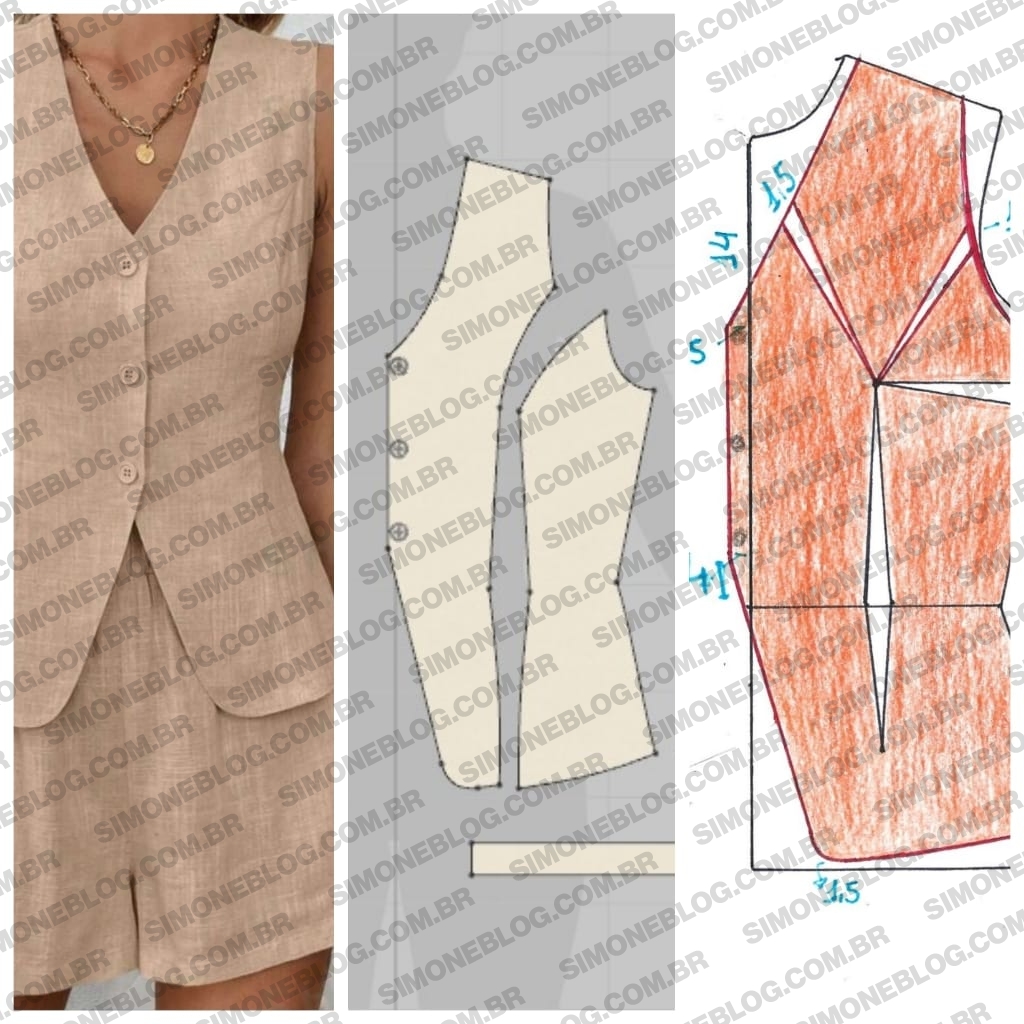
More images below for inspiration, including the Shein design detail that inspired me.








Deixe um comentário