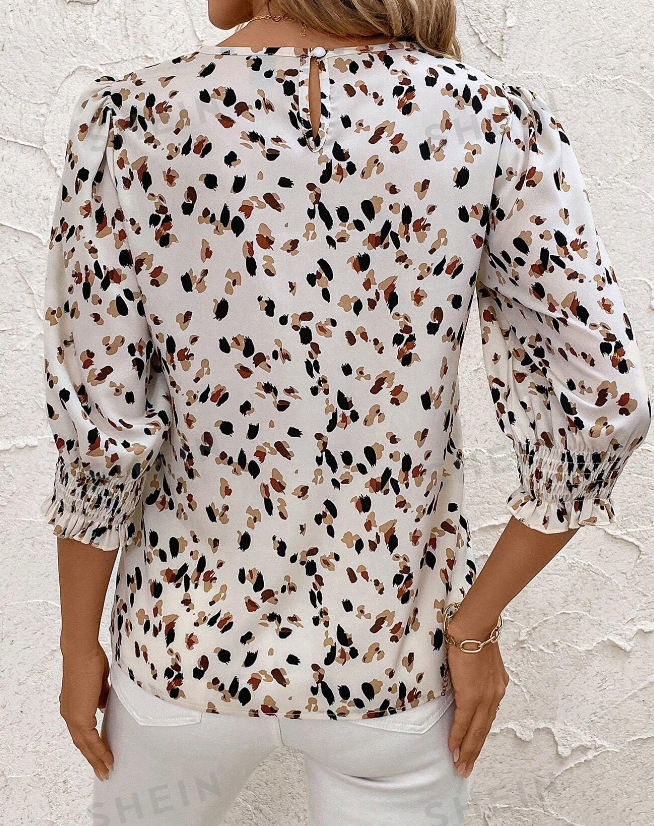
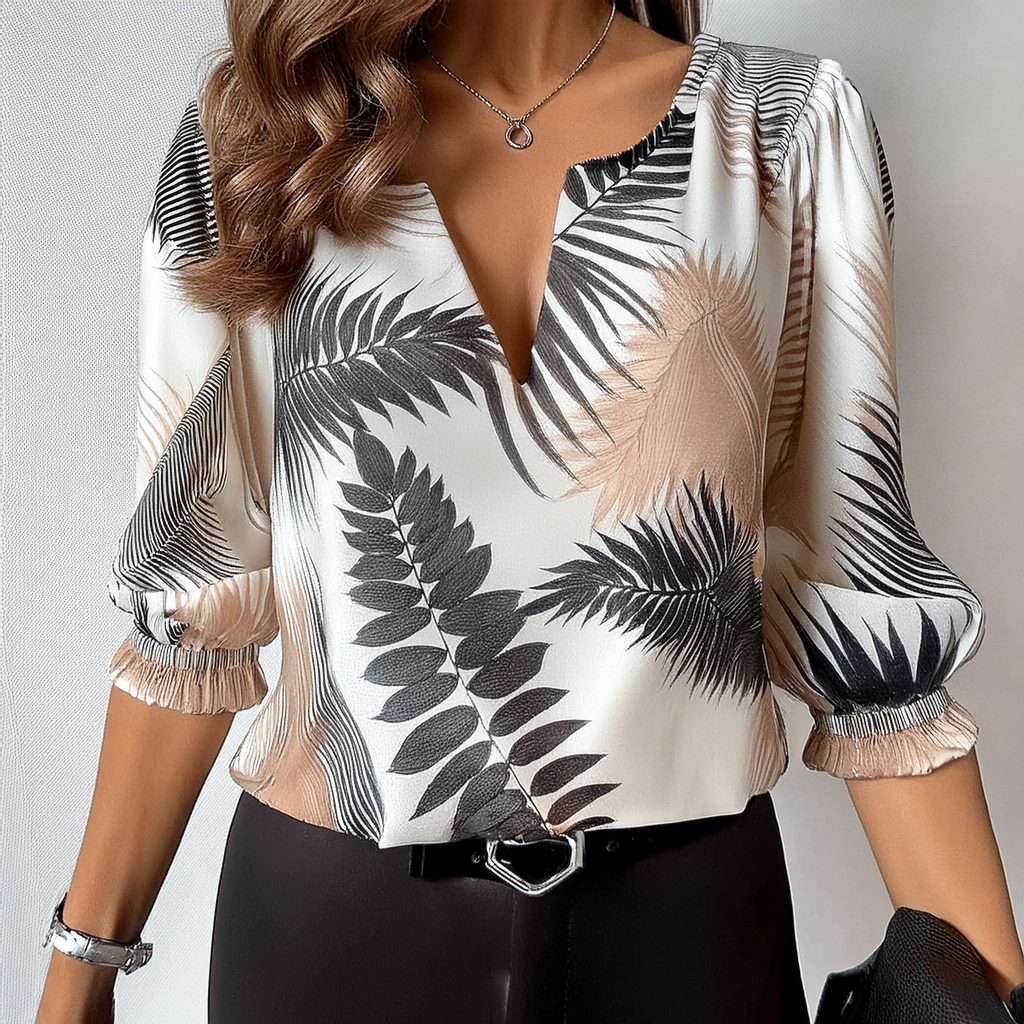
Hello everyone, how are you? Today’s tip is a beautiful Shein-inspired blouse.
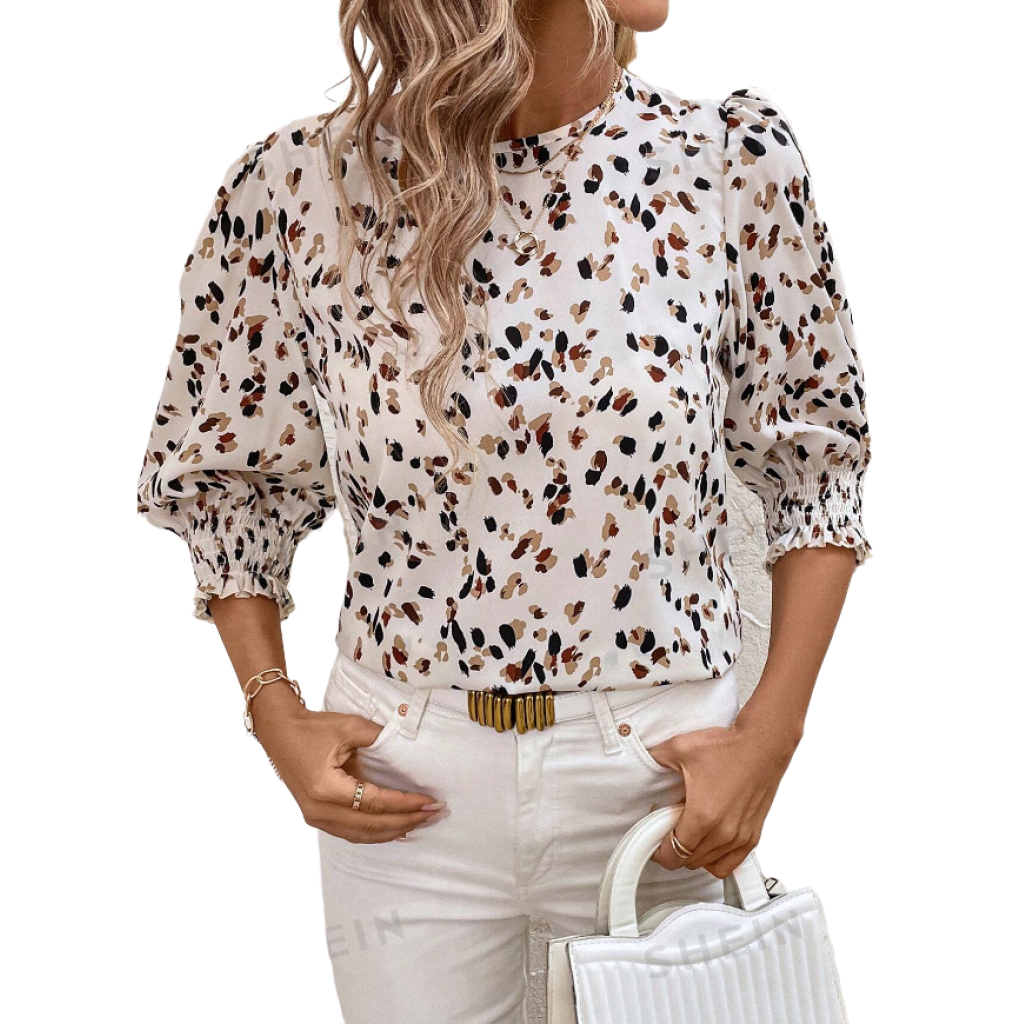
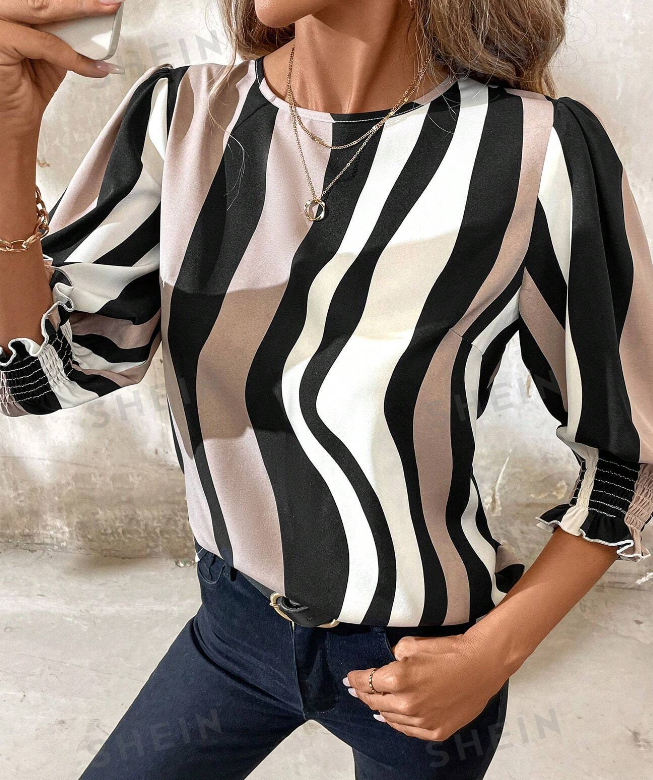
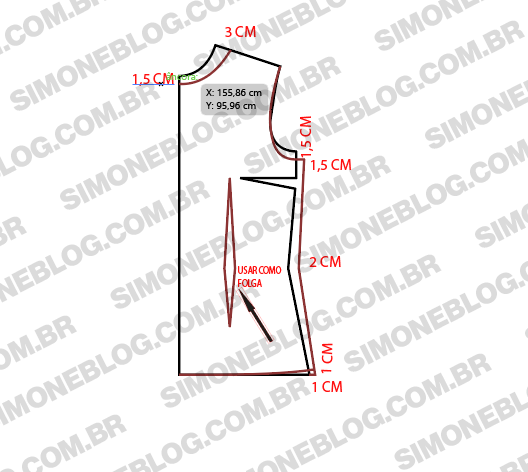
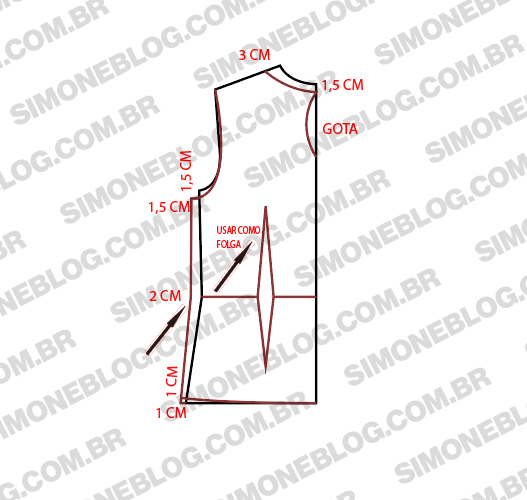
For the front pattern, I lowered the neckline by 1.5 cm and took in 3 cm at the shoulder. At the armhole, I lowered it by 1.5 cm and added 1.5 cm of ease. At the waist, I gave 2 cm of ease and 1 cm at the hip. After drawing the pattern, I raised the hemline by 1 cm to avoid a pointed edge. I kept the waist dart as ease.
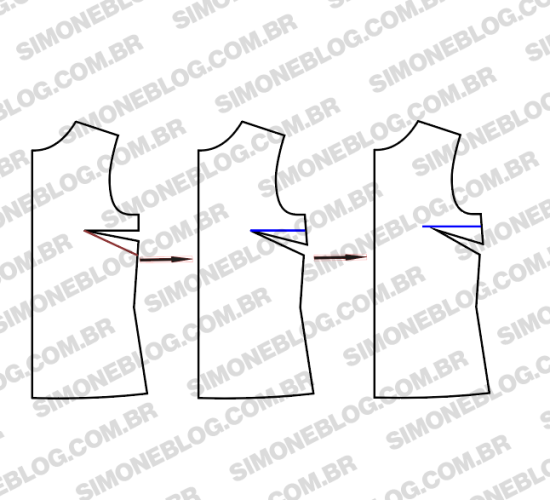
Since the dart space was very short and in the image, it appears lower, I lowered it by about 5 cm and drew a line. I then cut and joined the pattern, closing the upper dart and opening it along the lower line, then moved the dart 2 cm away from the crossing position.
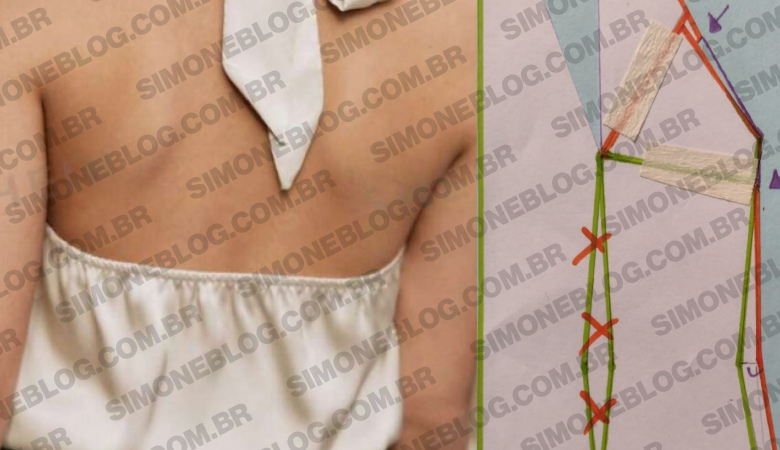
For the back pattern, I also lowered the neckline by 1.5 cm and took in 3 cm at the shoulder. I drew the keyhole, which I measured to be 13 cm (I didn’t write this on the pattern, but it’s the measurement I used). As with the front, I lowered the armhole by 1.5 cm and added 1.5 cm of ease. I added 2 cm of ease at the waist and 1 cm at the hip, then raised the hem by 1 cm to avoid a pointed edge. I left the waist dart as ease.
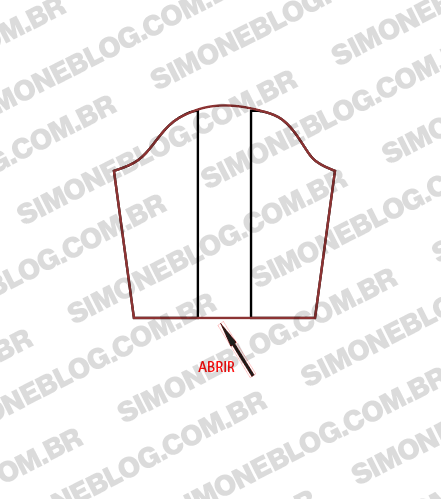
For the sleeve, I left it at the desired length. You can measure this with a tape measure on your body, marking how much below the elbow you prefer it to be.

DThen, I cut along the middle line and spread the pieces apart, adding 10 to 15 cm. Make sure to correct the sleeve cap to ensure it fits perfectly when cutting and sewing.
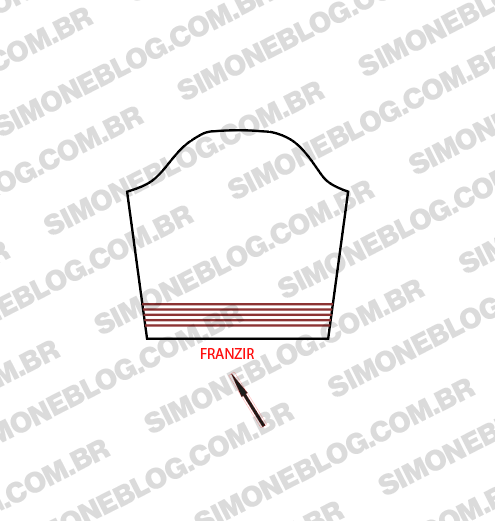
I drew red lines to simulate where the shirring with elastic thread will go.
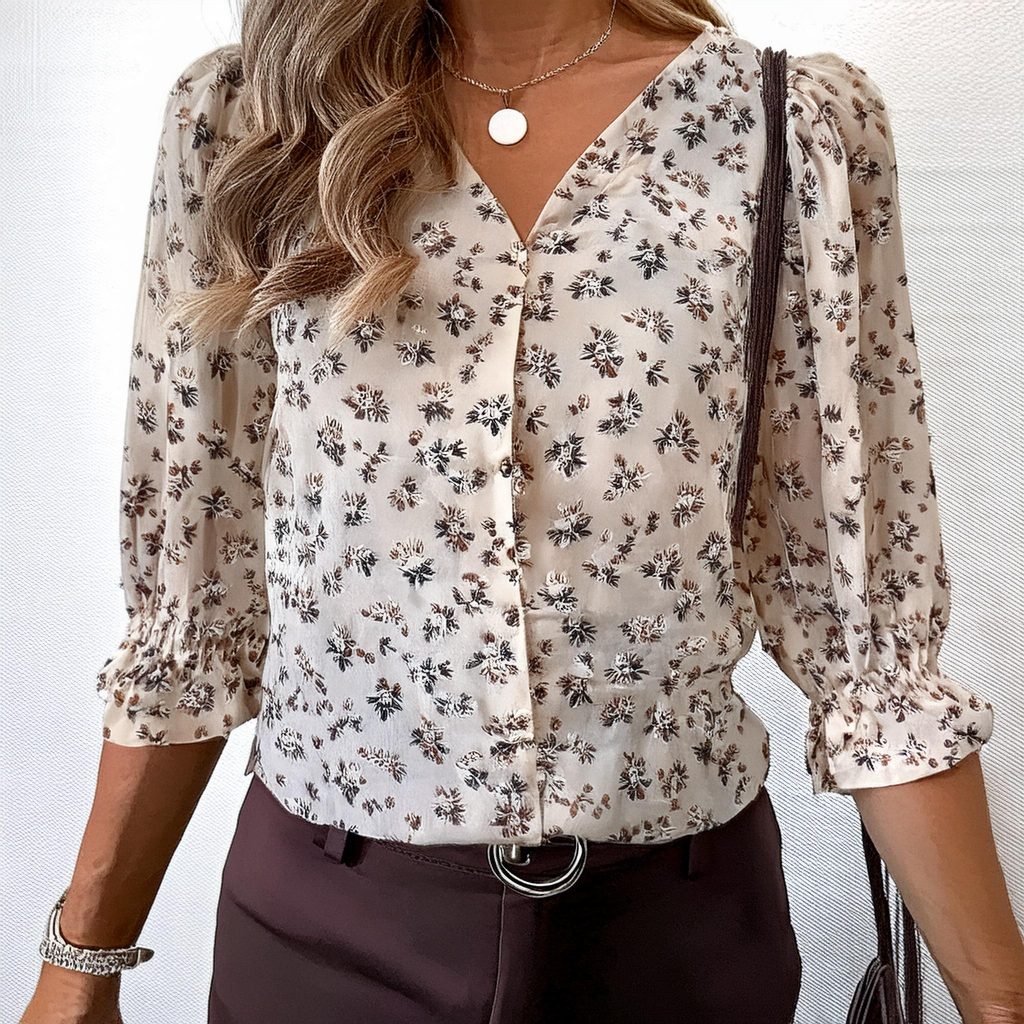
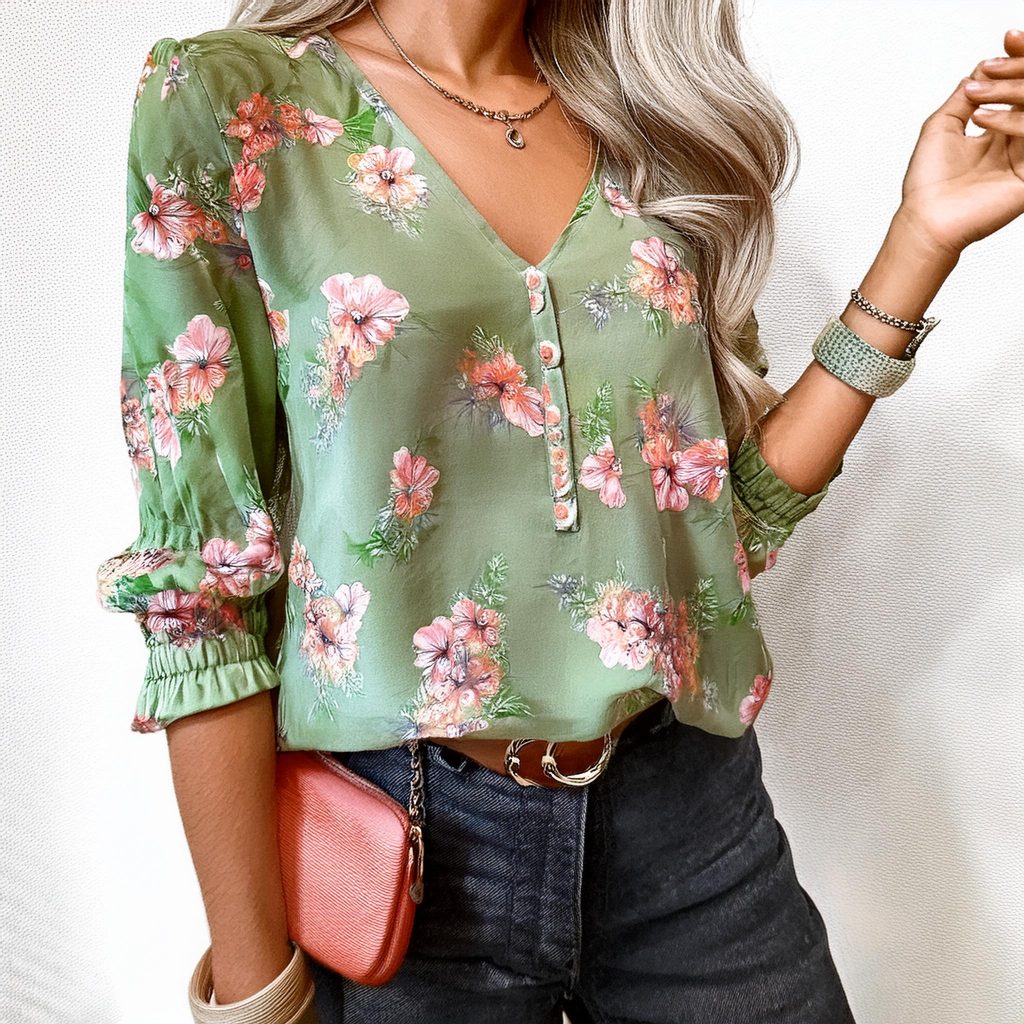
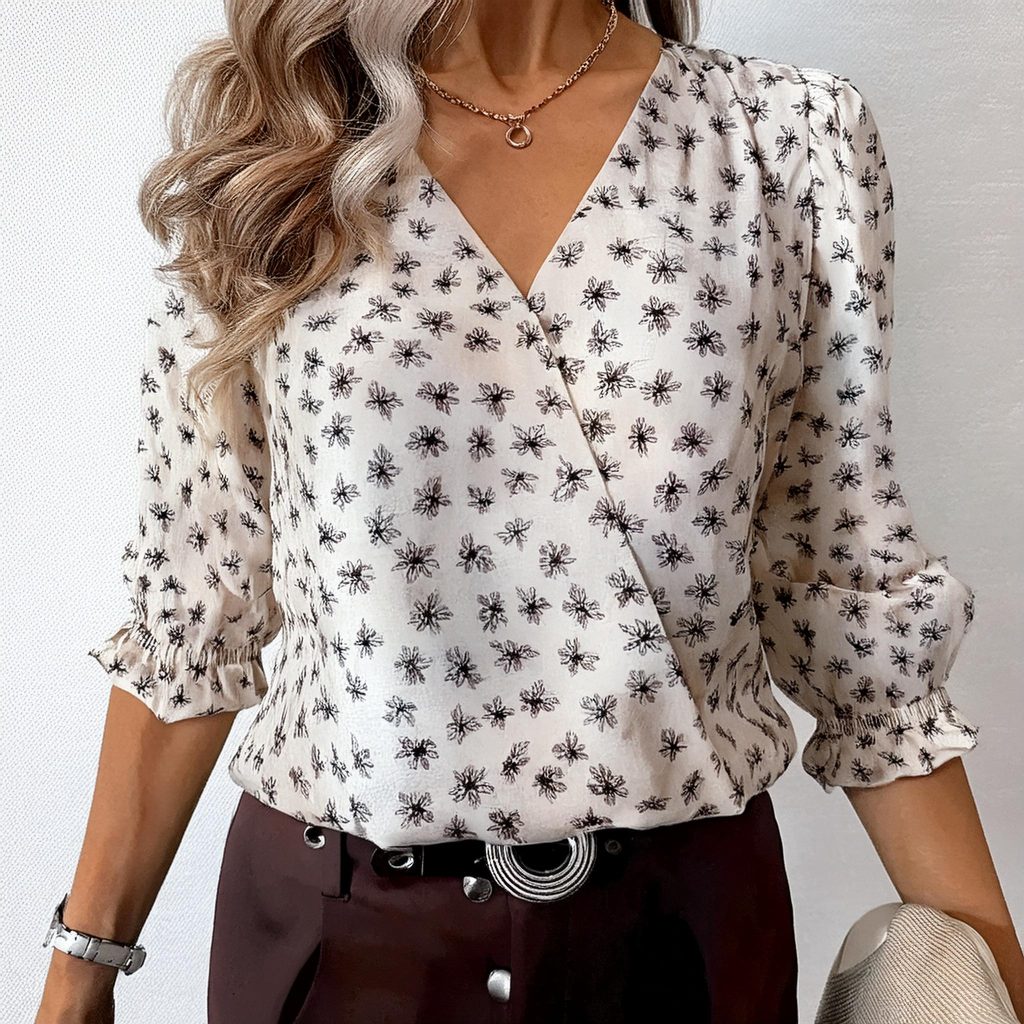
MORE INSPIRATION IMAGES FOR YOU TO ENJOY.





Deixe um comentário