Hello everyone, how are you? Today’s tip is inspired by a blouse from Shein.
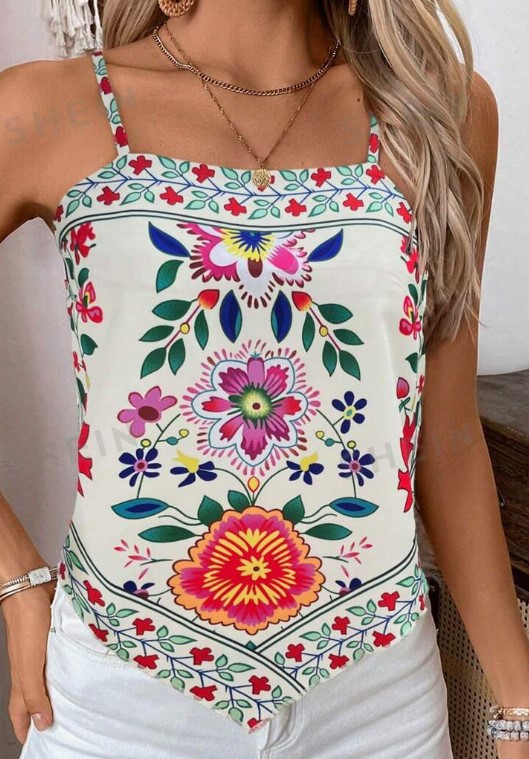
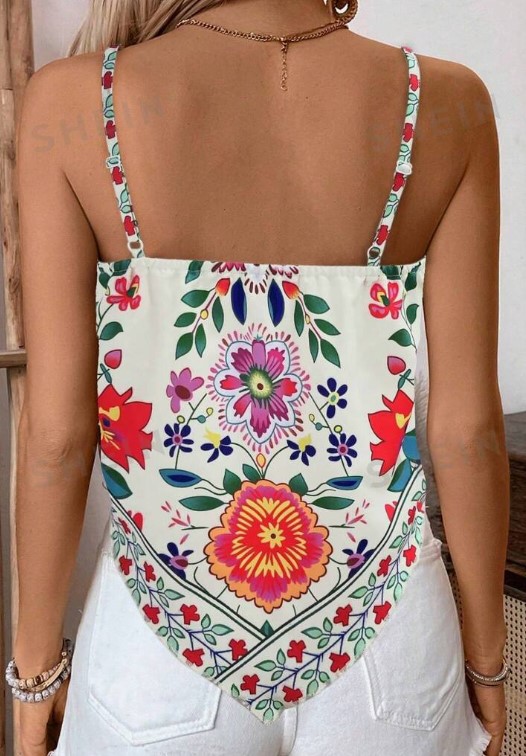
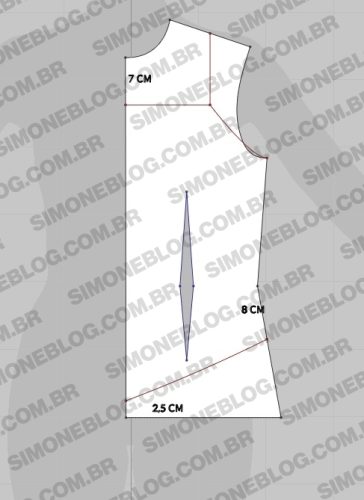
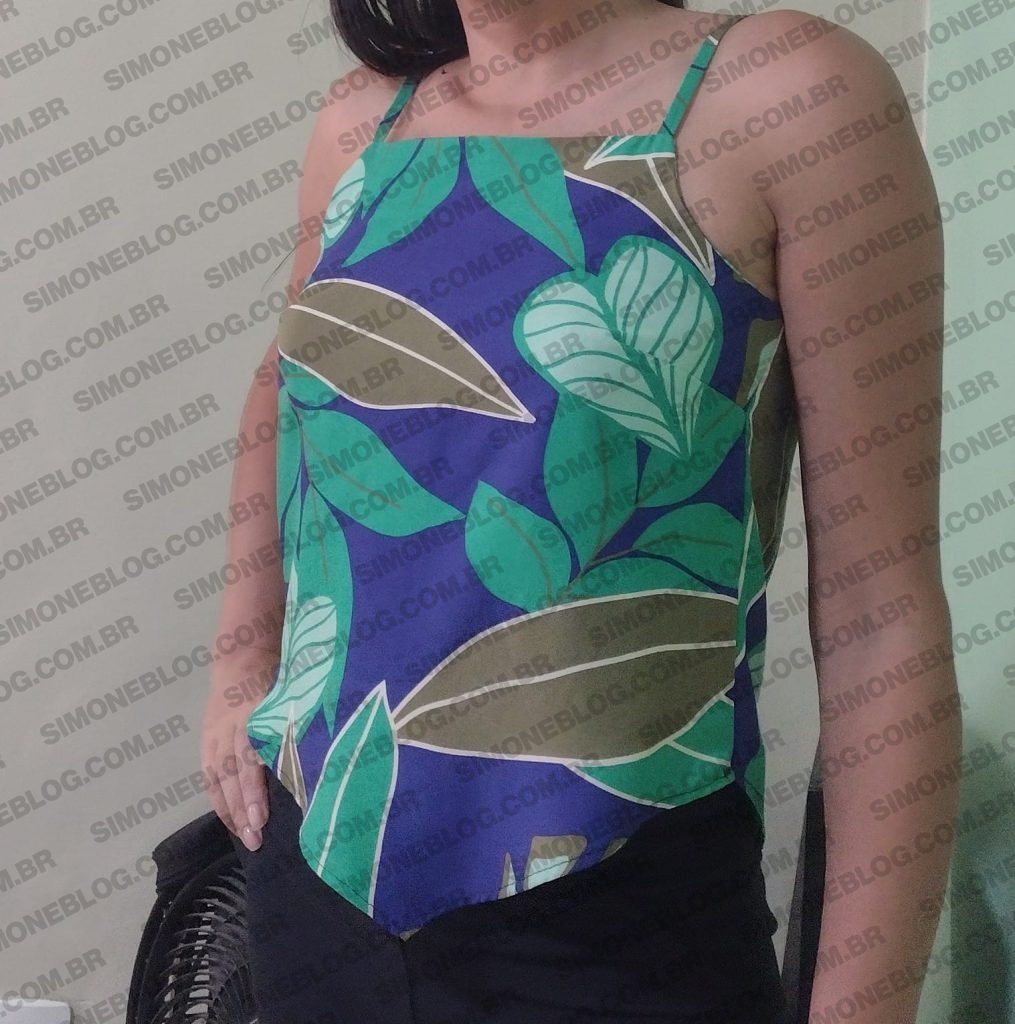
To create the pattern, I used a size Small base without bust darts. For the neckline, I lowered 7 cm, drawing a perpendicular line to the middle of the shoulder. From the waist down, I lowered 8 cm, and from the hip line up, I raised 2.5 cm. This measurement doesn’t give a very sharp point like in the image, and at the end of the post, there’s a picture I made in size Small. The armhole design is straighter in the real pattern, and I made it more curved.
At the bust dart apex, I made a 1 cm adjustment on each side, fixed the side seam, and lowered 8 cm, drawing a line. The waist dart won’t be sewn, and will instead be used for ease.
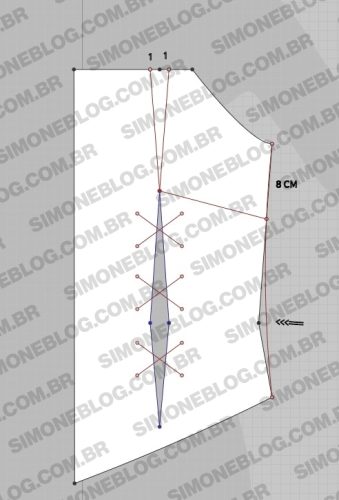
In the armhole, I also made a 1 cm adjustment on each side, measured from the middle of the armhole.
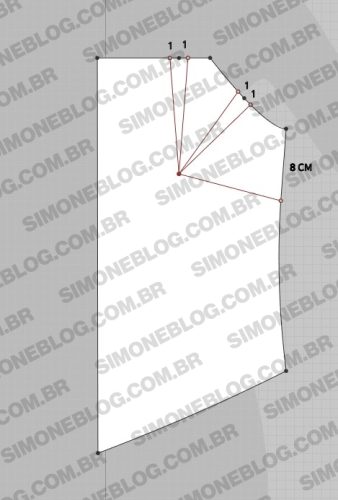
I transferred the adjustments to the line marked at 8 cm, and then fixed the alterations.
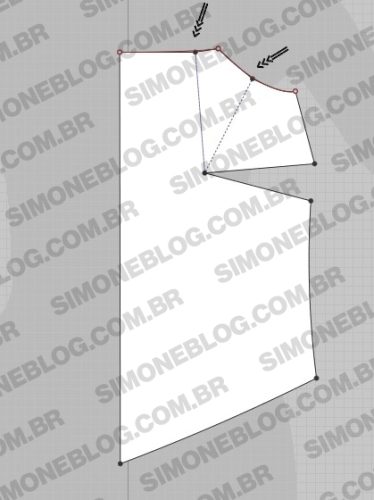
I removed the dart from the overlap position.
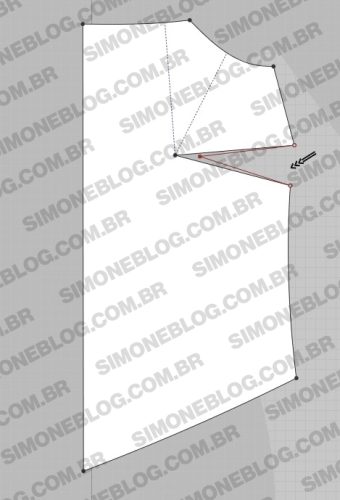
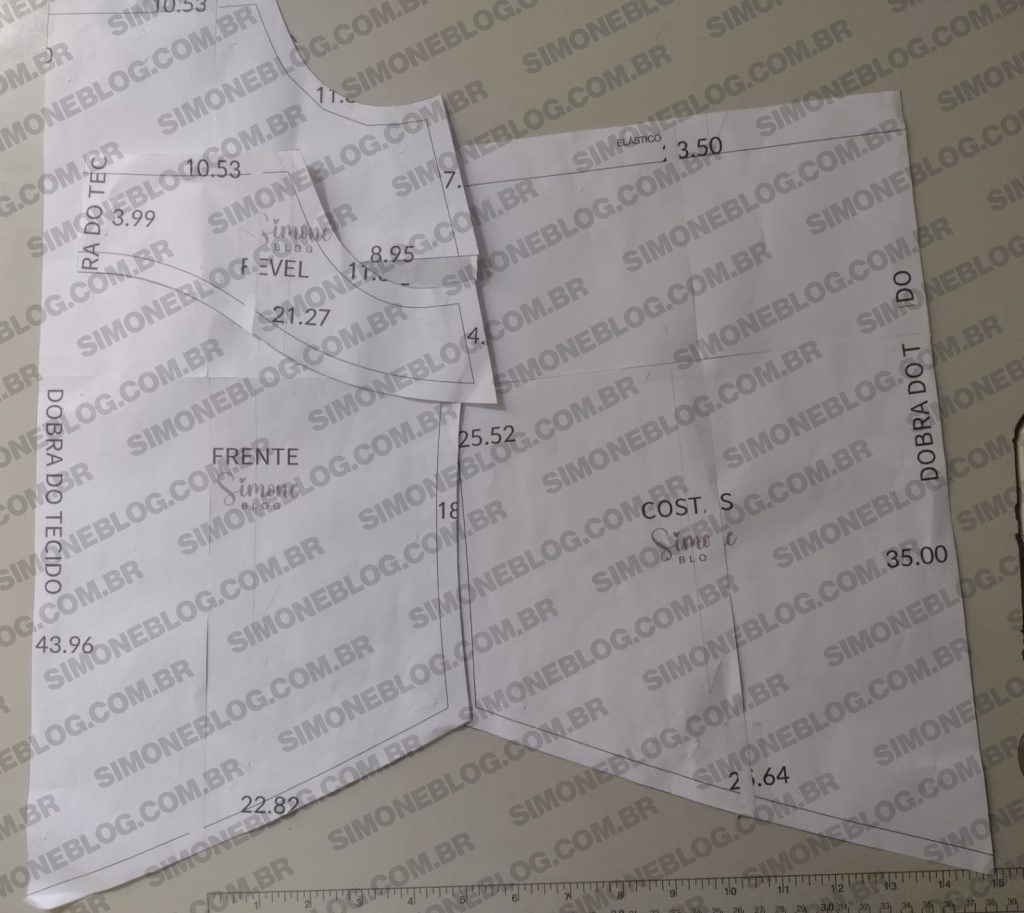
Since the pattern is in 1/4 scale, it will be cut on the fabric fold. I added seam allowances and marked the grainline direction.

For the back pattern, I drew a horizontal line from the armhole to the center back. Below the waist, I lowered 8 cm, and above the hip line, I raised 2.5 cm.
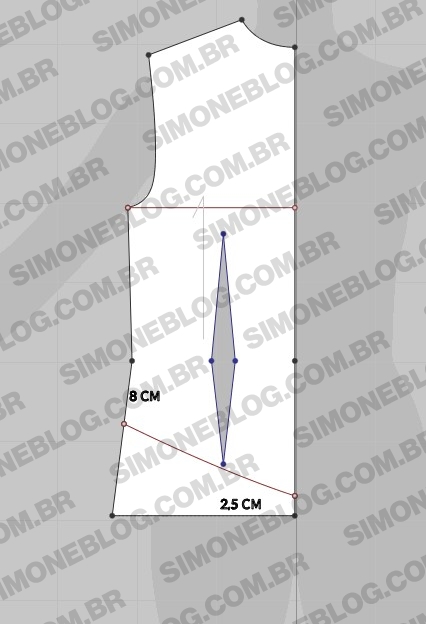
I adjusted the side seam, and the waist dart won’t be sewn, but used as ease.

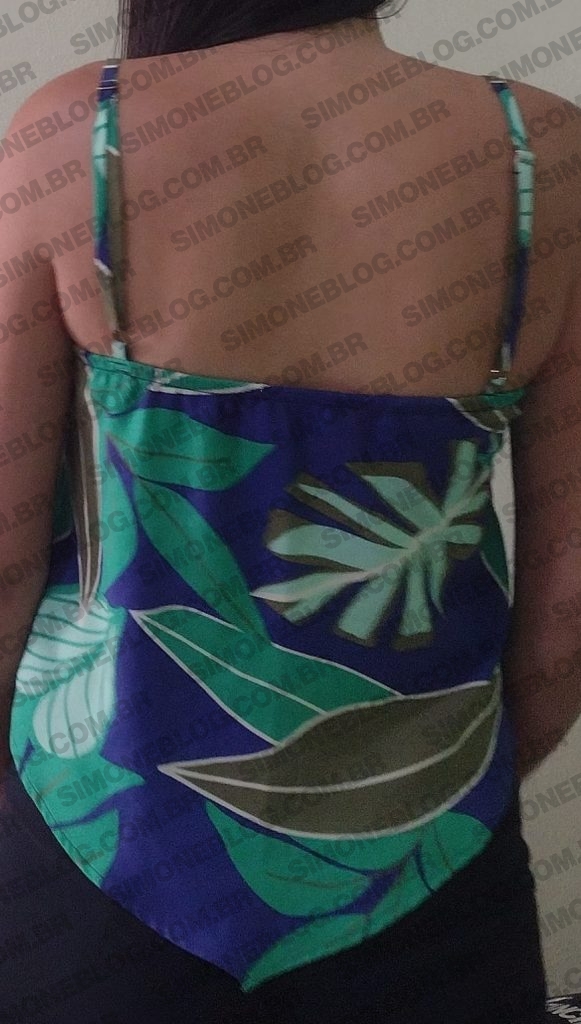
I added an extra 2.5 cm for ease to apply the elastic.

The back pattern is also in 1/4 scale, so it will be cut on the fold, and I added seam allowances.
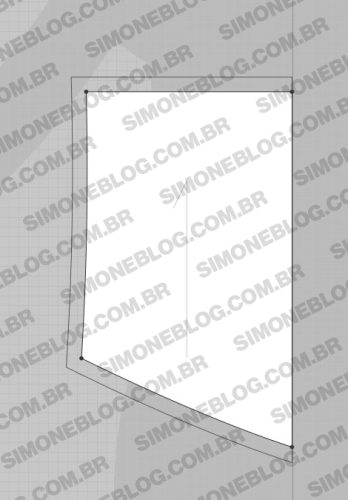
For the strap in size Small, I used a 35 cm bias strip of the same fabric.
Below is the 3D image I created.
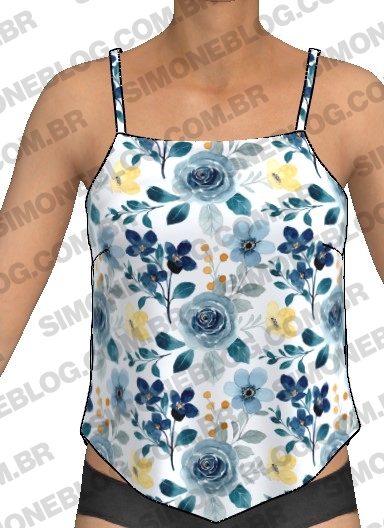
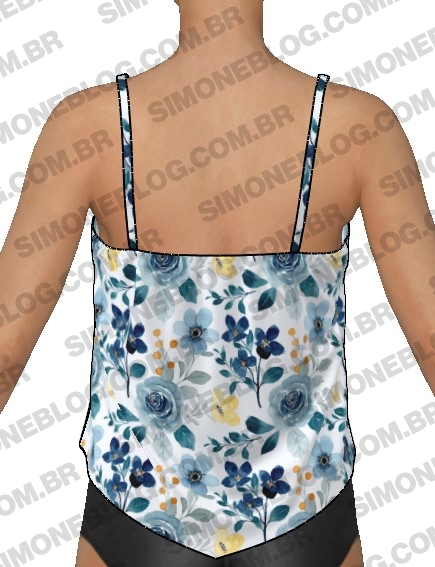
After that, I printed it.
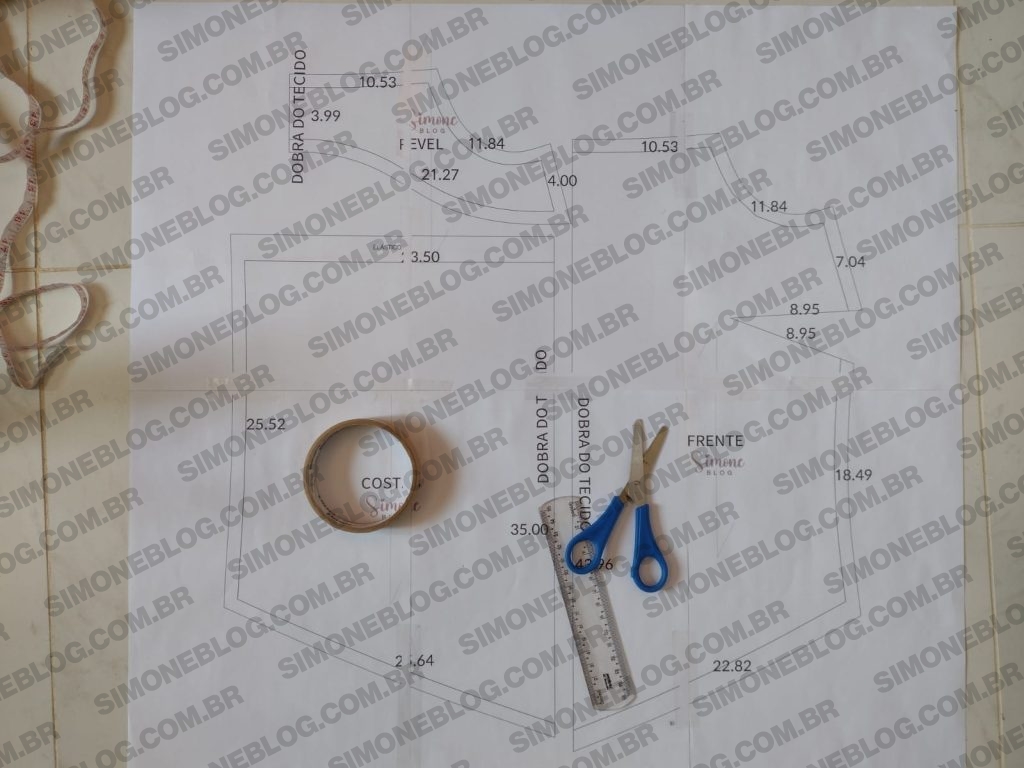
And this was the result of the 3D model in size Small.
I hope this tip helped, and I’ll see you in the next post.





Deixe um comentário