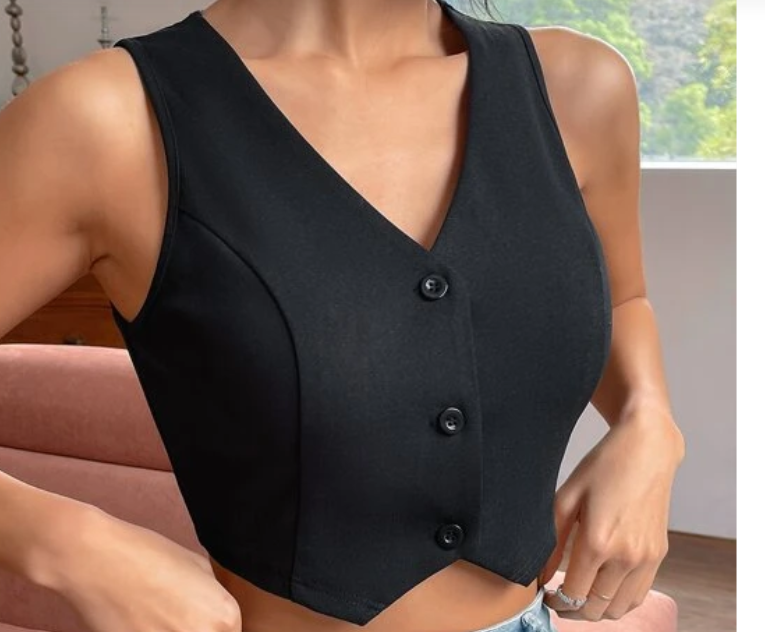
Hello everyone, how are you? Today’s tip is a fitted vest inspired by a Shein design stylish and beautiful.
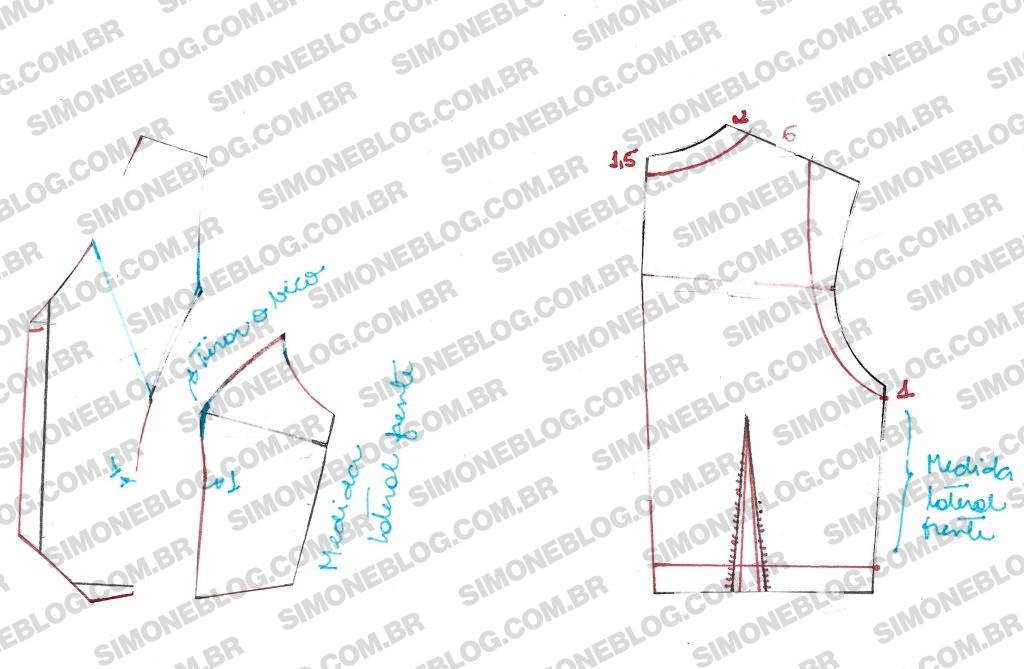
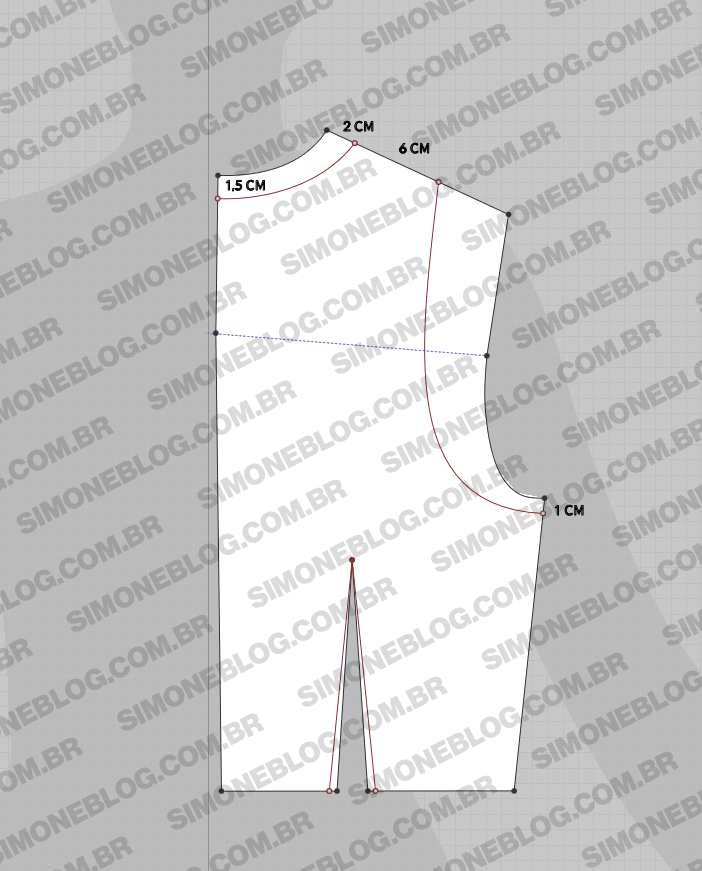
To create the front pattern, I lowered the neckline by 12 cm. I also tested with 14 cm, which worked well too. I marked 2 cm on the shoulder and then 6 cm for the strap width. For the armhole, I lowered it by 1 cm, and for the button placket, I marked 2 cm. I raised 4 cm from the waist upwards, marked the middle before the dart, and lowered it by 1.5 cm to shape the vest. On the side, I raised it by 2 cm.

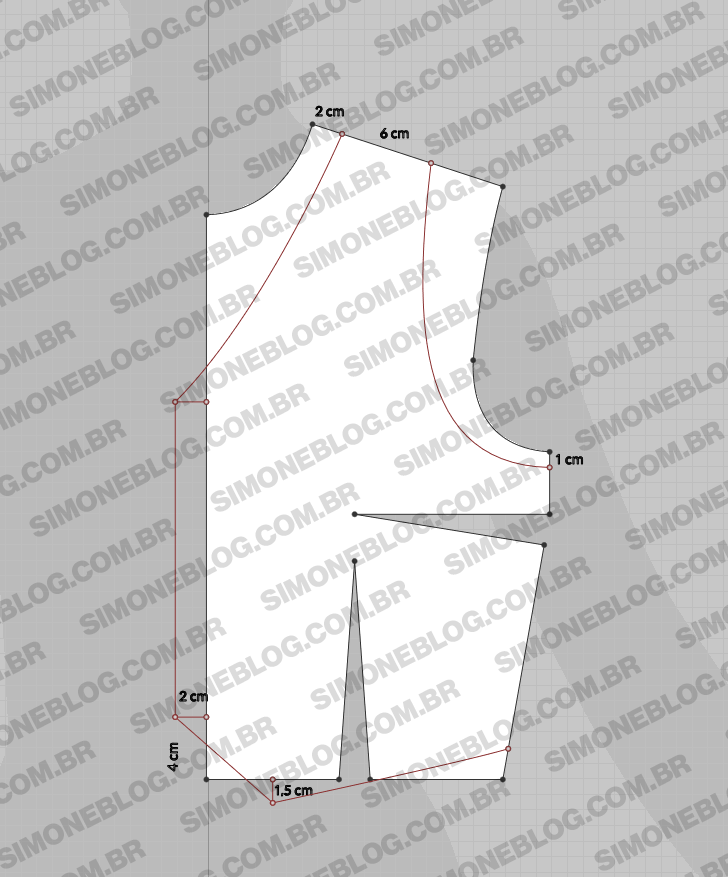
Since the model is fitted, I made a 1.5 cm adjustment on the neckline and 2 cm on the armhole (remember to wear your base pattern and adjust as needed for your body).
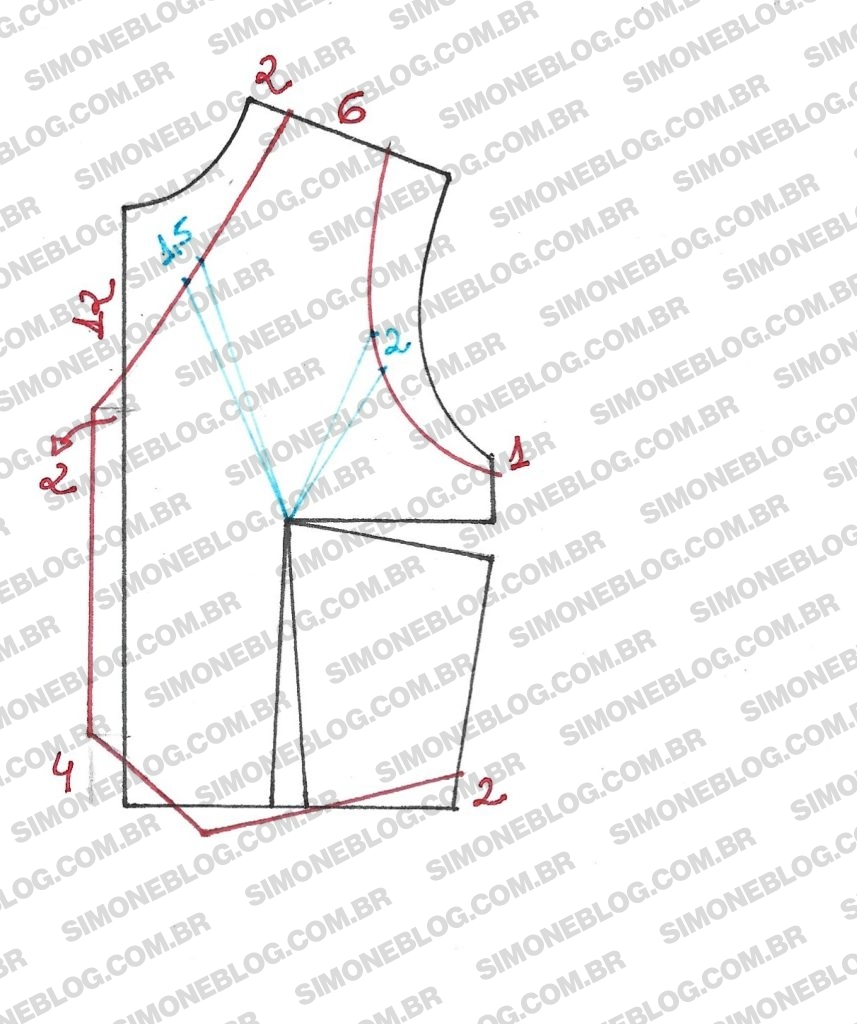
Transfer the adjustments to the bust dart and ensure the fit is accurate.
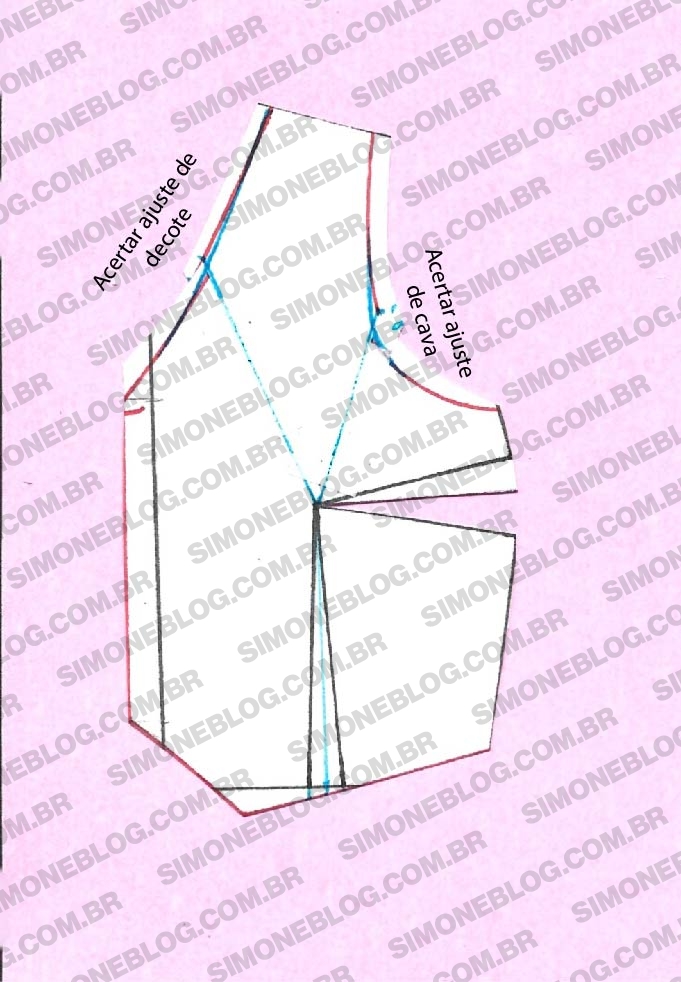
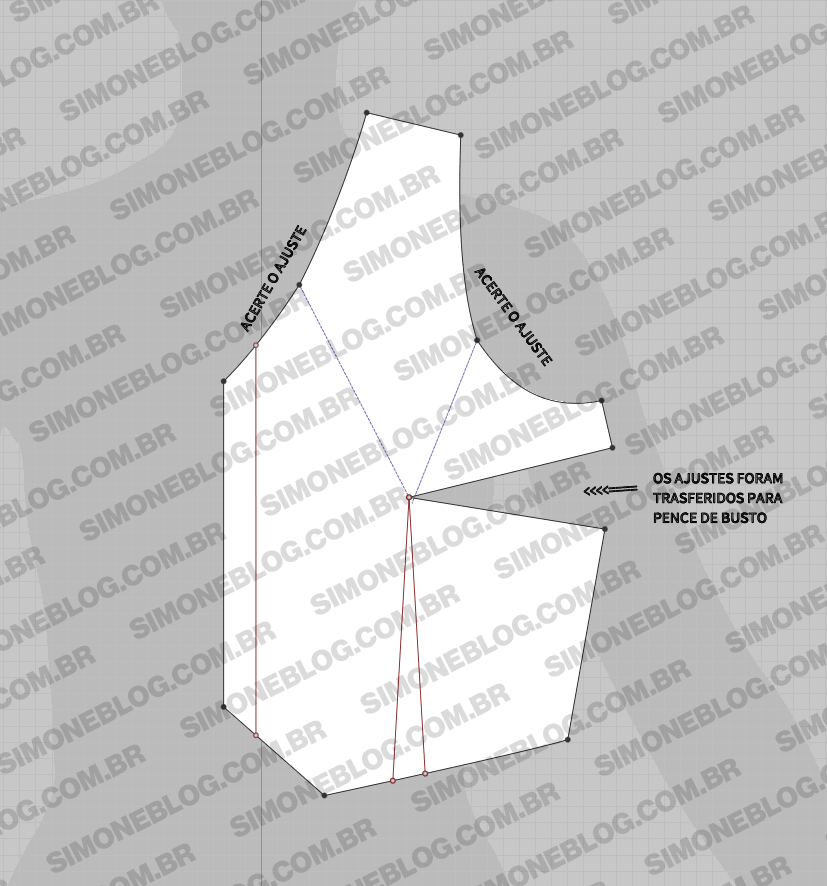
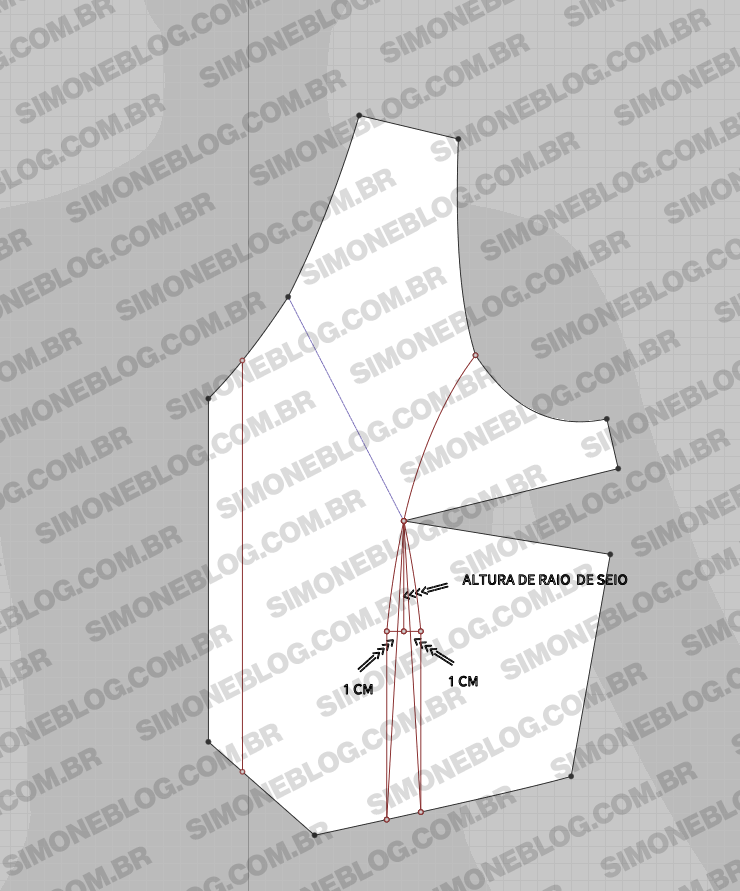
Mark the bust radius and add 1 cm if your dart is 2 cm like mine; if it’s 3 cm, mark the adjustment with 1.5 cm as shown in the images below. Then, draw the princess seam line.
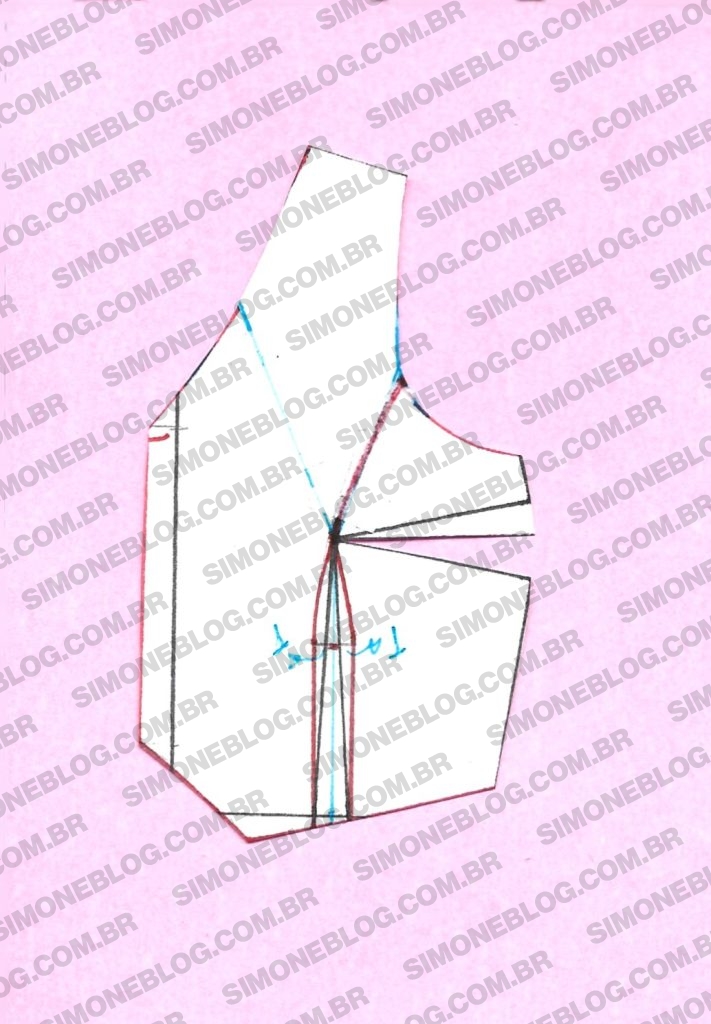
Cut out and close the bust dart. REMEMBER to close the dart before cutting, so the vest’s shape and measurements are correct.
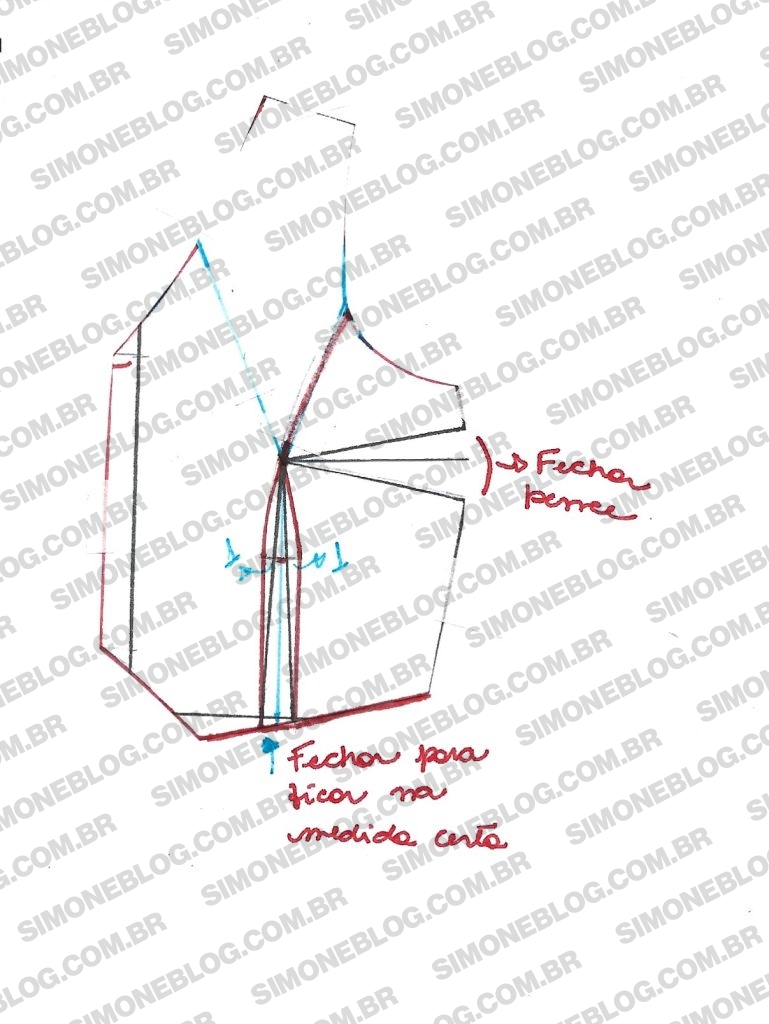
Remove any excess and check the measurements.
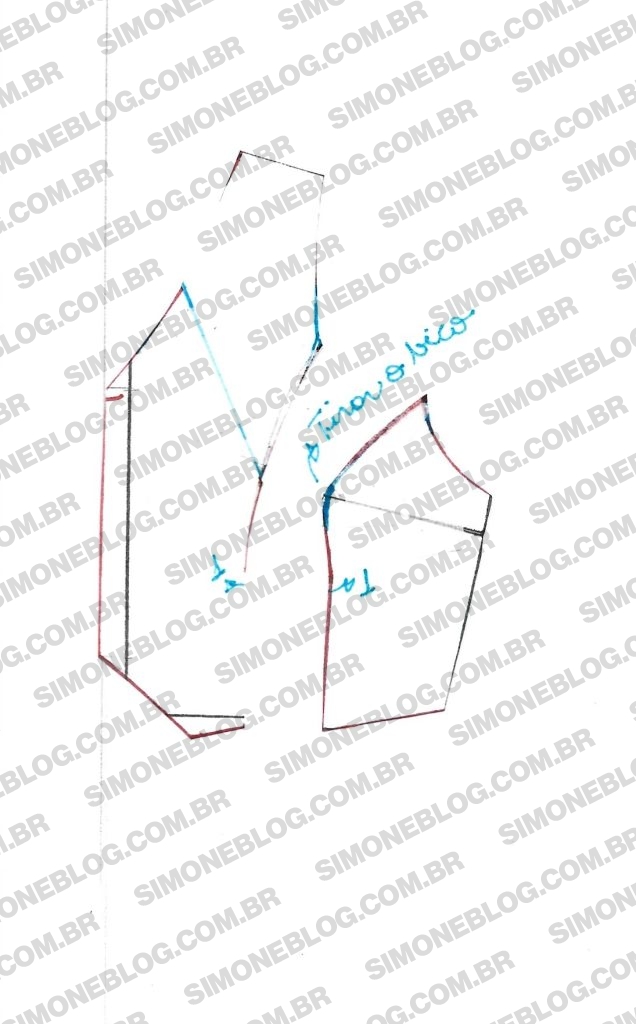
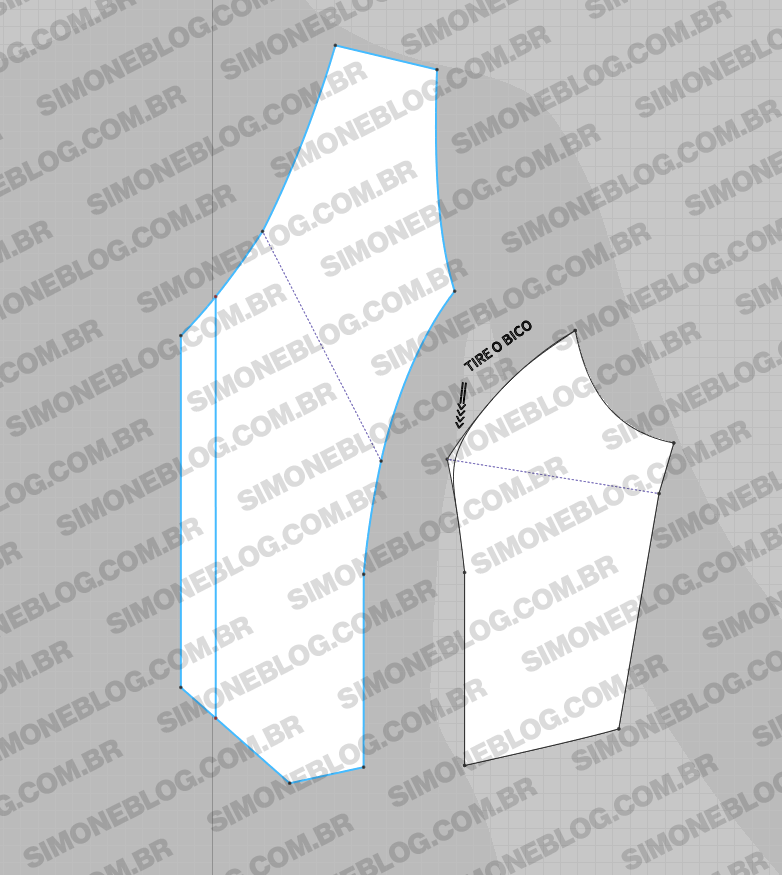
In my base pattern, I needed a 1.5 cm adjustment just below the shoulders to eliminate excess fabric and keep the vest snug. I took in 1 cm at the waist and adjusted the dart width to 0.5 cm on each side.
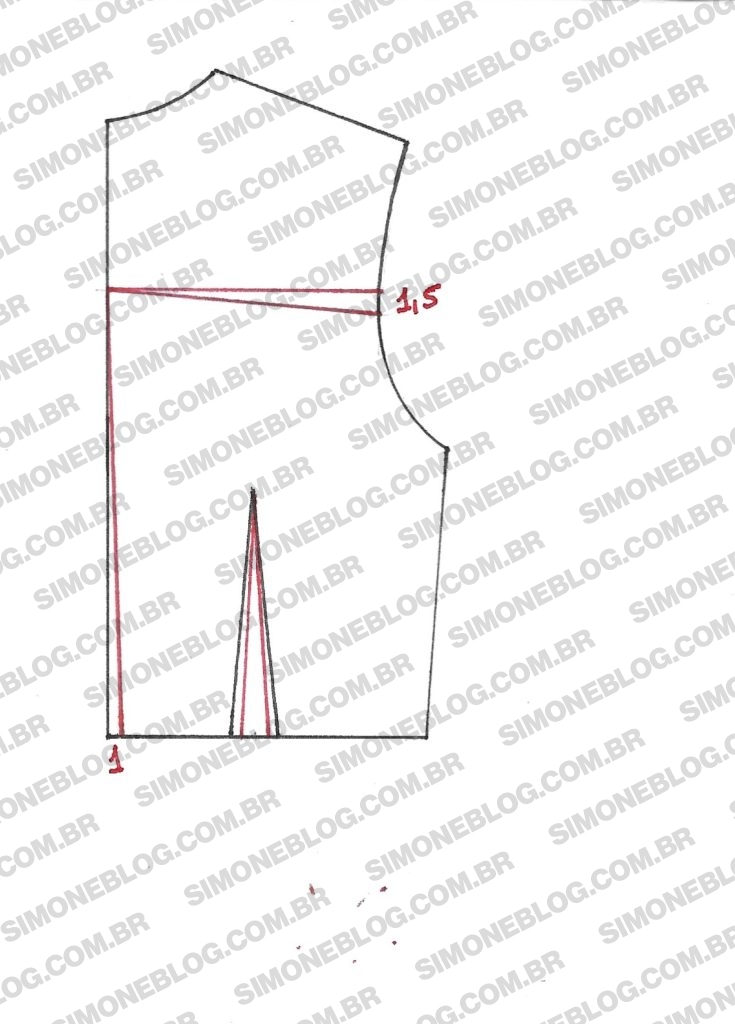
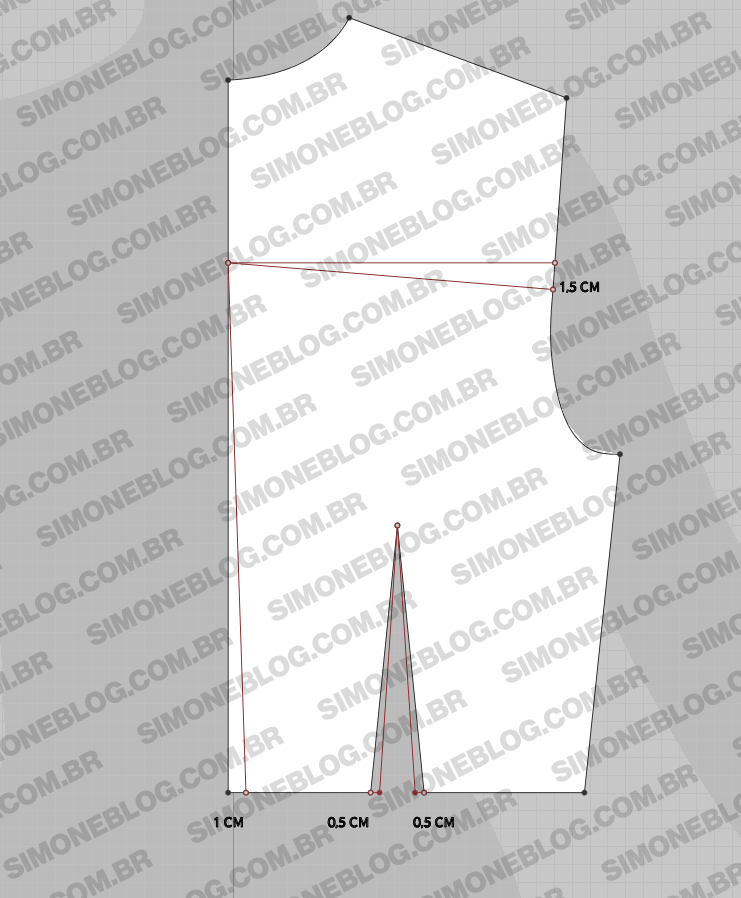
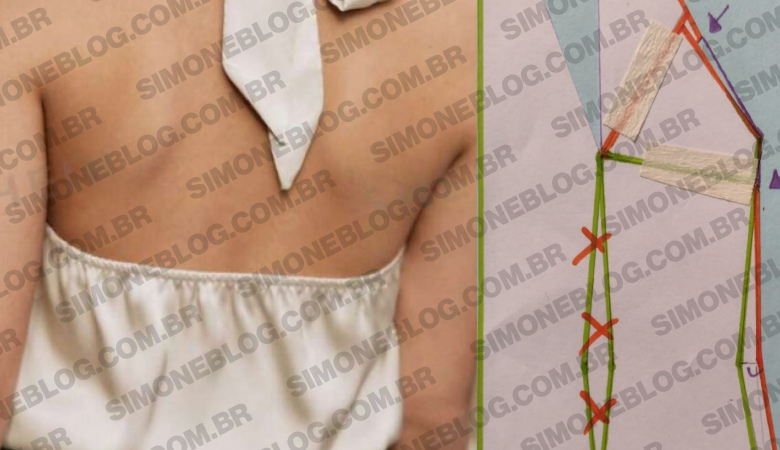
NFor the back, I lowered the neckline by 1.5 cm, marked 2 cm on the shoulder like in the front, and kept the strap width at 6 cm. I also lowered the armhole by 1 cm and matched the side seams to the front before cutting.
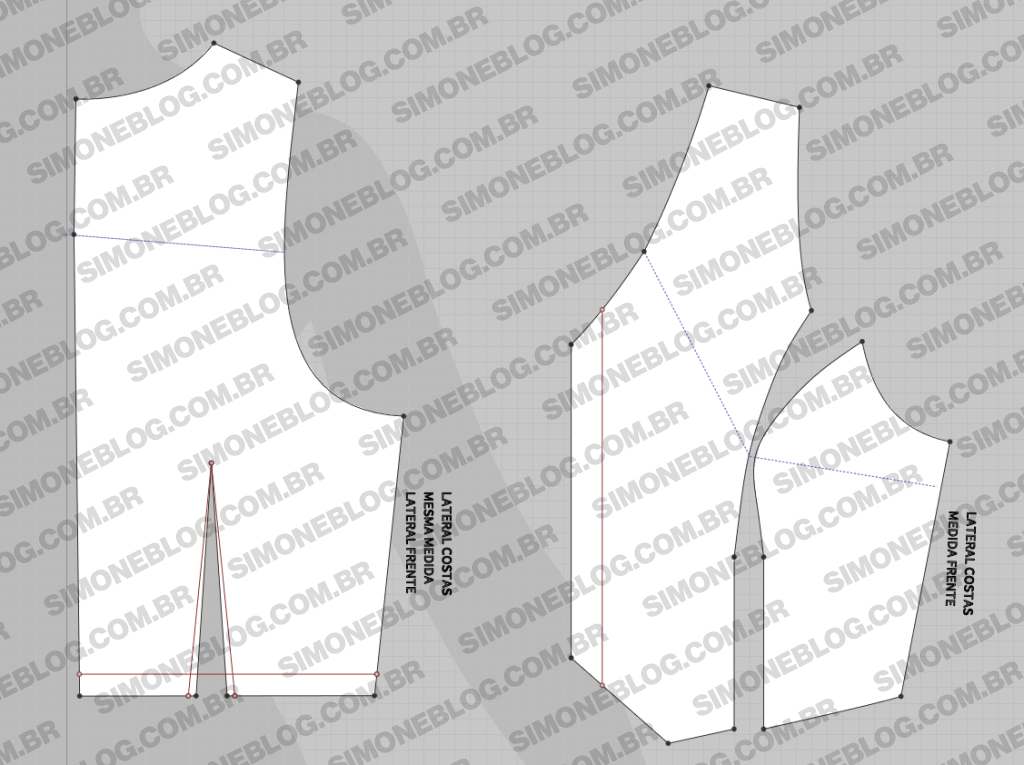
This is how the final pattern turned out.
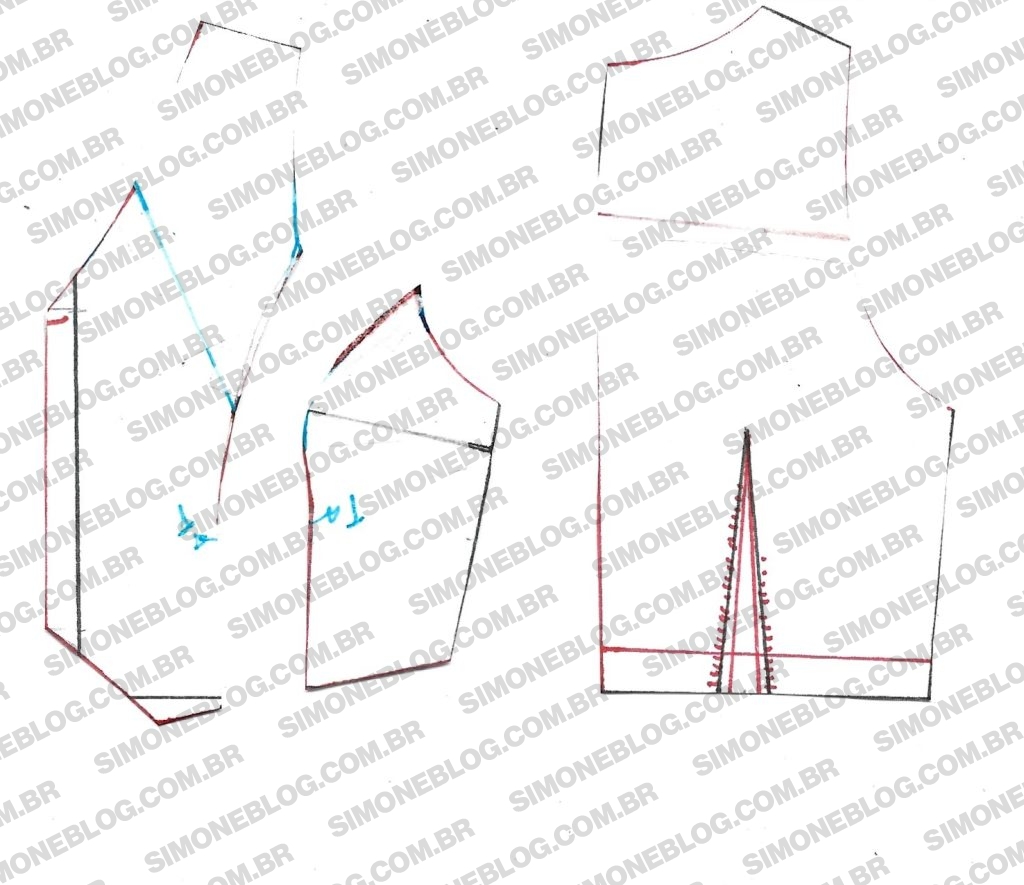
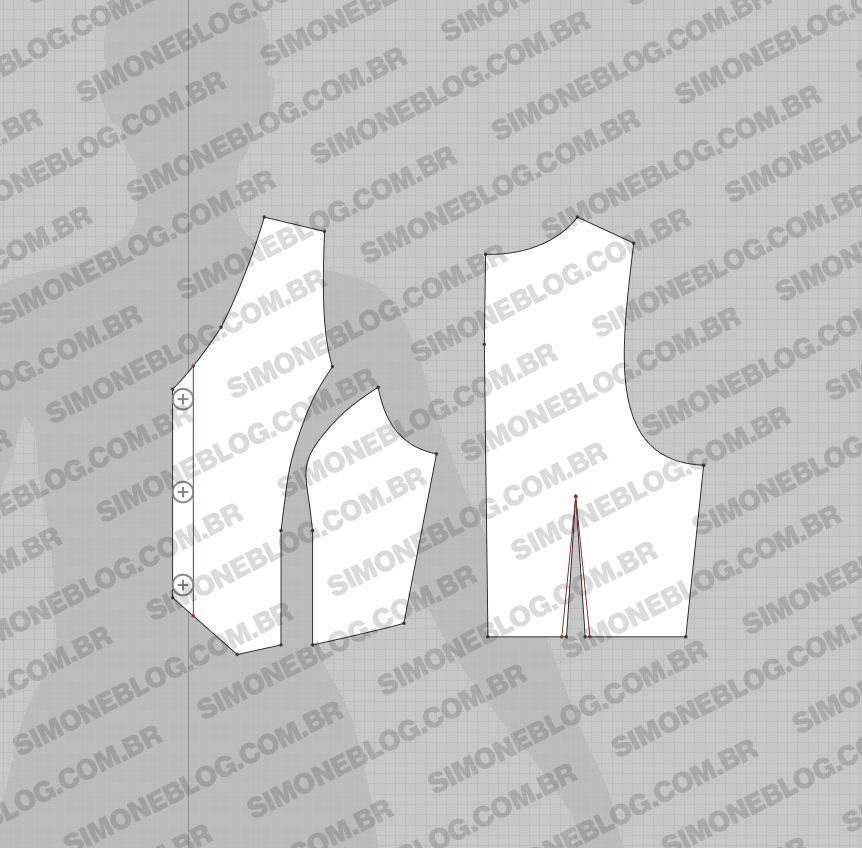
It was tested on a size 40 avatar with measurements based on my size 40 base pattern.
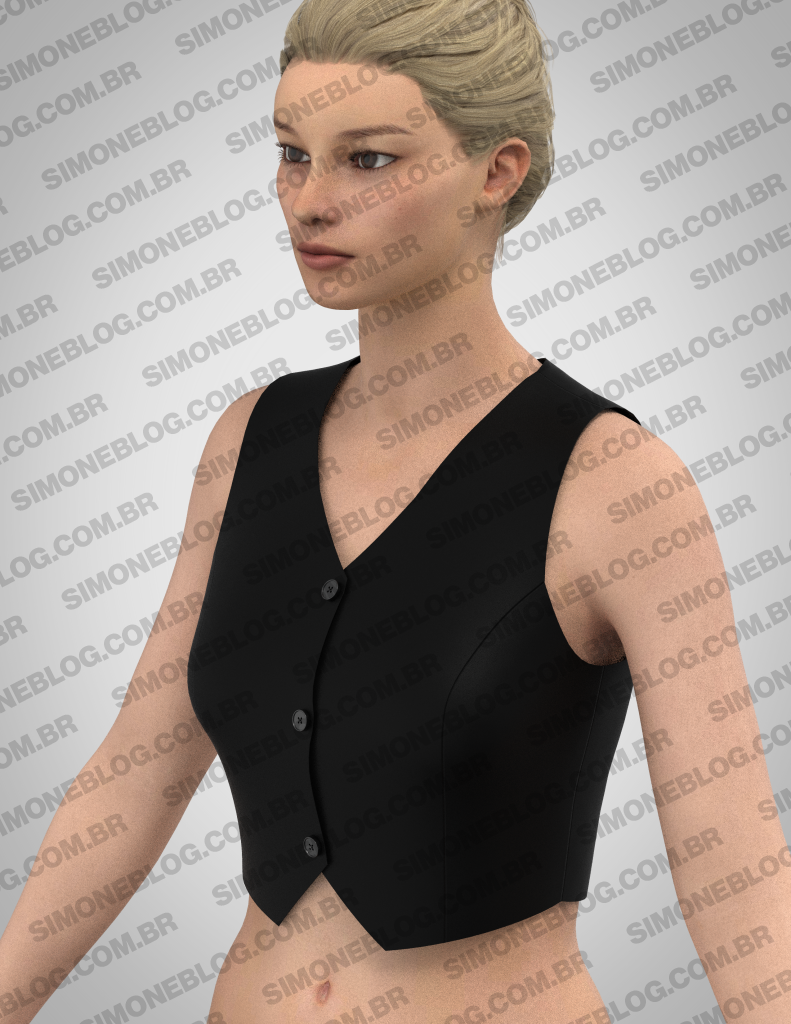

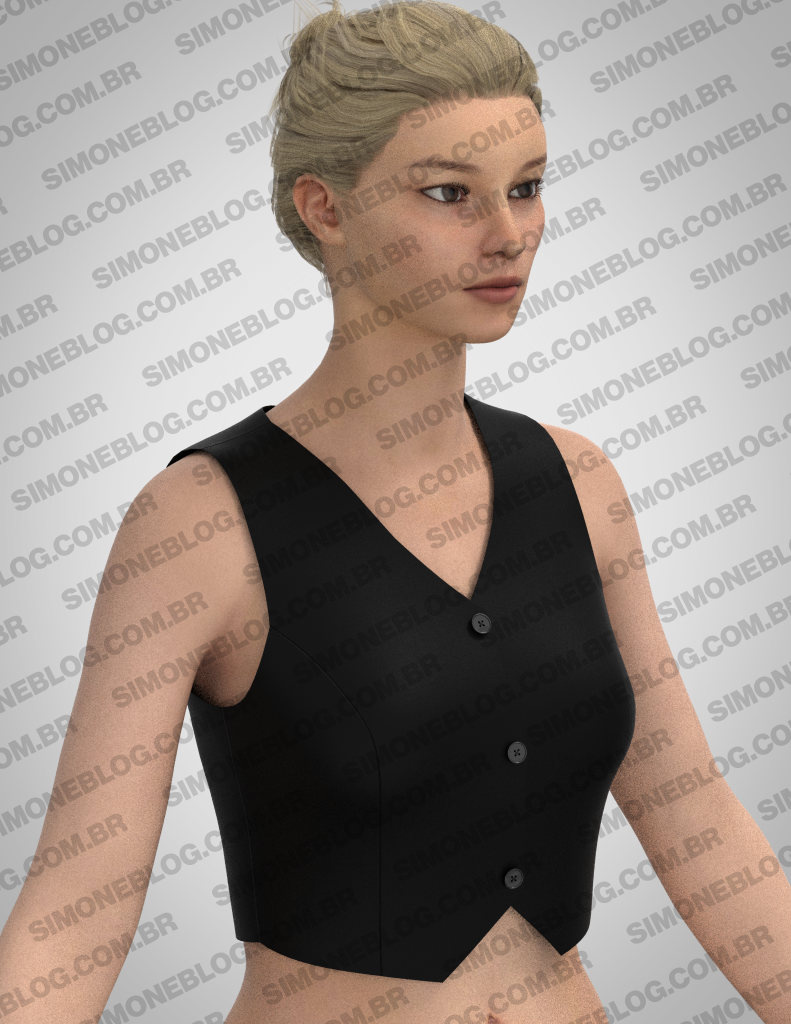
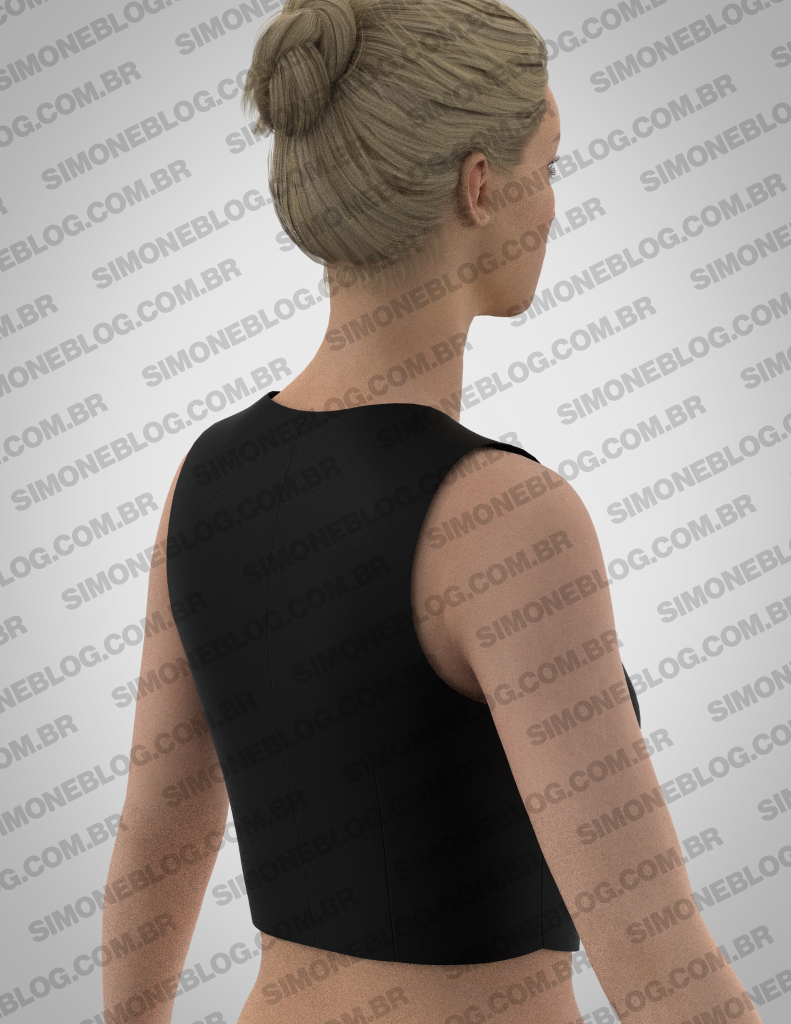




Deixe um comentário