Interpreting a clothing design to create a pattern is a vital skill for anyone interested in sewing and fashion design. By following these steps, you’ll be able to turn a sketch or a photo of a garment into an accurate pattern that can be used to cut and sew fabric.
1. Visual Analysis of the Design
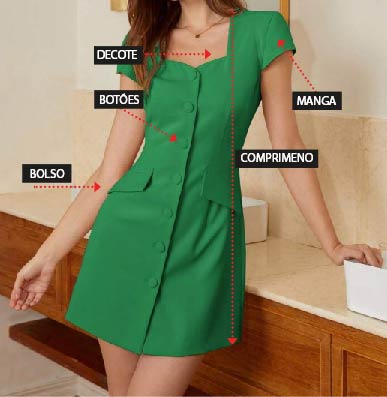
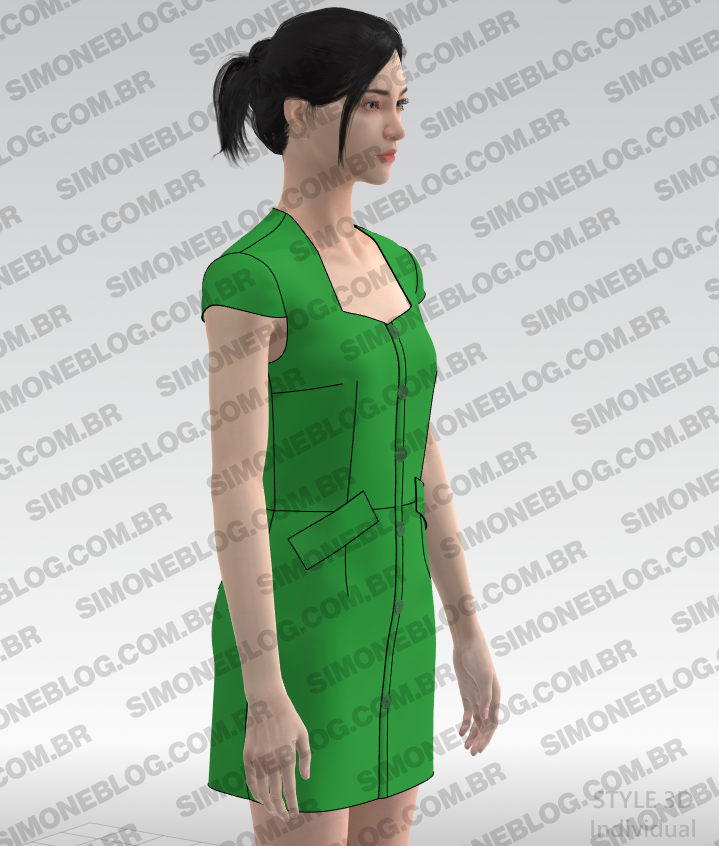
- Sketch or Photo: Start by closely observing the sketch or photo of the clothing design you want to replicate. Pay attention to details such as style, length, shape, and design features (e.g., pockets, zippers, buttons, gathers, pleats, etc.).
- Structural Details: Notice the garment’s structural elements like seams, darts, and adjustments. These features directly influence how the pattern is constructed.
2. Dividing the Garment into Pieces
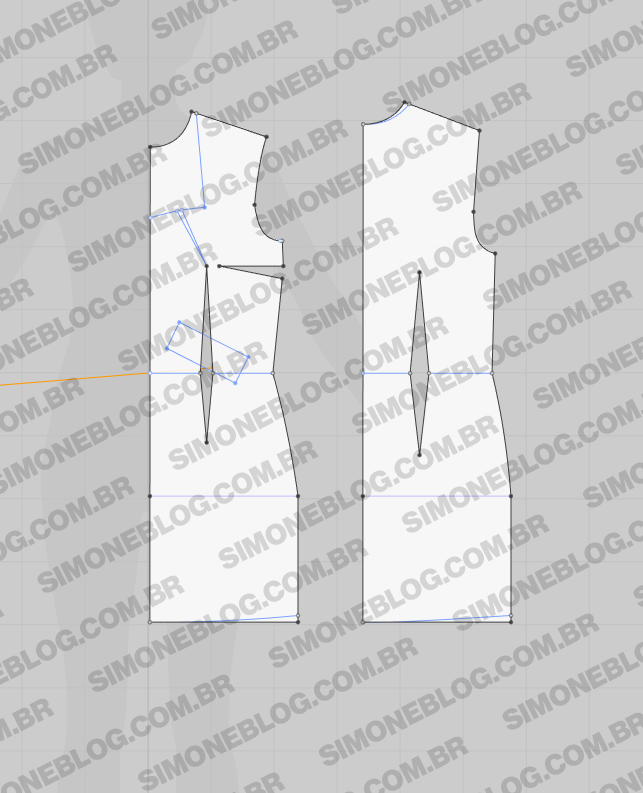
- Front and Back: Identify and separate the front and back pieces of the garment. These are the basic components of any pattern.
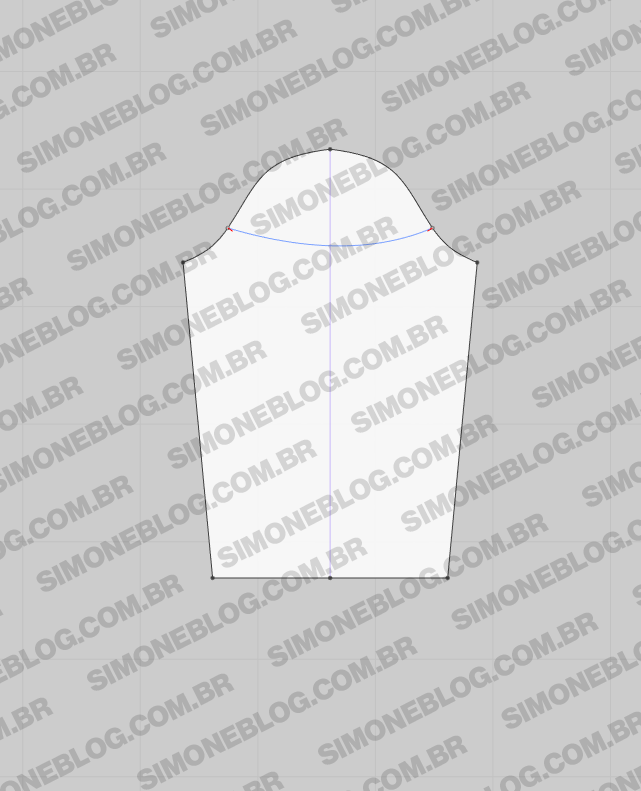
- Sleeves and Other Details: Identify sleeves, collars, cuffs, waistbands, and other additional pieces. Each of these needs to be considered and drawn separately.

3. Measurements and Proportions
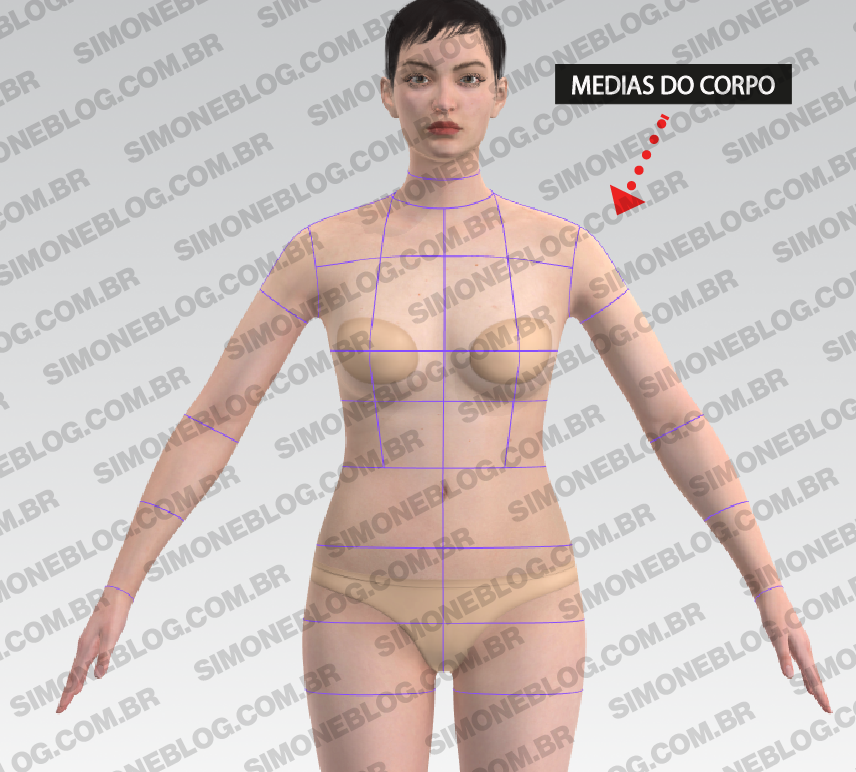
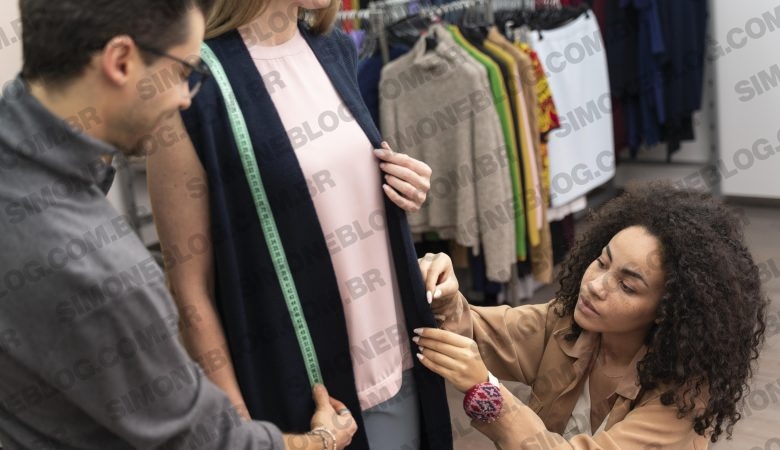
- Size and Measurements: Use a measuring tape to take key body measurements or measurements from a similar garment that fits well. Essential measurements include bust, waist, hips, body length, sleeve length, and shoulder width.
- Proportions: Examine the proportions of the clothing design. Make sure that the measurements are distributed proportionally across the pattern pieces.
4. Drawing the Basic Pattern
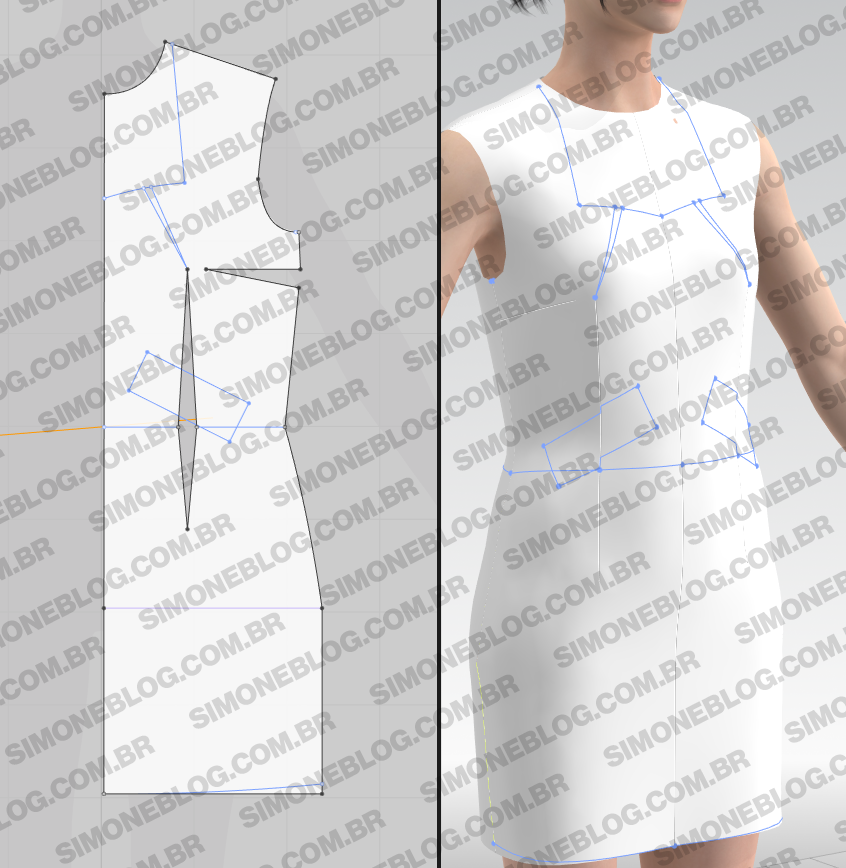
- Flat Sketch: Begin by drawing a flat pattern that includes the front and back of the main garment pieces. Use pattern paper or design software to sketch the main seam and cut lines.
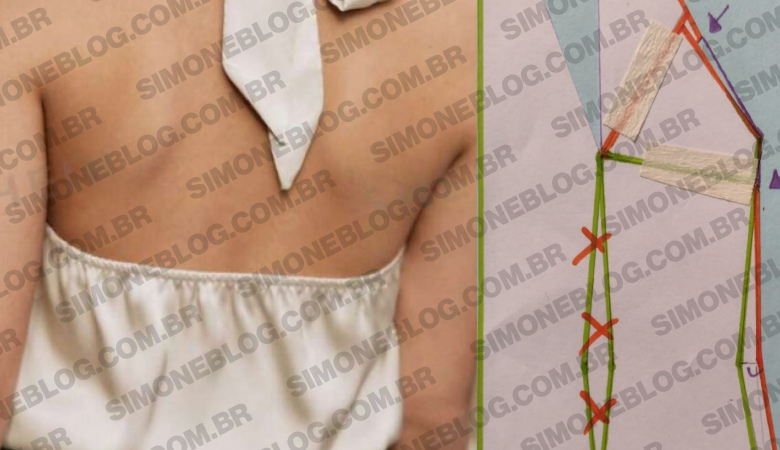
- Adjustments and Details: Add adjustment lines, darts, and details such as pockets or cutouts to the basic drawing.
5. Adding Seam Allowances
- Seam Allowances: Add seam allowances around the pattern pieces. Typically, 1.5 cm (5/8 inch) is used for standard seams, but this can vary depending on the type of seam or fabric.
- Fold Lines and Notches: Clearly mark fold lines and notches that will help in assembling the pieces.

6. Checking and Adjusting
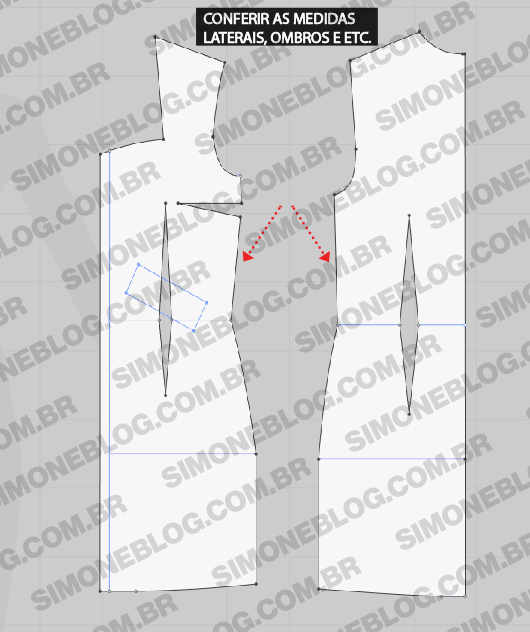
- Pattern Review: Review the entire pattern to ensure all pieces fit together correctly. Compare the pattern with the initial measurements and proportions to verify accuracy.
- Necessary Adjustments: Make any necessary adjustments to the pattern to fix discrepancies or improve fit and comfort.
7. Testing the Pattern
- Prototyping: Cut and assemble a prototype using test fabric (such as muslin). This step is essential to check the garment’s fit and appearance before cutting the final fabric.
- Final Corrections: Make final adjustments to the pattern based on feedback from the prototype. Ensure all changes are documented on the final pattern.
8. Preparing the Final Pattern
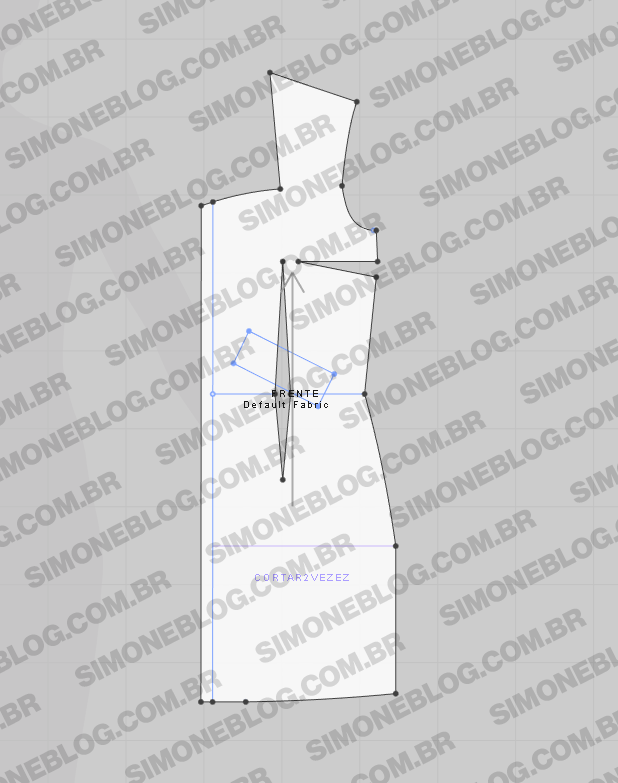
- Final Pattern: Draw the final pattern on durable paper or pattern material for long-term use.
- Labeling: Label all pattern pieces with important information such as front, back, sleeves, grainline, and any additional instructions.
Interpreting a clothing design to create a pattern is a detailed process that requires attention to detail and patience. By following these steps, you can turn any clothing design or photo into a usable pattern, allowing you to create custom-fitted and personalized garments. Practice regularly to improve your skills.




Deixe um comentário