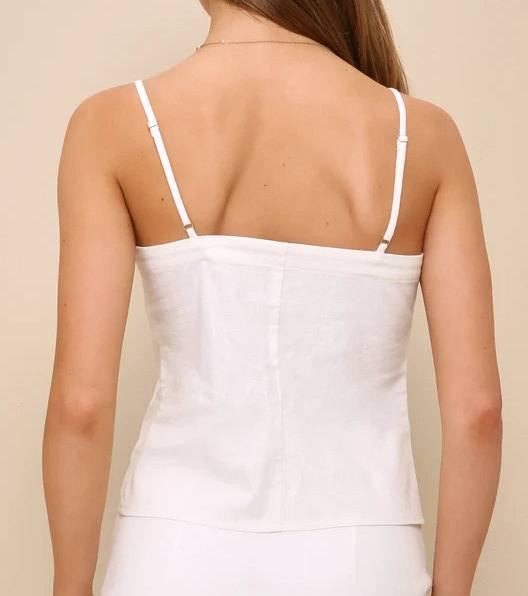
Hello everyone, how are you? Today’s tip is for a beautiful button-front top. At the end of the post, I’ve included some inspiration for you to try making your own version.

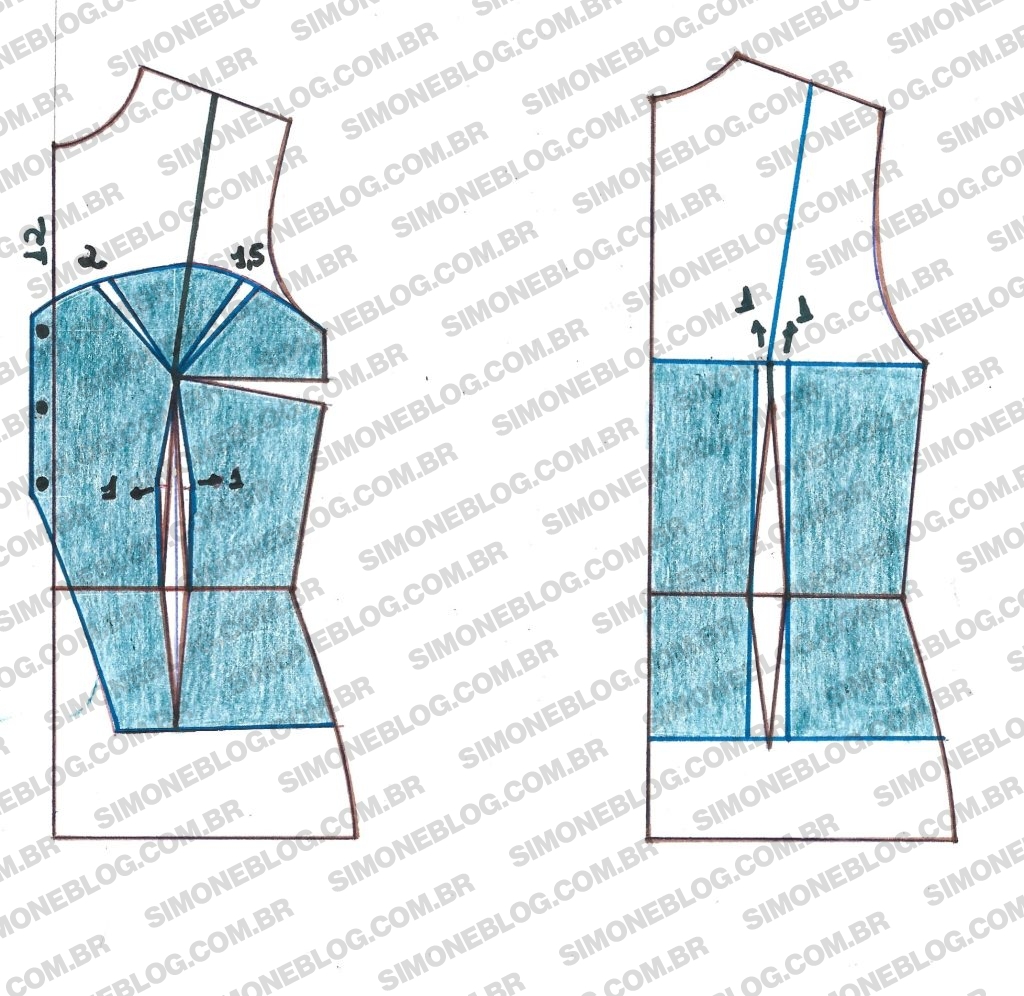
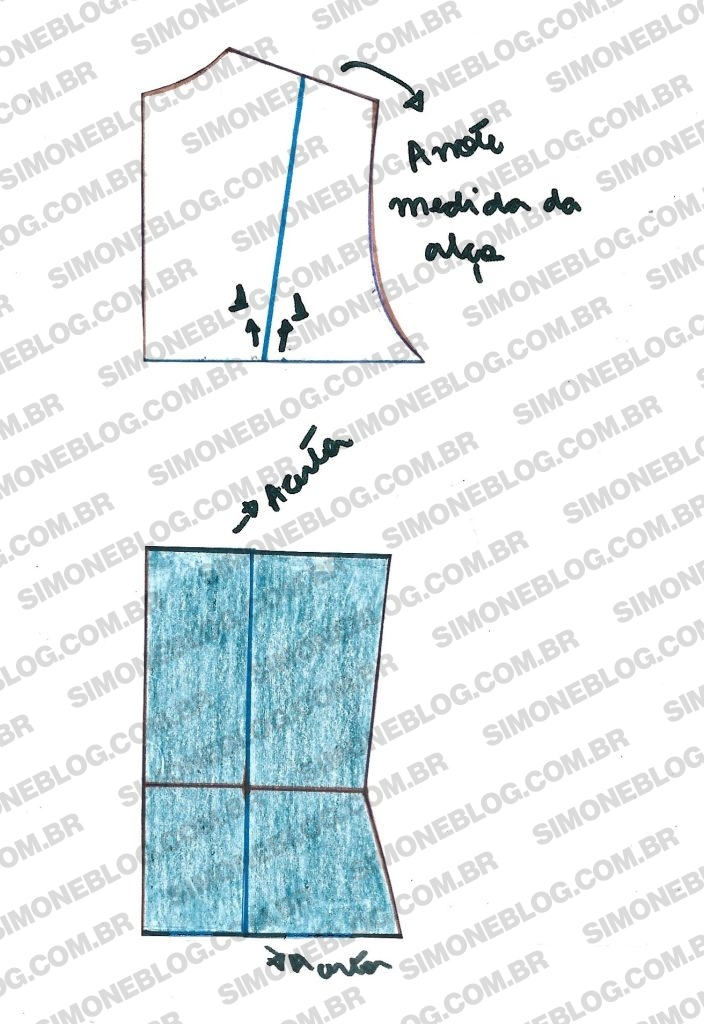
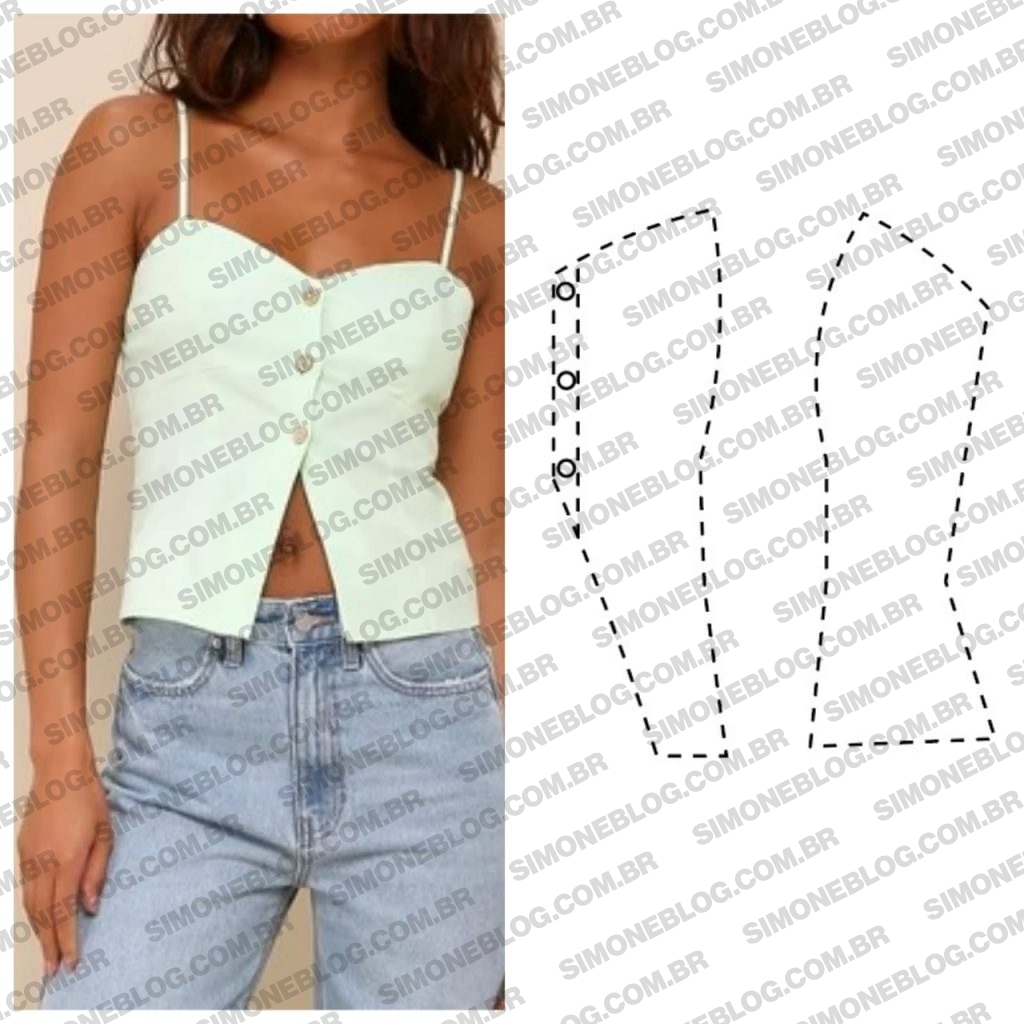
To create the front pattern, I lowered the neckline by 12 cm and connected a line to the middle of the shoulder. I made a 2 cm adjustment and another of 1.5 cm. I didn’t note it on the pattern, but the placket was 1.5 cm. I marked the bust radius and made a 1 cm adjustment on each side. The length of the top was set at 11 cm below the waist, though I didn’t mark it on the pattern because this measurement is optional depending on preference.
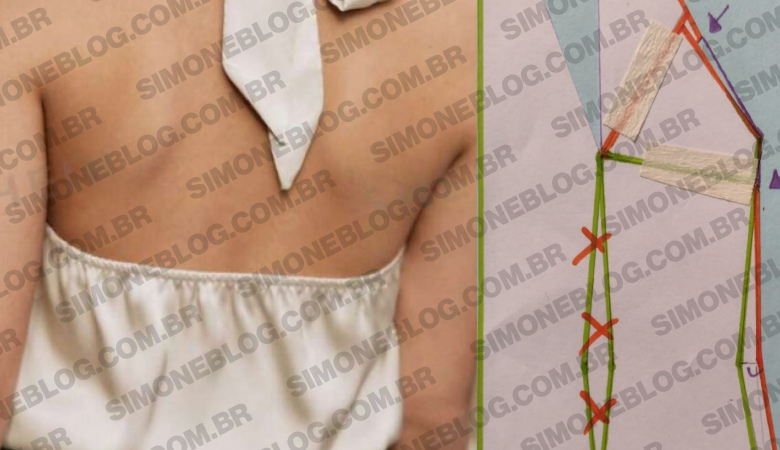
For the back, I marked the middle of the shoulder and traced a line to the armhole. Then I connected the dart to the armhole line and made a 1 cm adjustment on each side, as my front dart was 2 cm. I continued the dart down to the top’s final length of 11 cm.
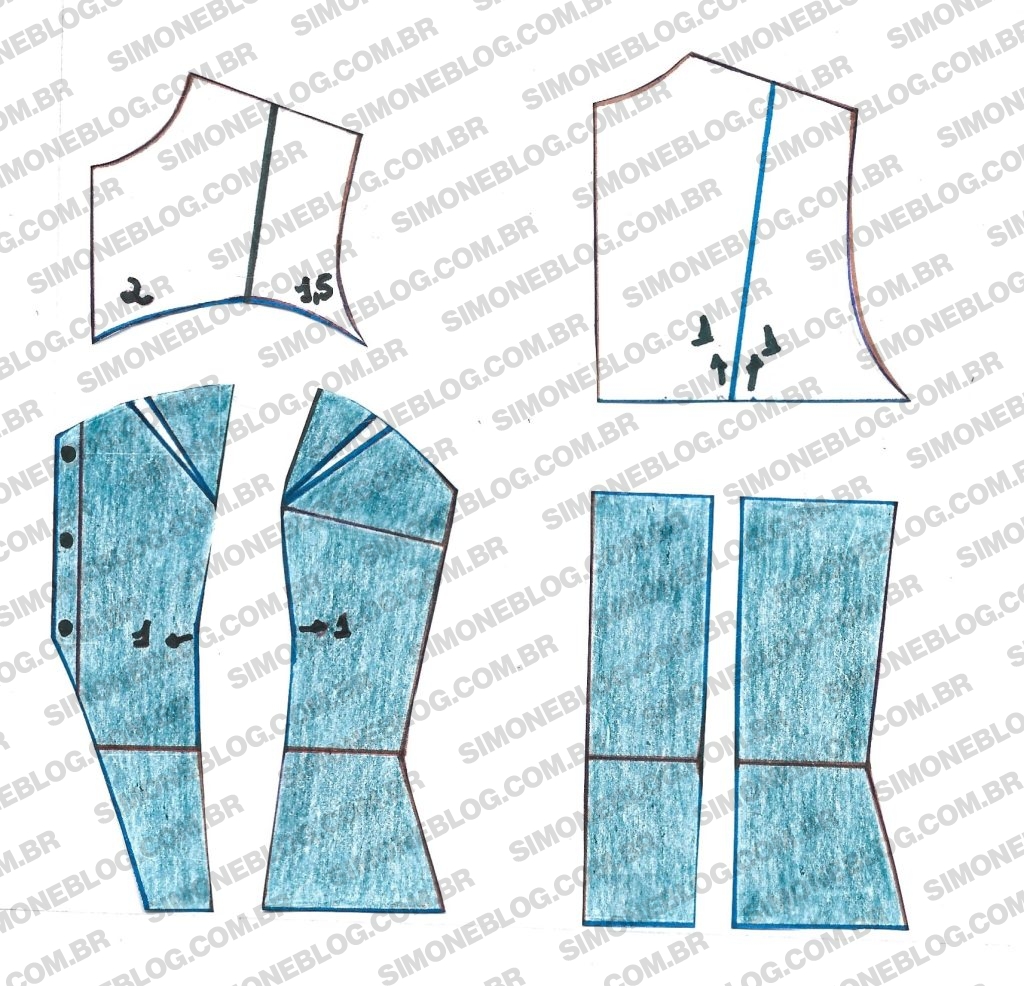
Cut the pattern following the image below
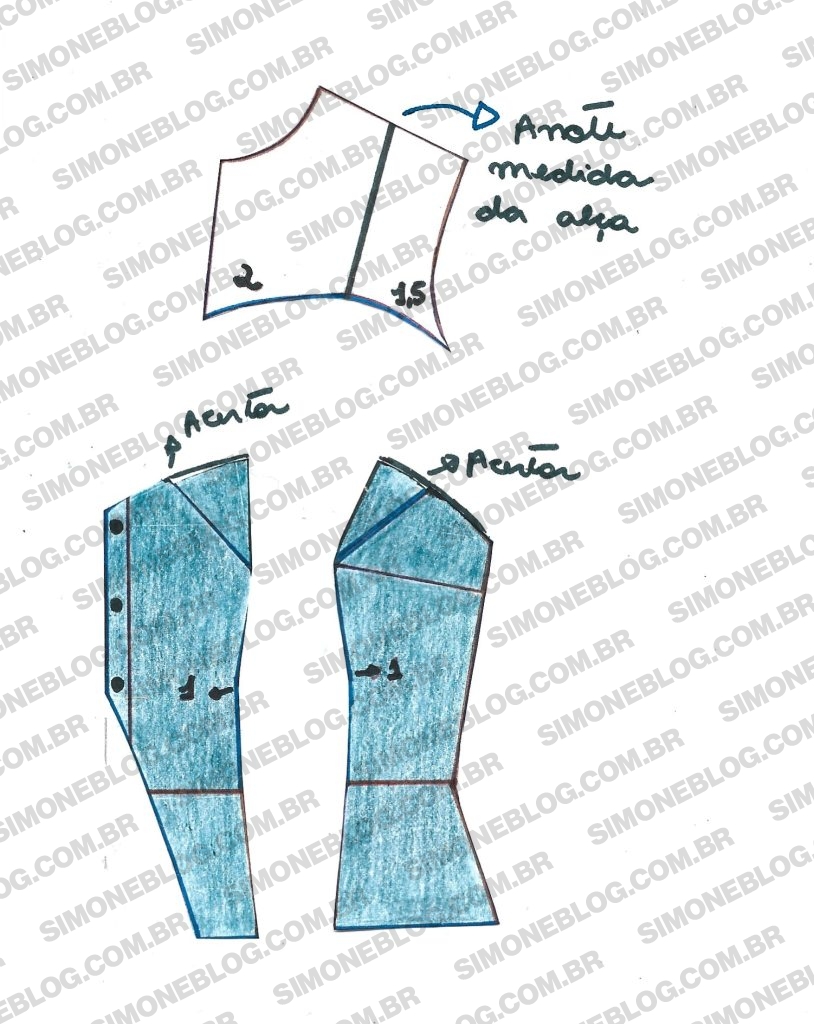
The straps are adjustable in the image, but if you prefer non-adjustable straps, simply note the measurement. After closing and perfecting the adjustments, if you opted for non-adjustable straps, combine the front and back strap measurements to create your strap. I then joined the back pieces and adjusted the pattern at both the top and the hemline.
Below, you’ll find more photos for inspiration, showing different details but with openings similar to the image that inspired this pattern.

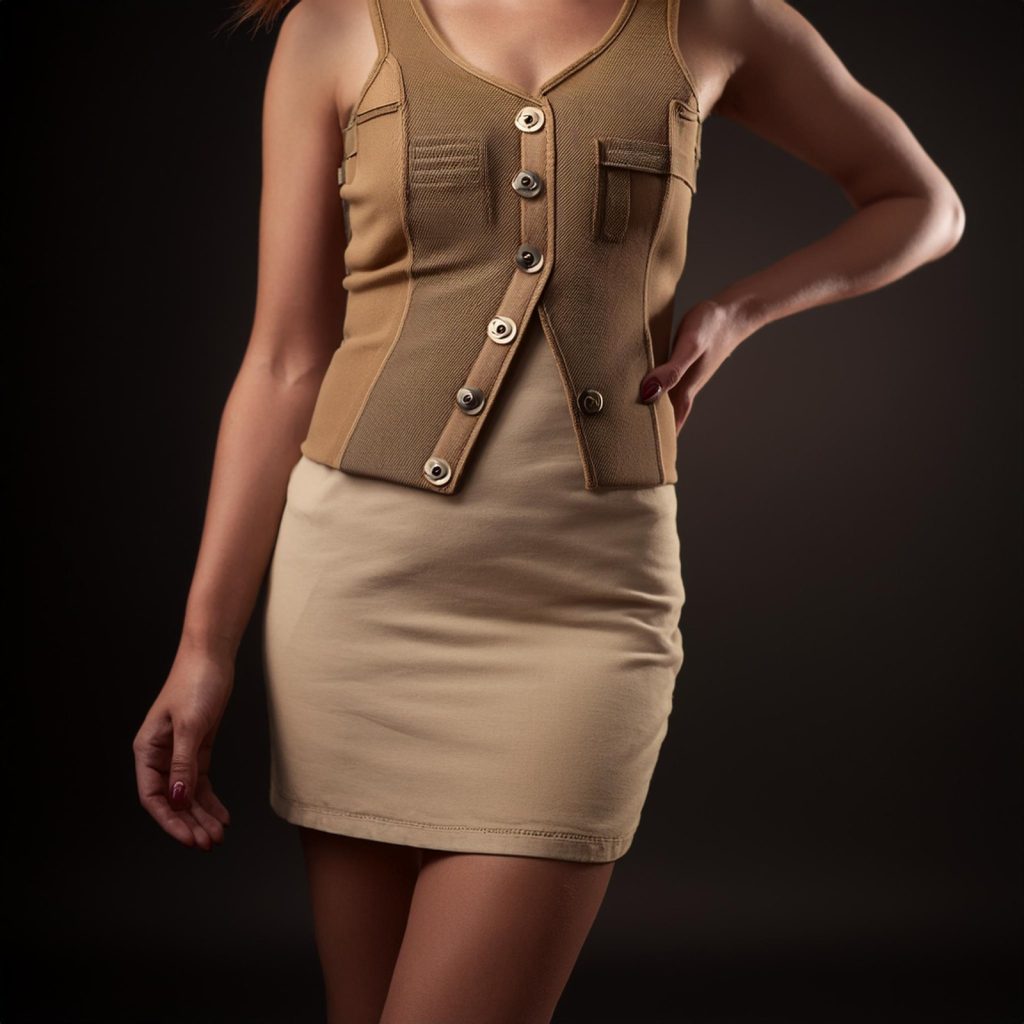

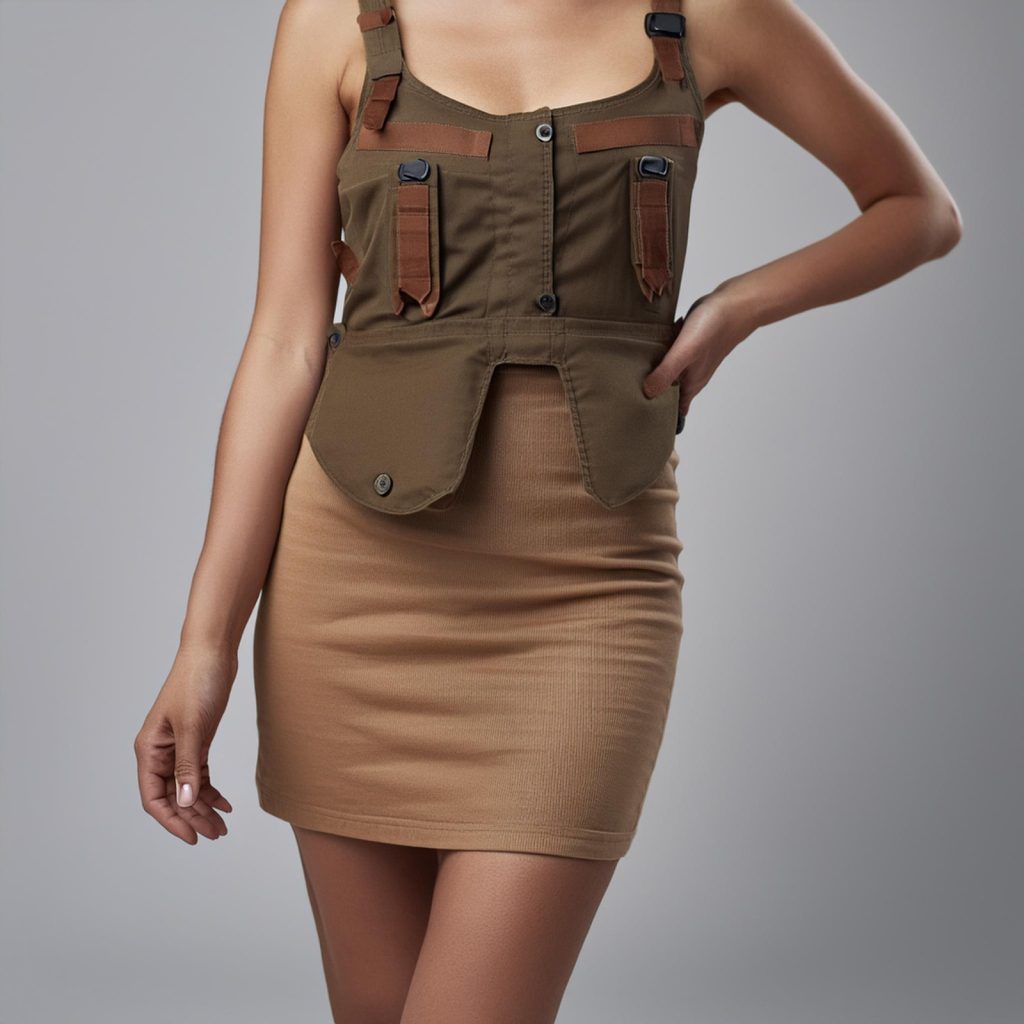
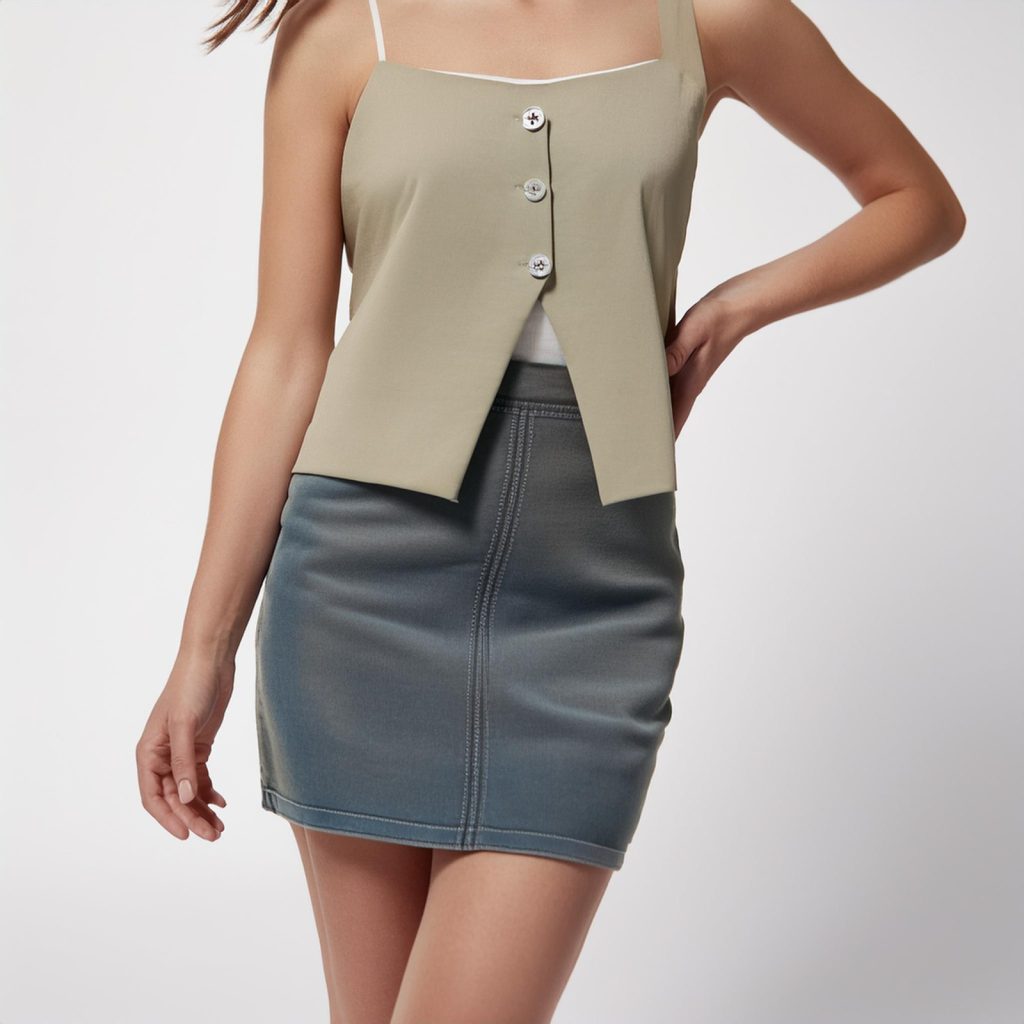

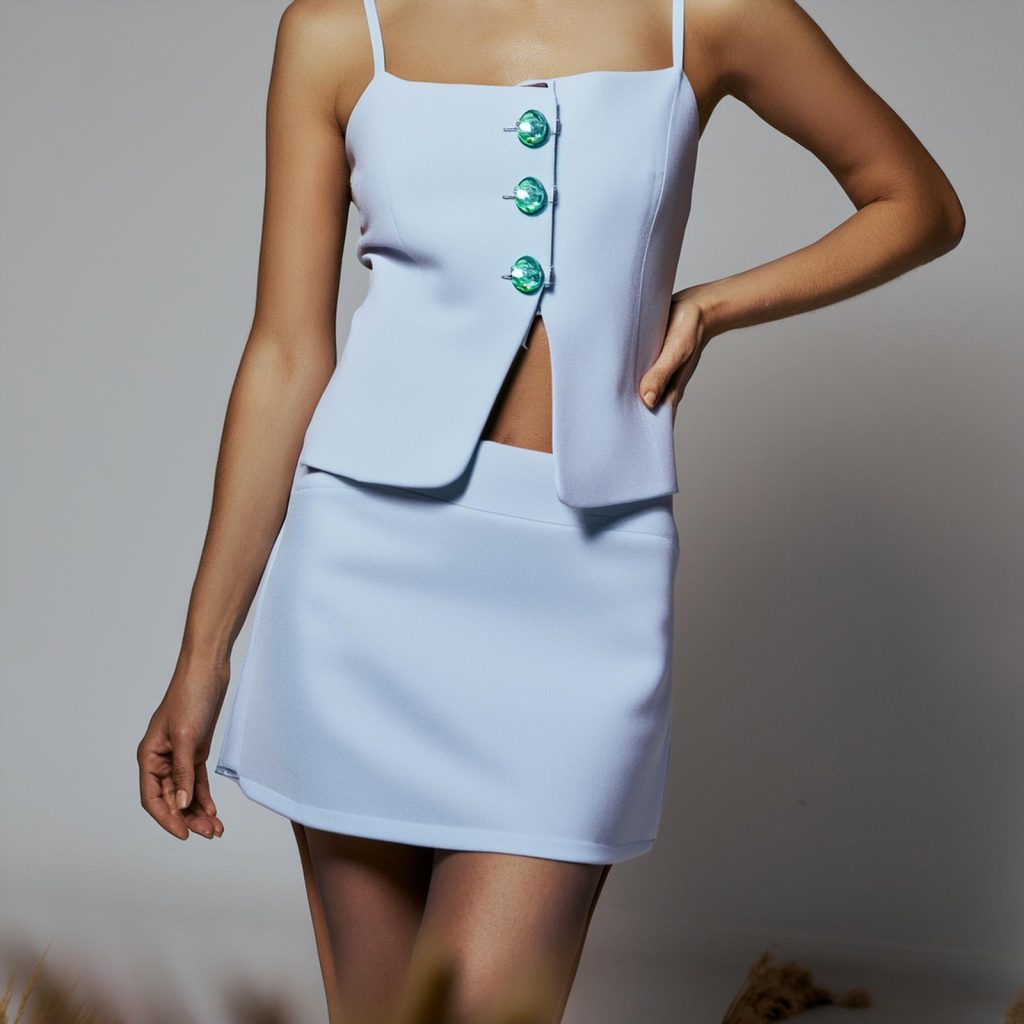


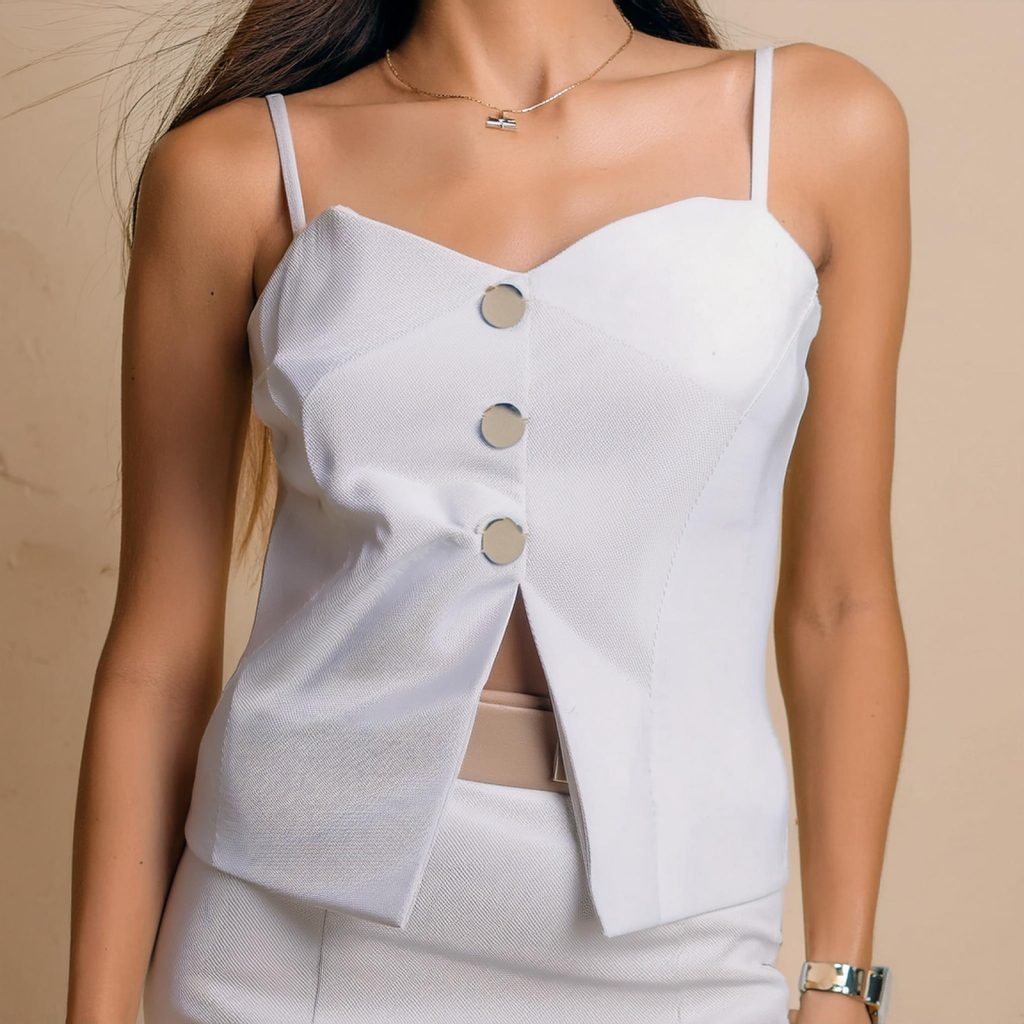
The pattern is quite simple and beautiful. I hope this tip was helpful, and see you in the next post!




Deixe um comentário