Hello everyone, how are you? Due to many requests, I am updating the step-by-step process of creating the one-shoulder dress pattern, this time on paper.
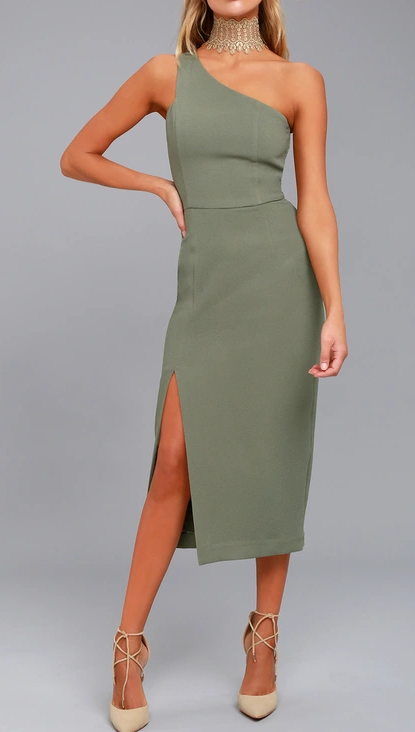
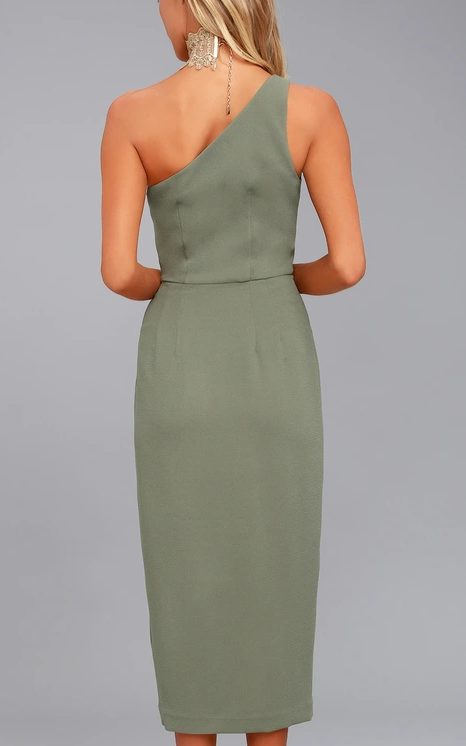
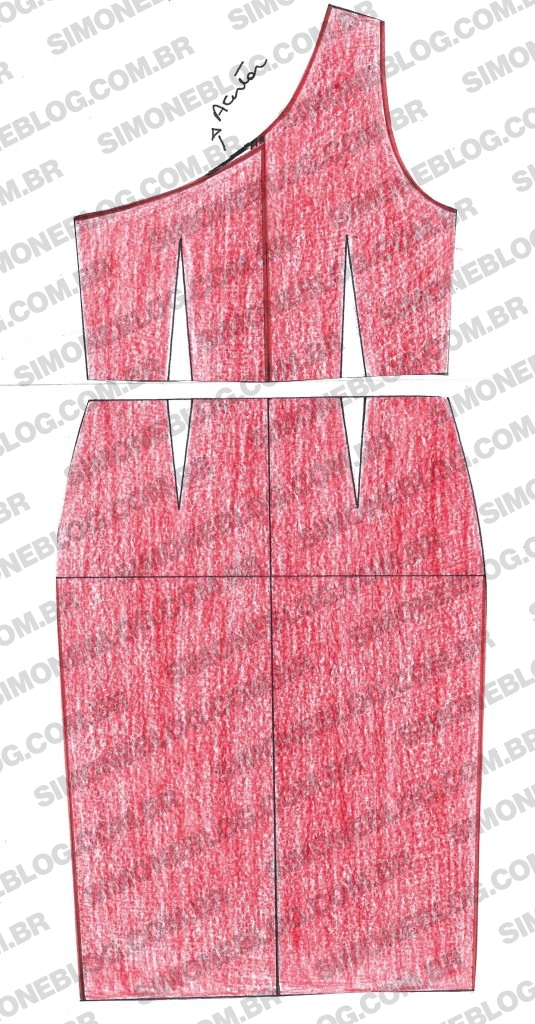
To create the pattern, I marked 2.5 cm in from the shoulder and 6 cm for the strap (remember this can be more or less, the image seems to show less, but 6 cm is a measurement I found appropriate). I drew the armhole, adding a 2 cm adjustment, and shaped the neckline, where I added 1.5 cm and 2 cm as shown in the image below. At the bust radius, I made a 1 cm adjustment on each side.
For the skirt, I took 2 cm off the side and from the end of the dart to the hem, I drew a straight line. On the right side of this line, I marked 4 cm, and on the left side, I marked 3 cm for the slit opening.
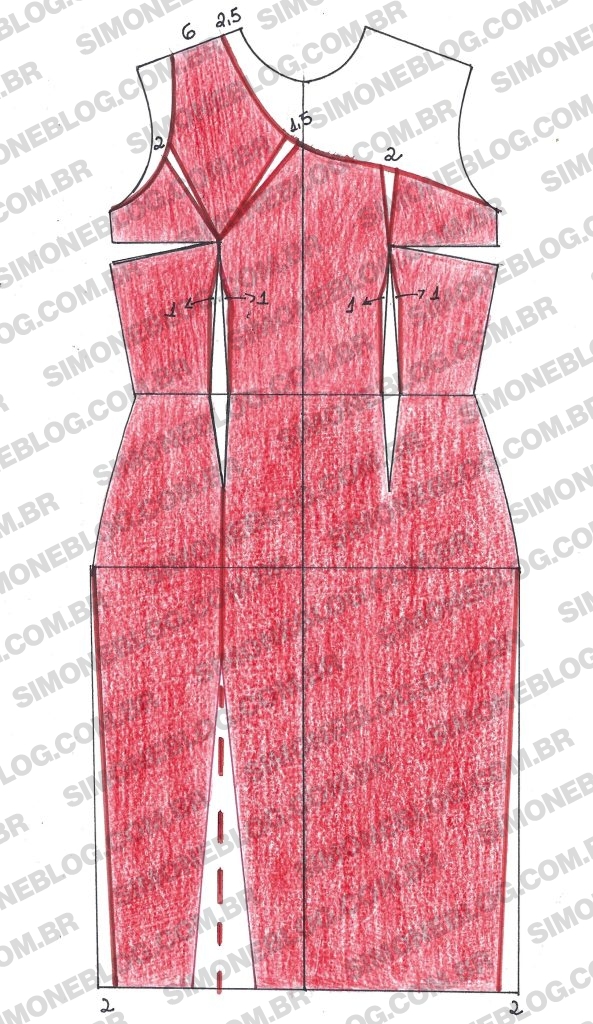
I cut the pattern. On the left side, I only cut the waist dart with the adjustment, closed the armhole adjustment, and adjusted both the bust dart and neckline adjustment. On the right side, I cut and closed the bust dart.
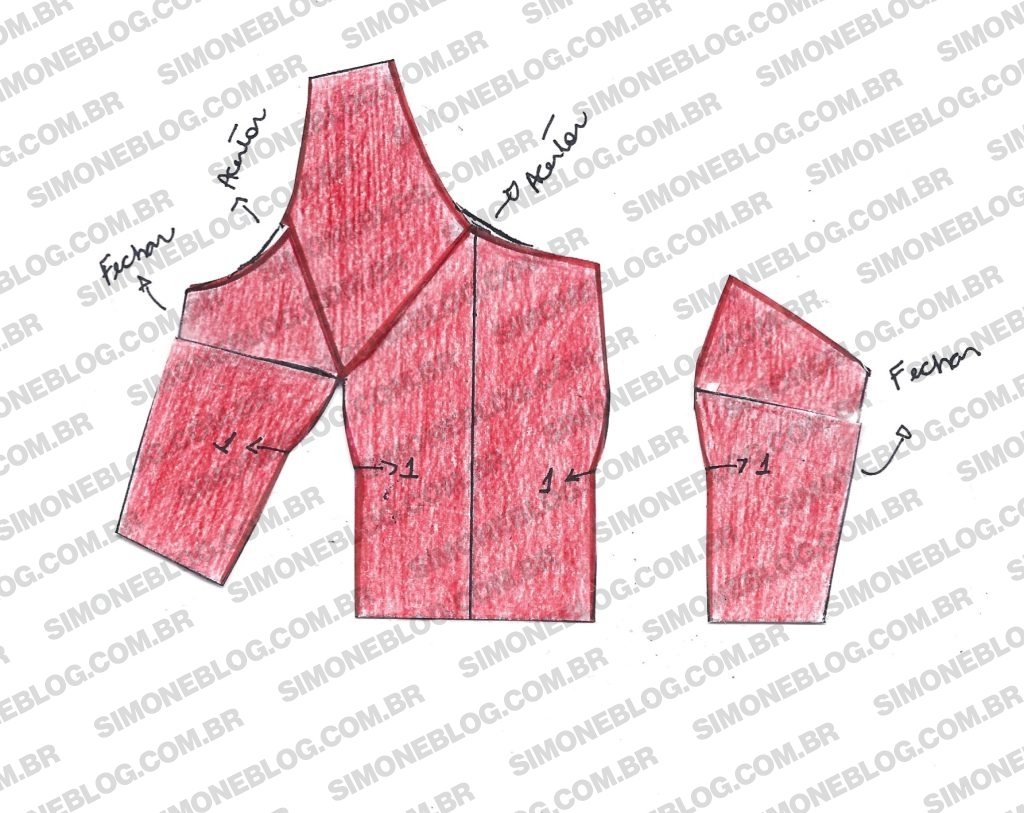
On the left side, I drew the cutline before cutting the pattern.
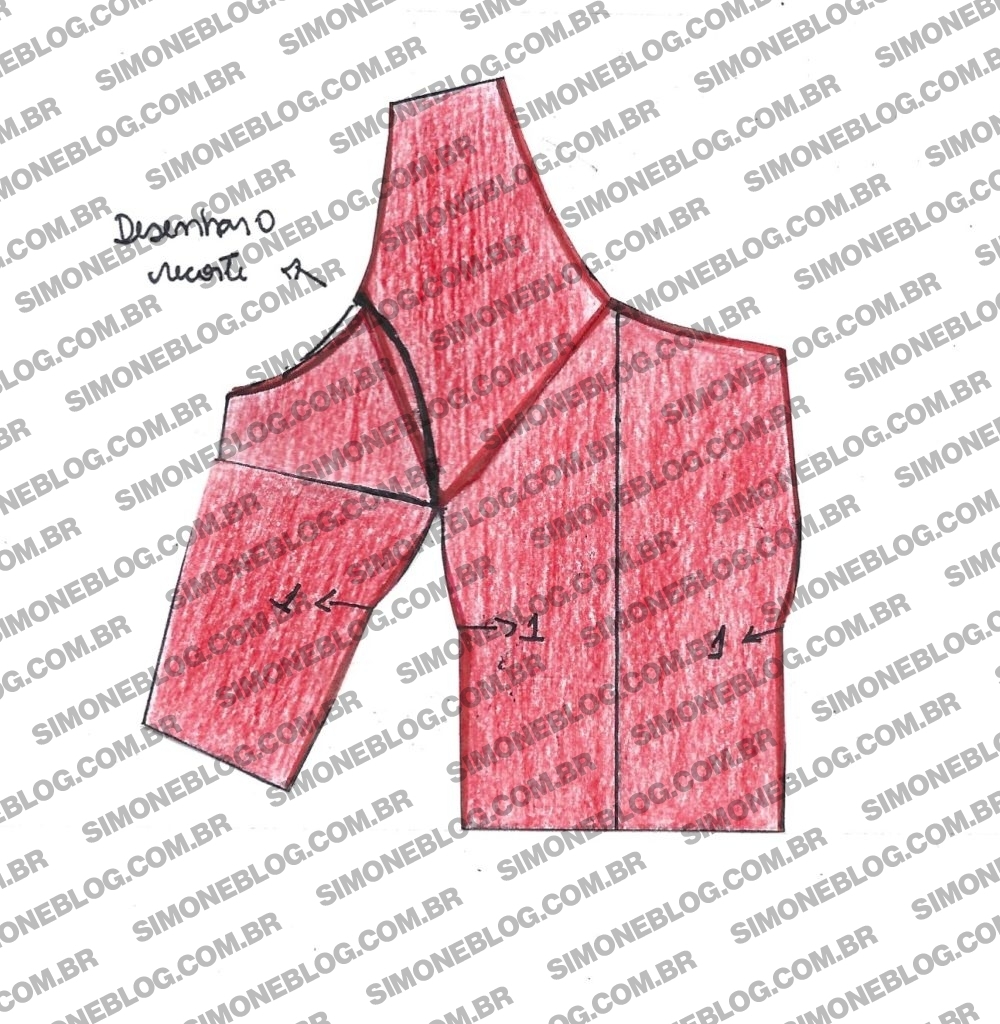
After cutting, I checked for any bulges in the cutlines on both the right and left sides. Adjust any imperfections and ensure the measurements align properly to avoid fabric shortages during sewing.
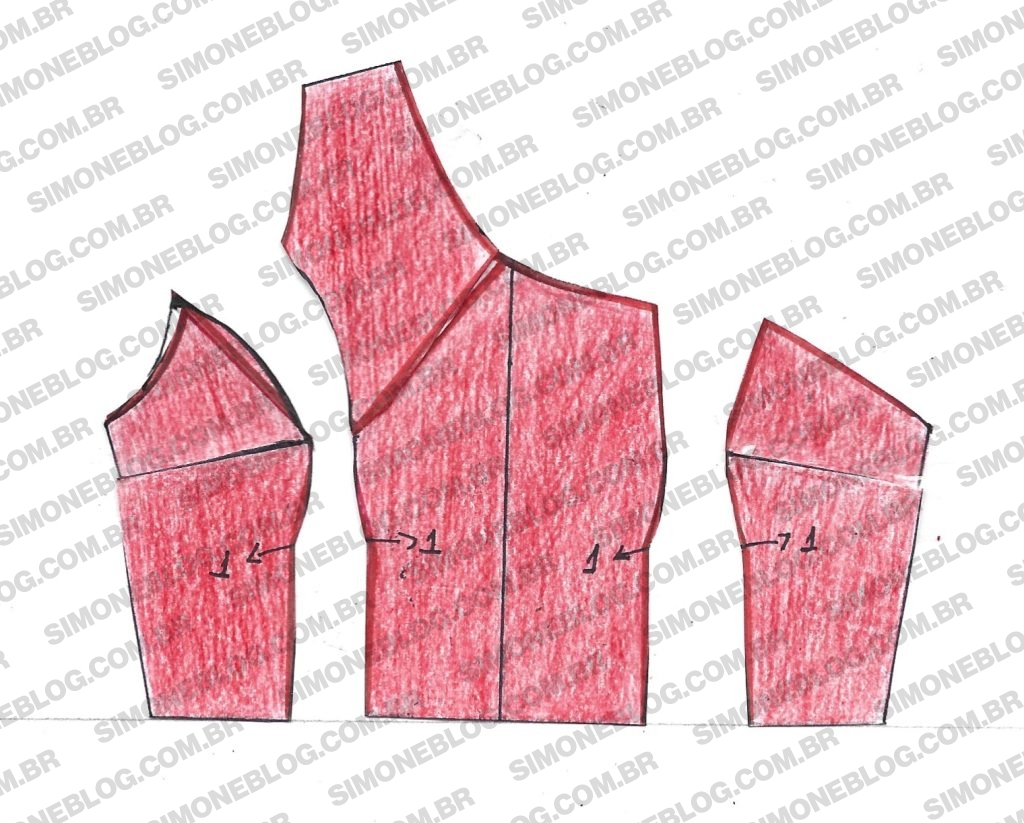
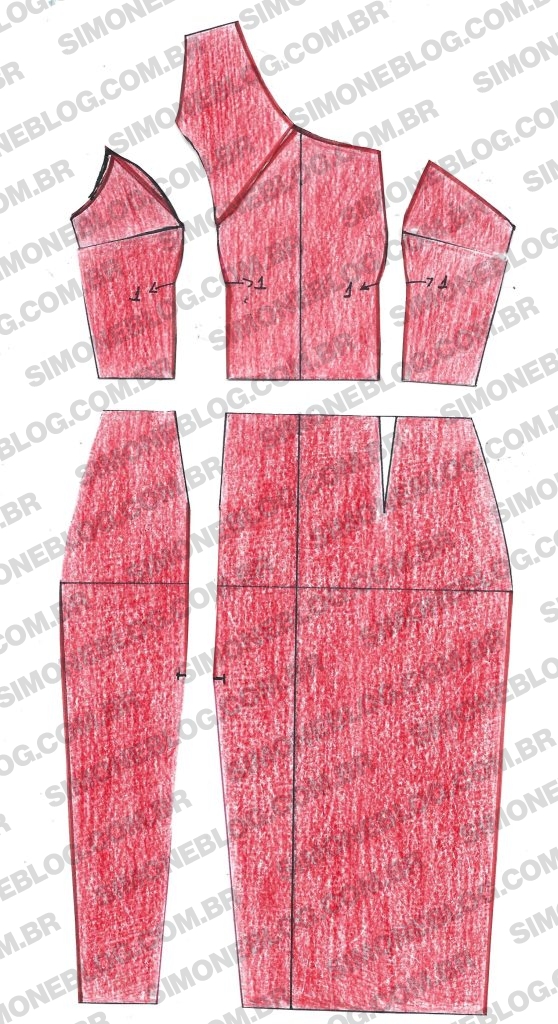
For the back pattern, I marked 2.5 cm and 6 cm for the strap, and at the hem, I took in 2 cm on both sides, matching the front pattern. On the back bodice, I made a 1 cm adjustment at the center back, which makes a big difference in the fit.
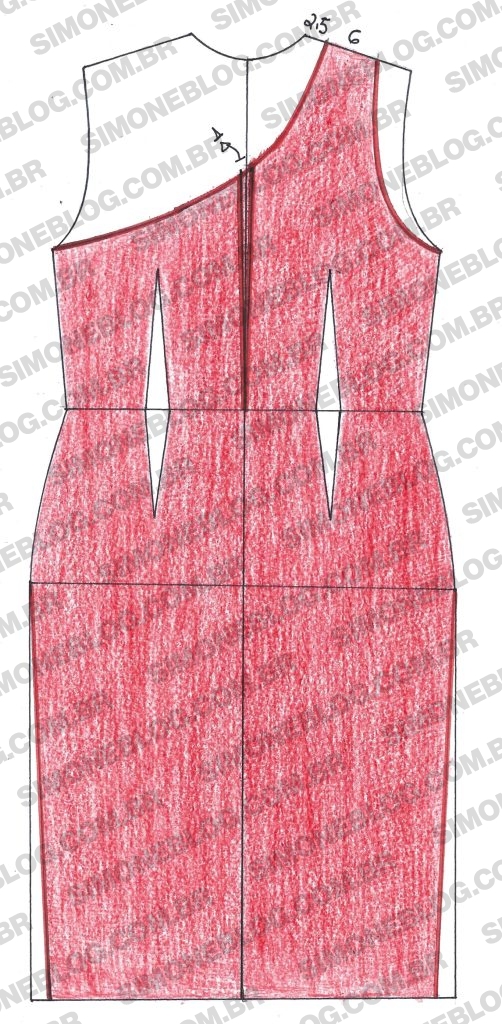
I cut the pattern and made the neckline adjustment.
A NOTE: For the shoulder, it may be necessary to adjust by lowering 0.5 cm on both the back and front shoulders.
I hope I helped with the tip and see you in the next post!




Deixe um comentário