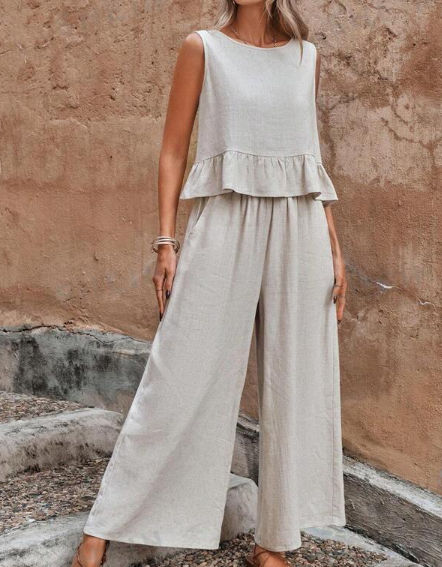
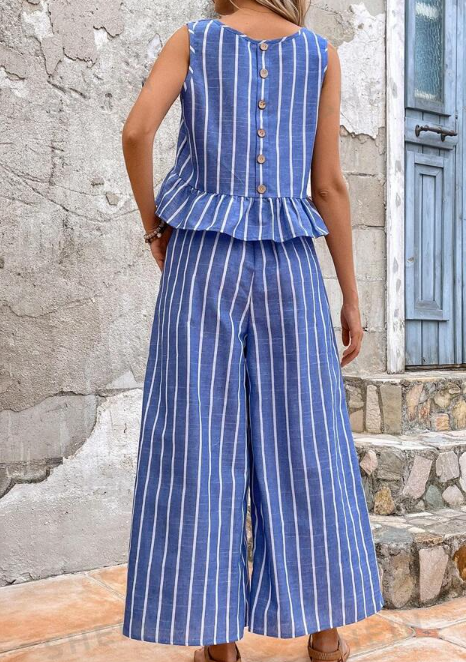
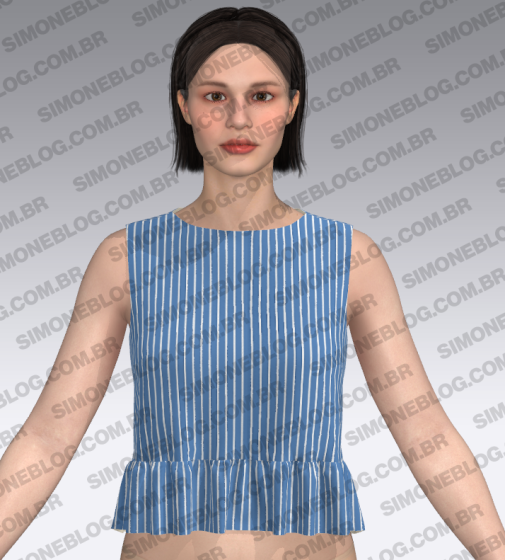
Hello everyone, today’s tip is a super easy-to-make blouse inspired by Shein.
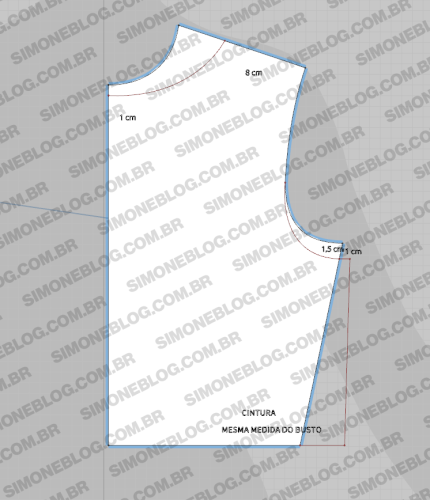
To create the pattern, I used the base without darts. I lowered the neckline by 1 cm and left the shoulder width at 8 cm. I drew the neckline and lowered the armhole by 1.5 cm, extended it out by 1 cm, and traced a straight line down to the waist.
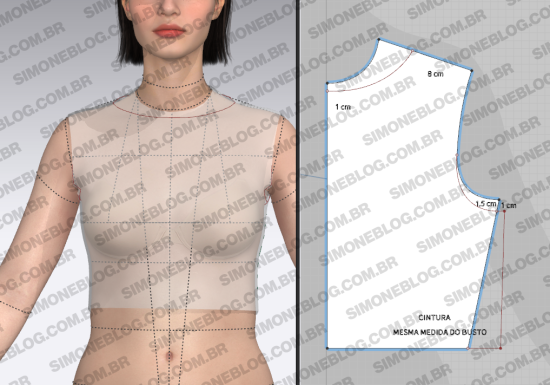
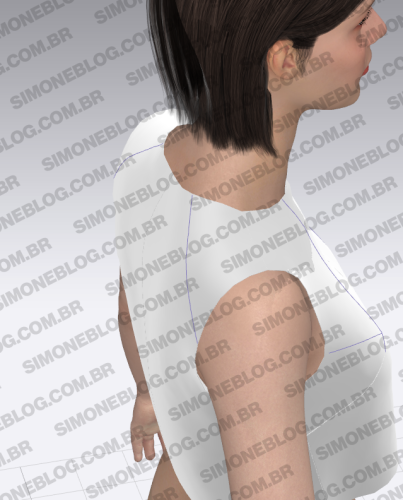
Neckline design on the body.
In the neckline, there is a need for a 1 cm adjustment, and in the armhole, the adjustment on my base was 2 cm.
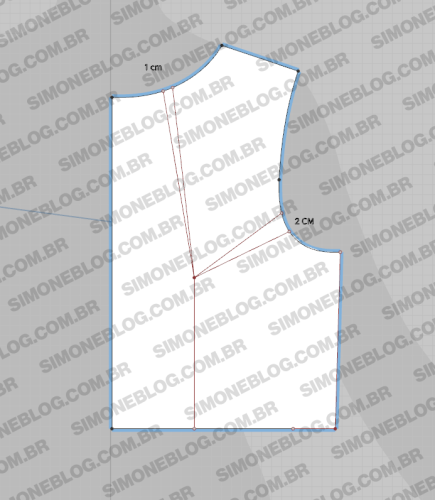
I lowered the side by 7 cm and traced a line.
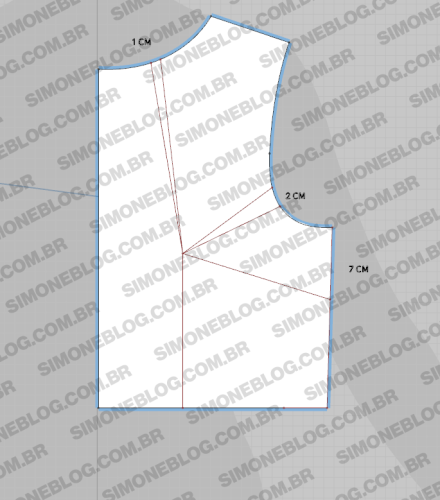
I transferred the adjustments to the line I traced, forming a dart. I chose to use a dart even though the pattern does not originally have one.
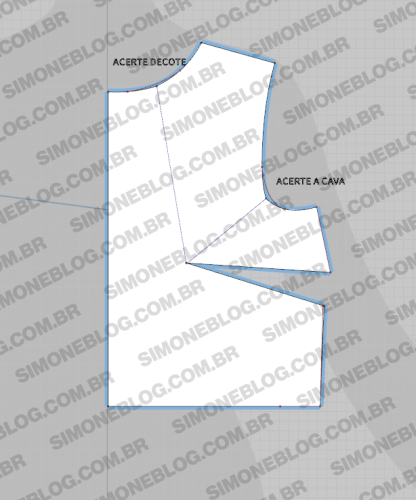
Then I removed the dart from the overlap position.
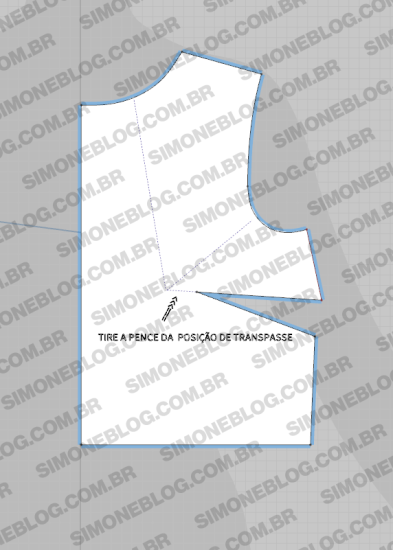
In the back pattern, I lowered the neckline by 1.5 cm, kept the shoulder width at 8 cm, and drew the neckline. For the armhole, I lowered it by 1.5 cm and extended it by 1 cm, drawing a straight line down to the waist.
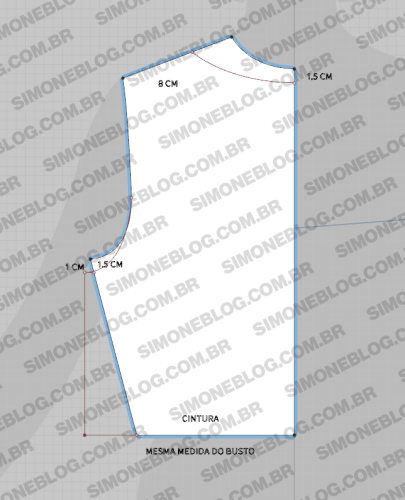
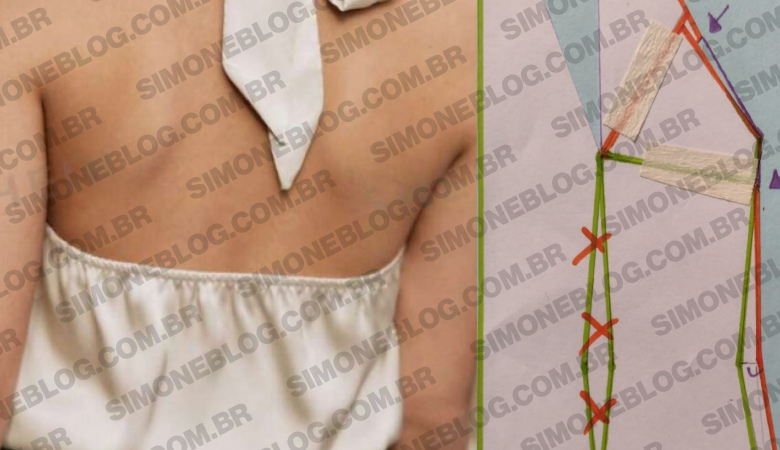
In the back neckline, after drawing the neckline, there was excess fabric in my base.
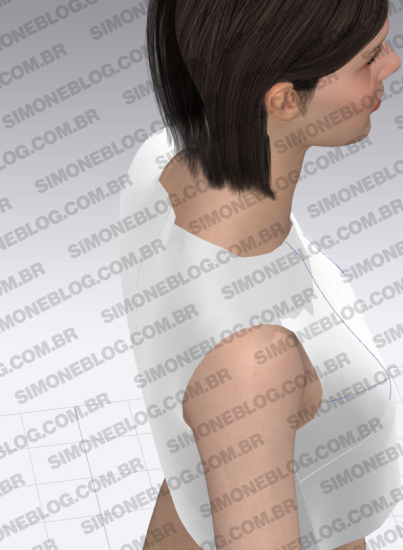
So, in the middle of the back neckline, I made a 1 cm adjustment and eliminated this adjustment in the armhole.
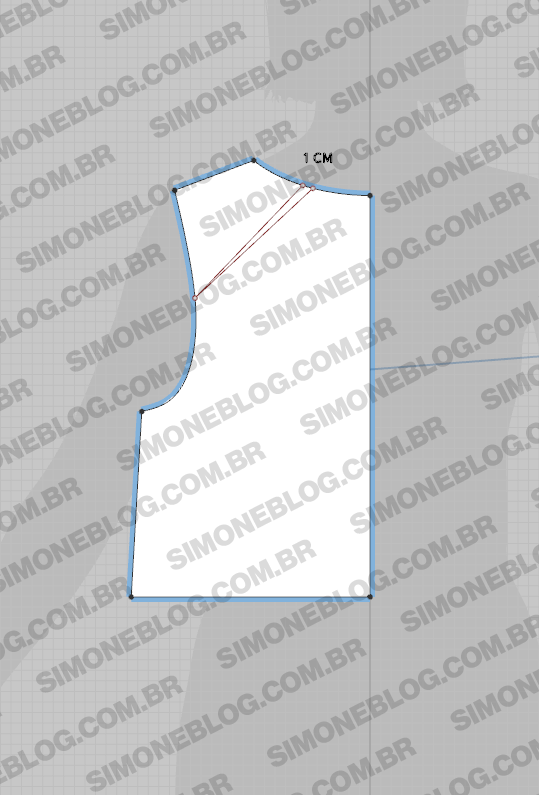
Then I adjusted the neckline.
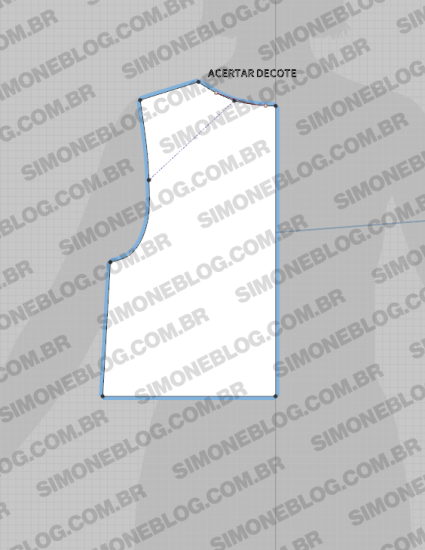
After the adjustment.
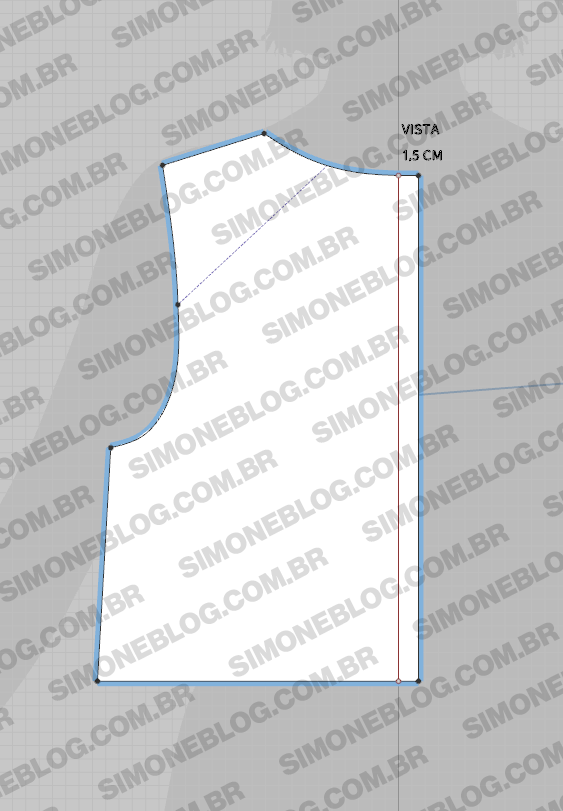
For the facing, I left 1.5 cm, but you can also use 2 cm.
It’s a good idea to raise the sides of the blouse by 1 cm and redraw the hemline.
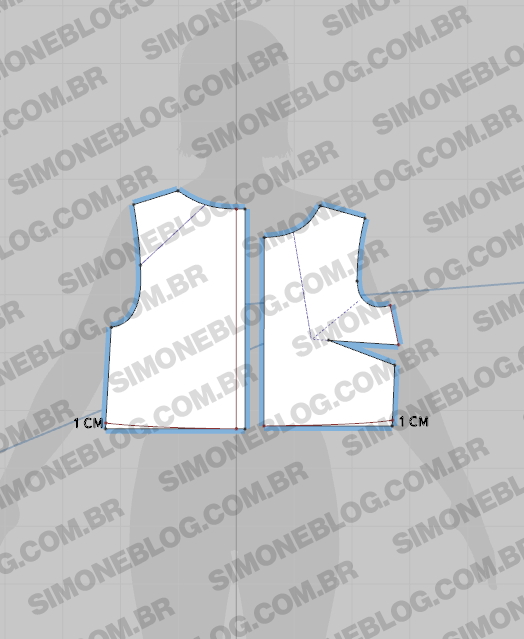
This will help avoid that pointed effect on the side of the blouse.
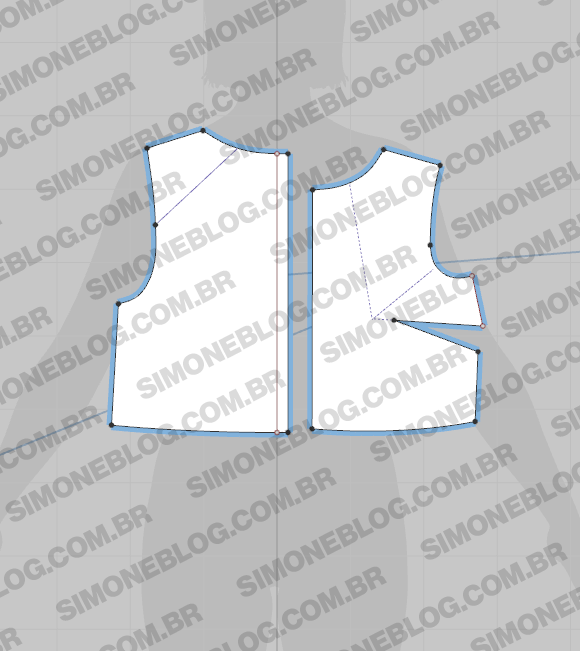
For the ruching, calculated on 1/4 of the front and back pattern, I used the waist measurement plus 75% of that measurement. The height I left at 10 cm, which was a measurement I liked.
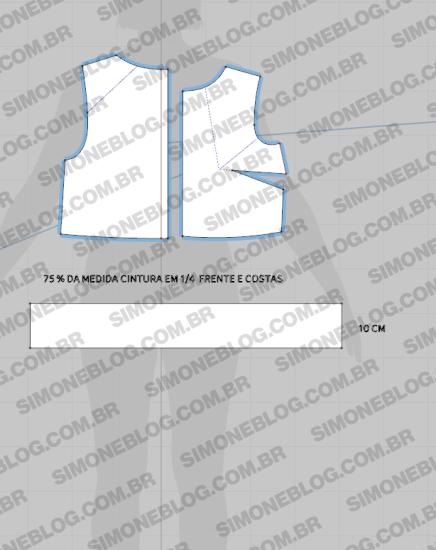
Before finalizing the pattern, I reduced the shoulder by 1 cm and deepened the armhole for both the front and back.
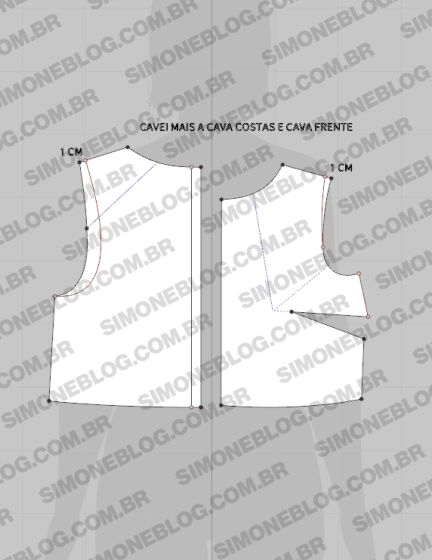
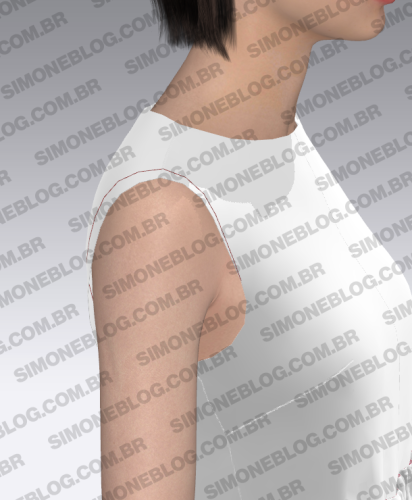
And here is the result of the front pattern.
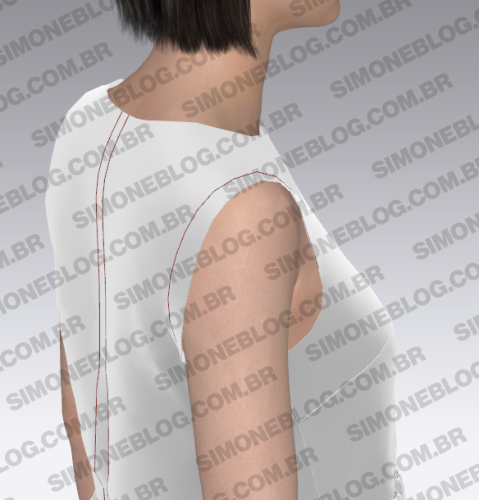
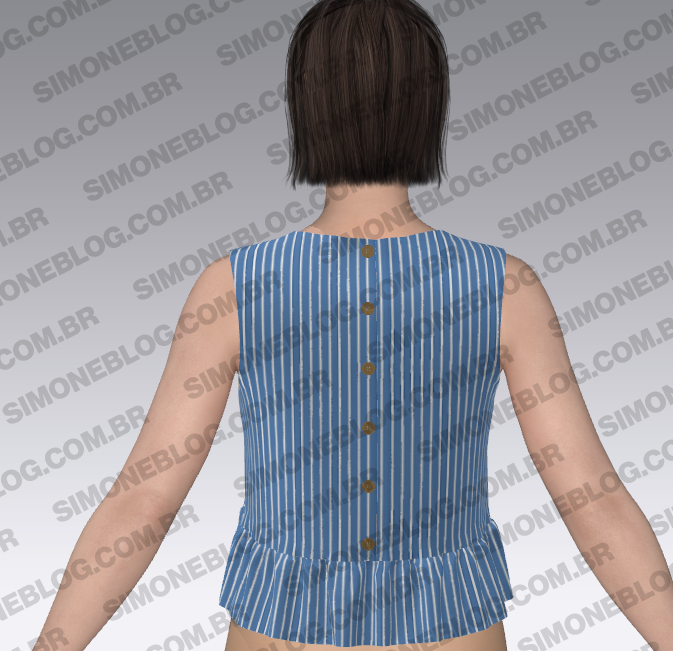
And here is the result of the back pattern.
I hope this tip was helpful, and see you in the next post.




Deixe um comentário