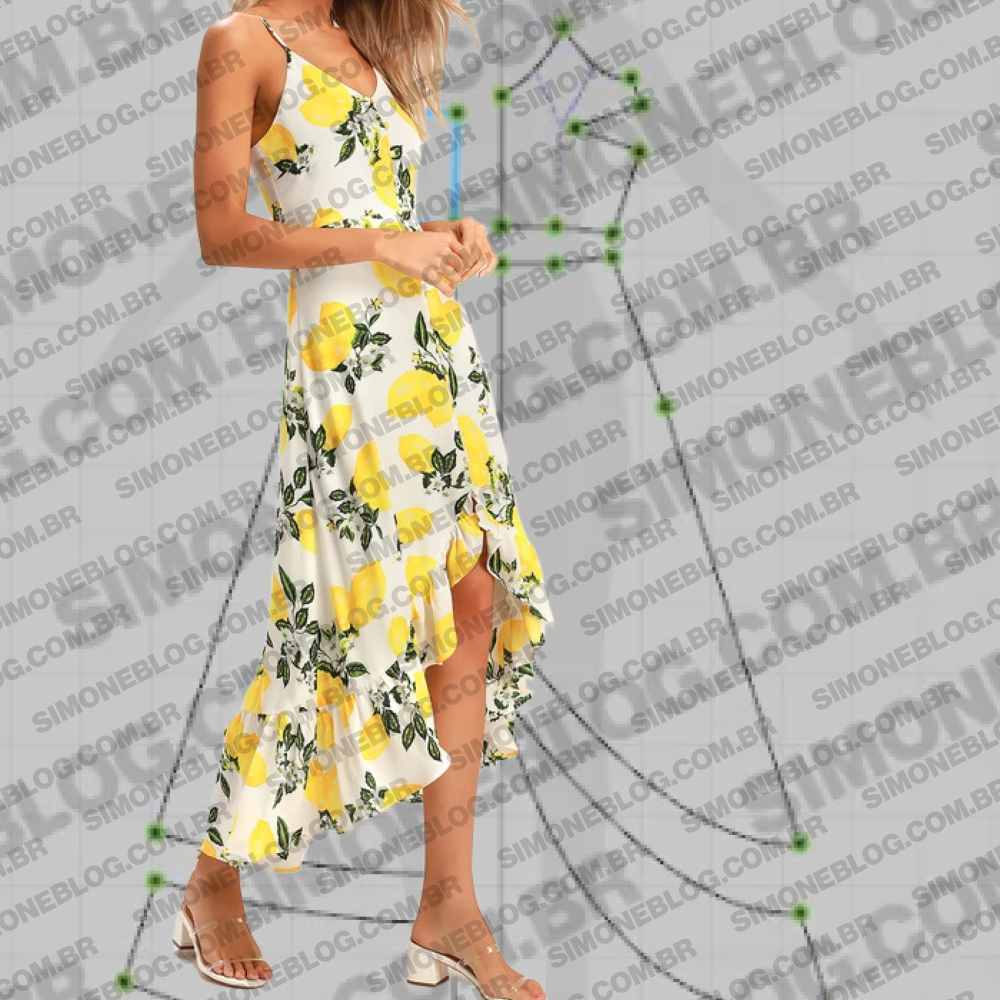
Hello everyone! Today’s tip is a beautiful dress inspired by Lulus.
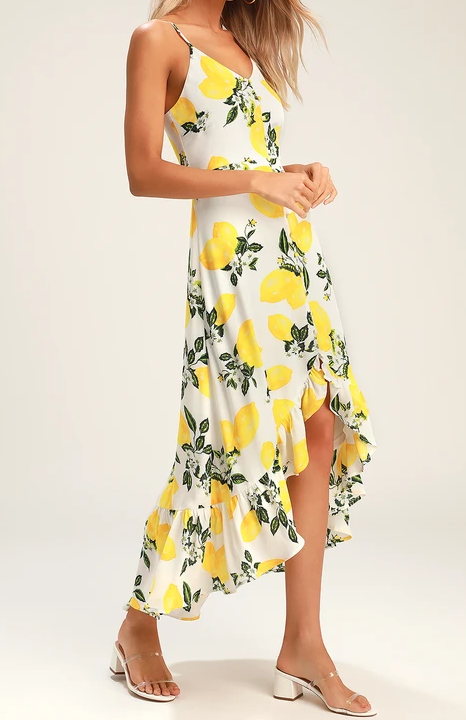
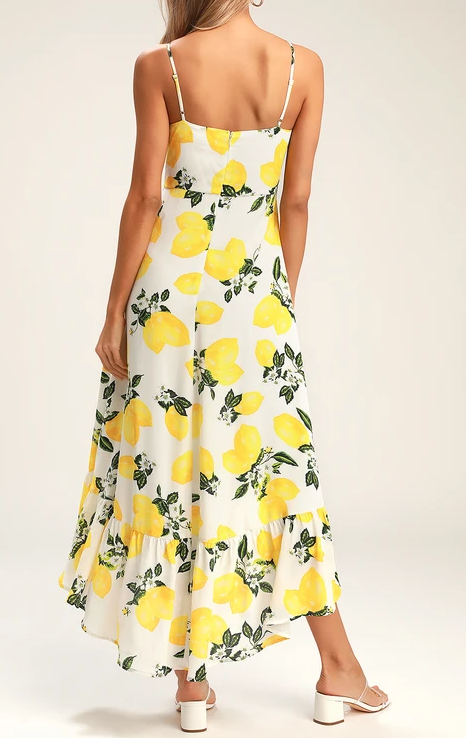
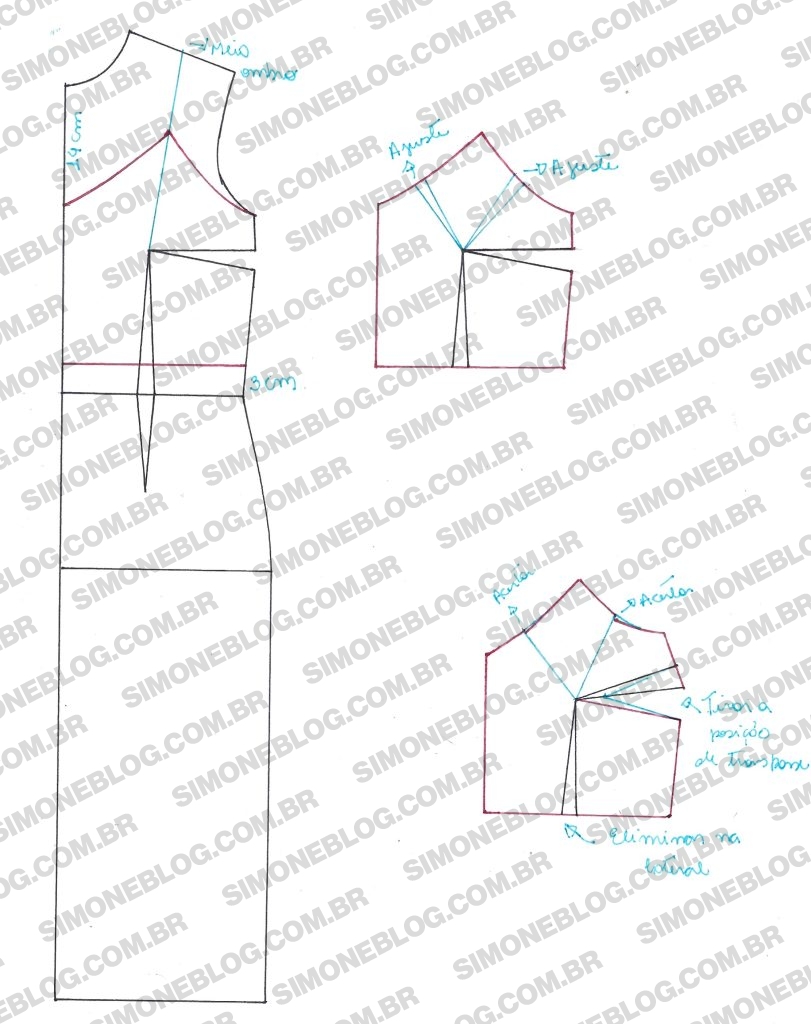
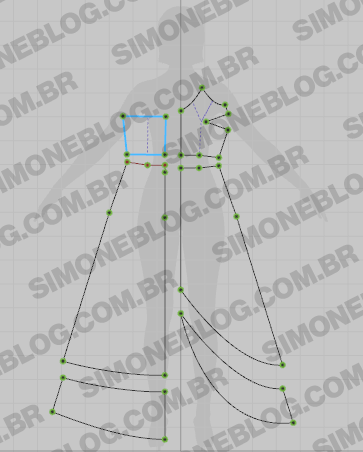
To create the pattern, I lowered the neckline by 14 cm, marked from the apex of the dart to the middle of the shoulder, and drew the model. I raised the waist by 3 cm since the design appears shorter in the bodice. I made an adjustment of 1.5 cm at the neckline and 1.5 cm at the armhole. I transferred these adjustments to the bust dart. The model doesn’t have a waist dart, so you can eliminate it at the side seam or from the bust dart itself.
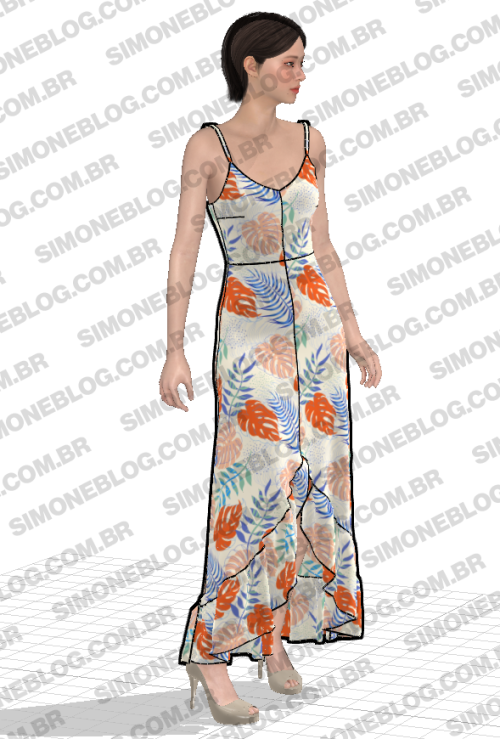
3D Image.
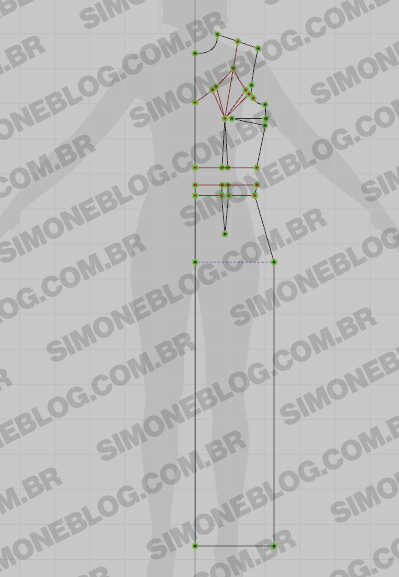
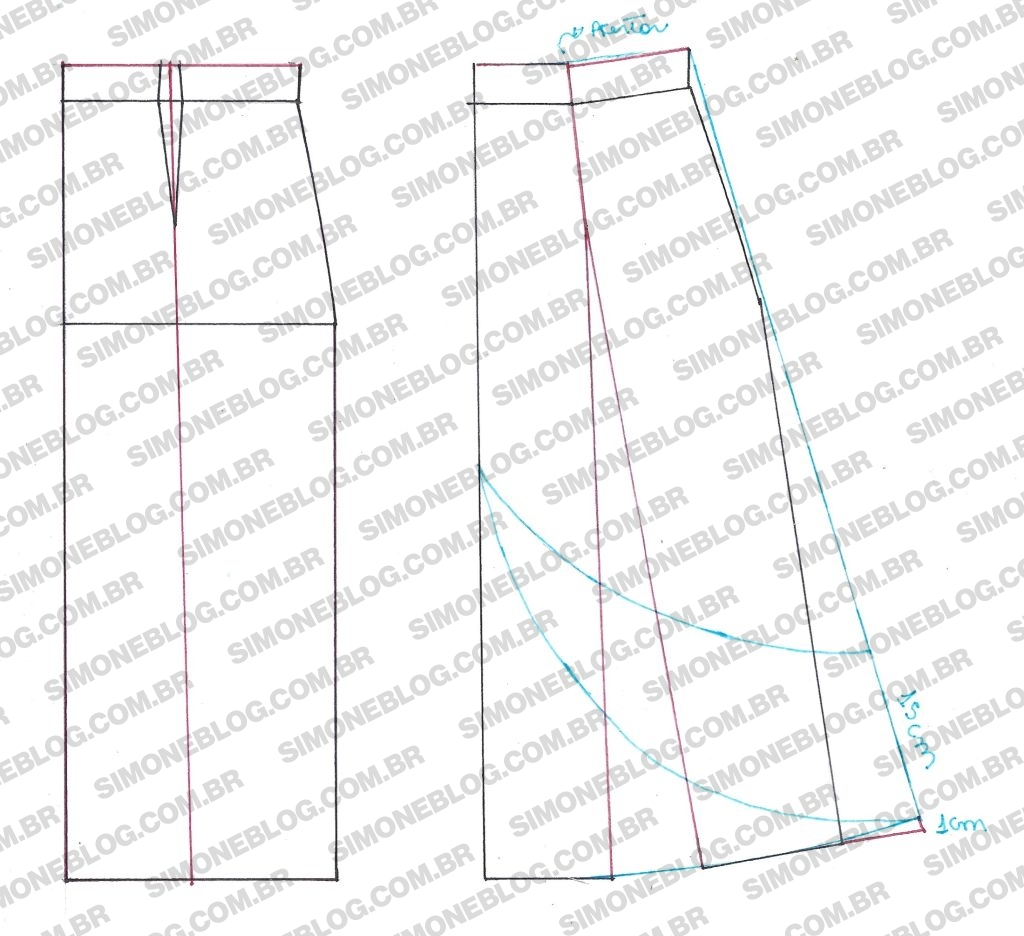
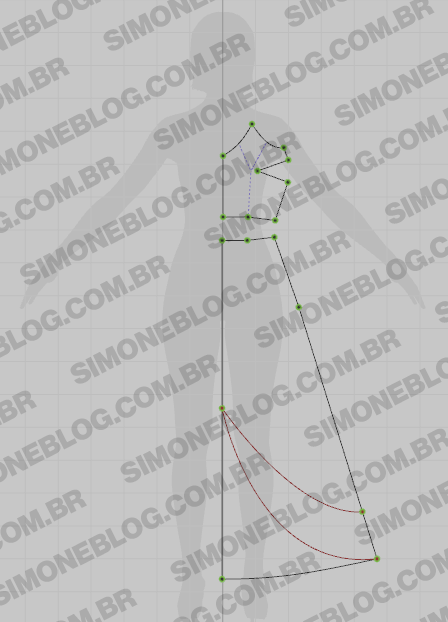
For the skirt part, I connected the middle of the dart to the hem, closed the dart at the top of the waist, and opened it to create an A-line effect. From the waist through the hip, I connected diagonally to the hem as shown in the image below. I raised 1 cm and adjusted to draw the ruffle.
3D Image.
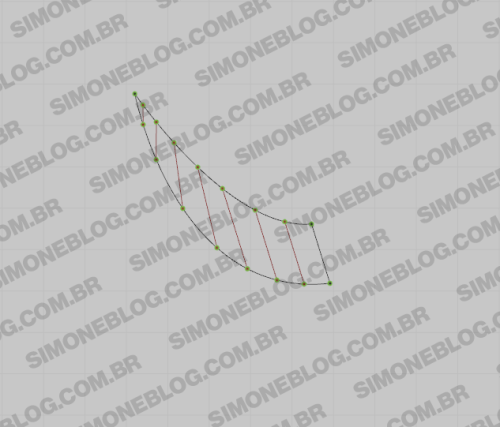
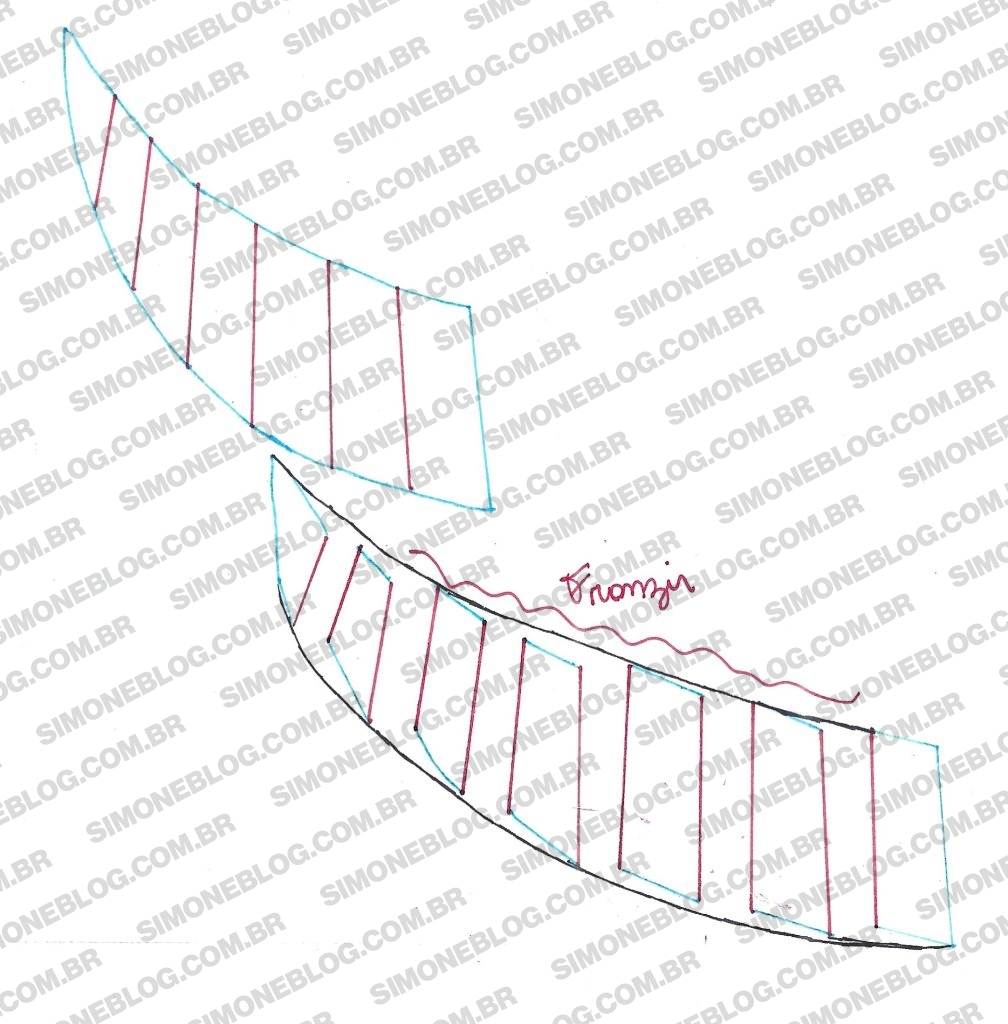
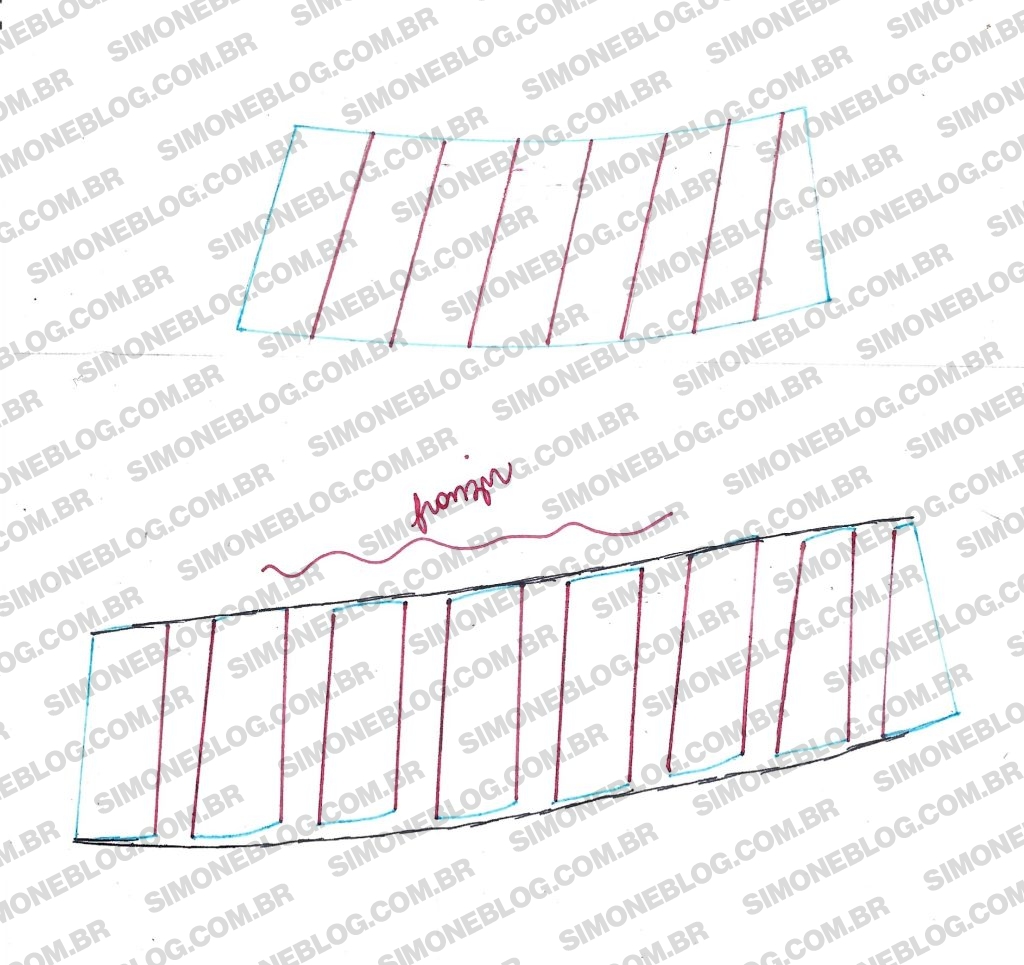
I cut out the ruffle part and drew vertical lines, then opened and adjusted. For a slight gather, add 50% more to its measurement or 70% distributed across the openings.
For the back pattern, I drew a straight line from the armhole to the center back, raised the waist by 3 cm to match the front pattern. I made a 1 cm adjustment on each side connecting to the dart, then joined and adjusted as the back pattern doesn’t have a dart.
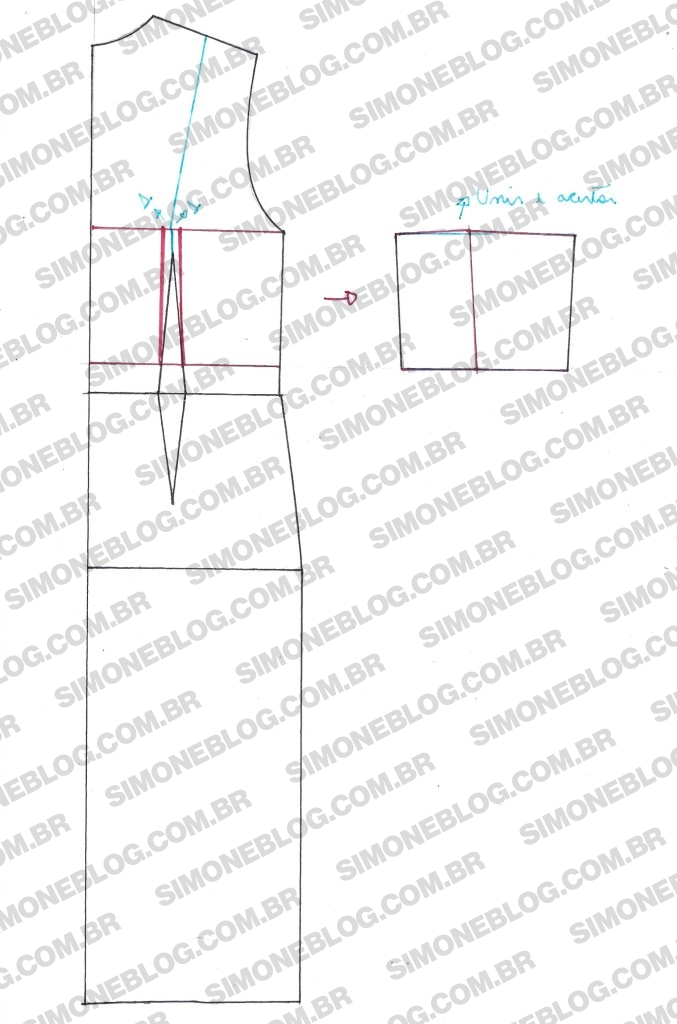
For the back skirt, I did the same as the front: connected from the middle of the dart to the hem, closed the dart at the waist, and opened it. On the side waist, I connected diagonally to the hem, raised 1 cm and adjusted. I marked the height of the ruffle at 15 cm on the side and 20 cm at the center back.
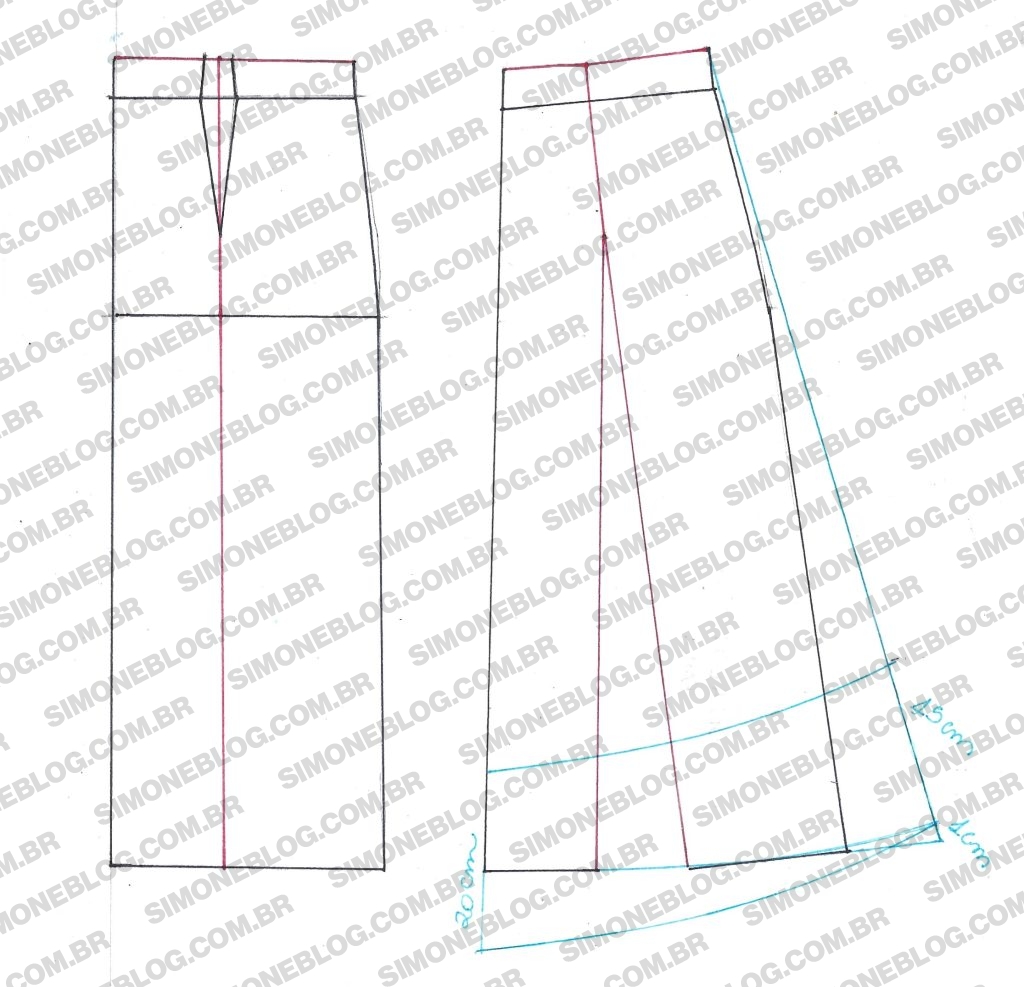
I cut out the ruffle part and drew vertical lines, then opened and adjusted. For a slight gather, add 50% more to its measurement or 70% distributed across the openings.
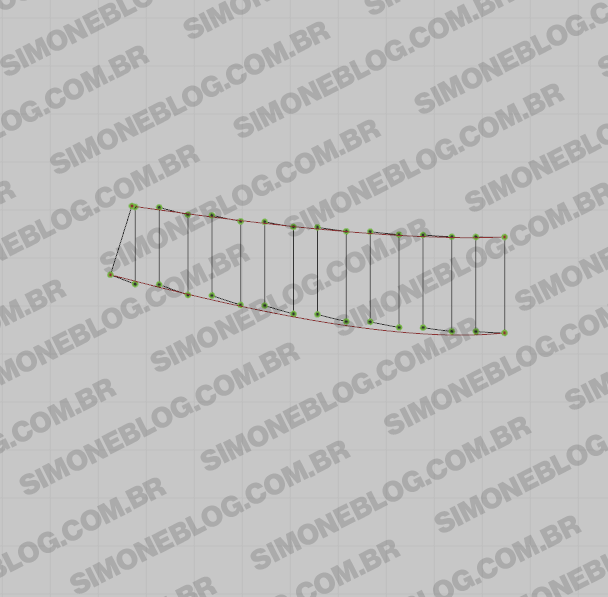
3D Image.
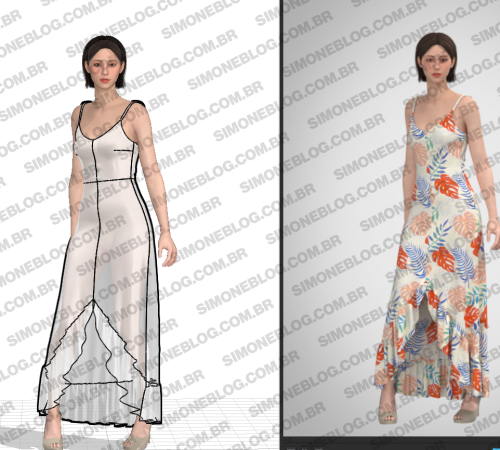
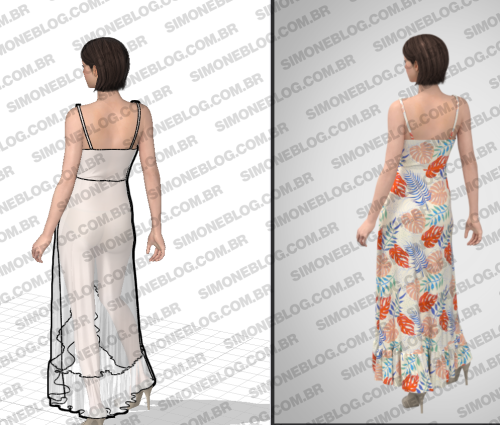
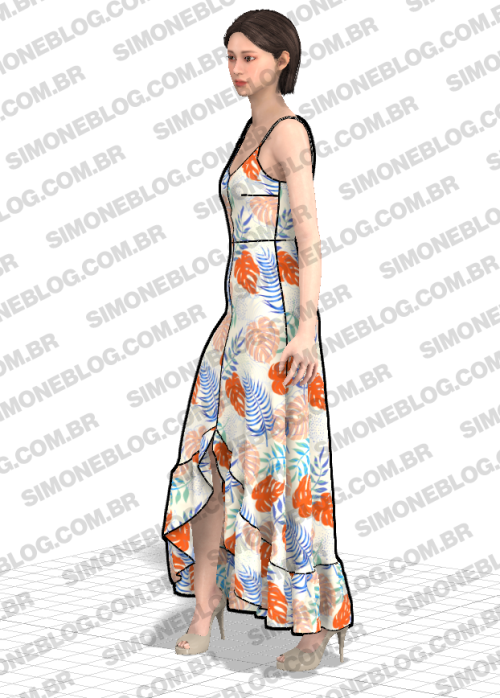
And this was the result of this step in 3D; I really liked it!
I hope this tip helps, and see you in the next post.





Deixe um comentário