Hello everyone, how are you? Today’s tip is a super cute dress.
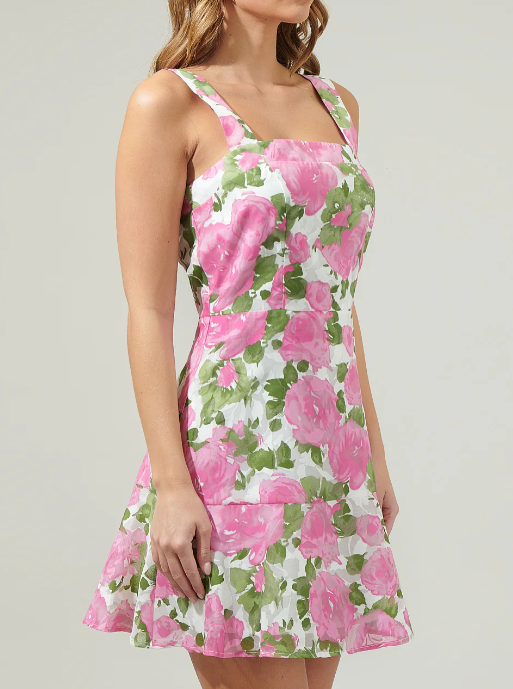
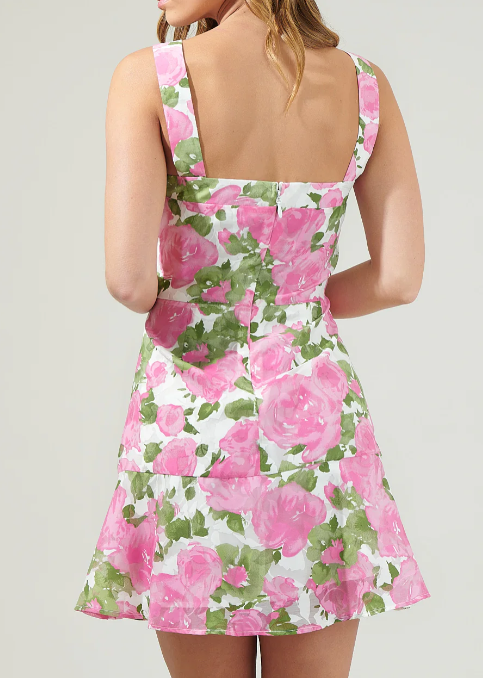
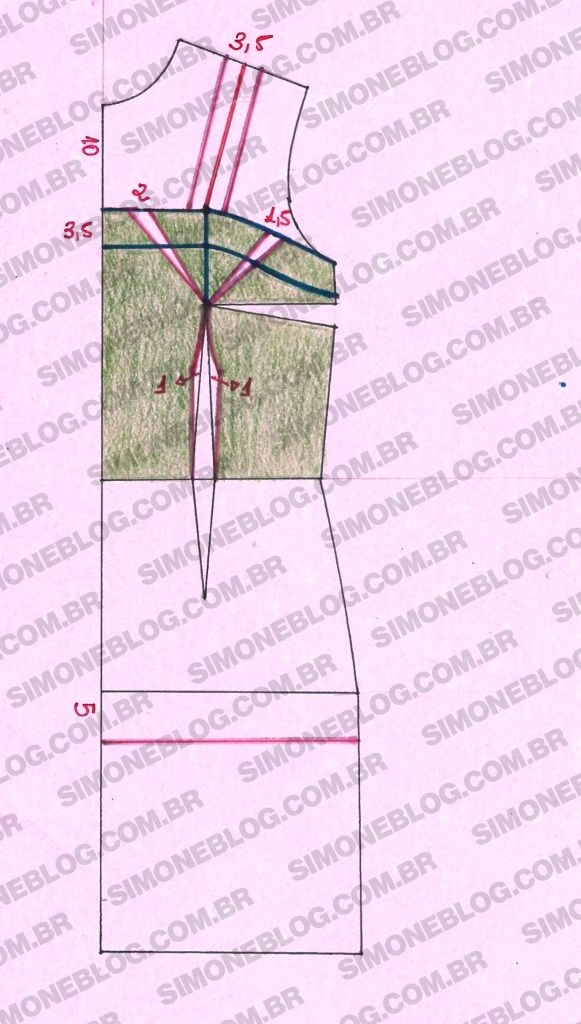
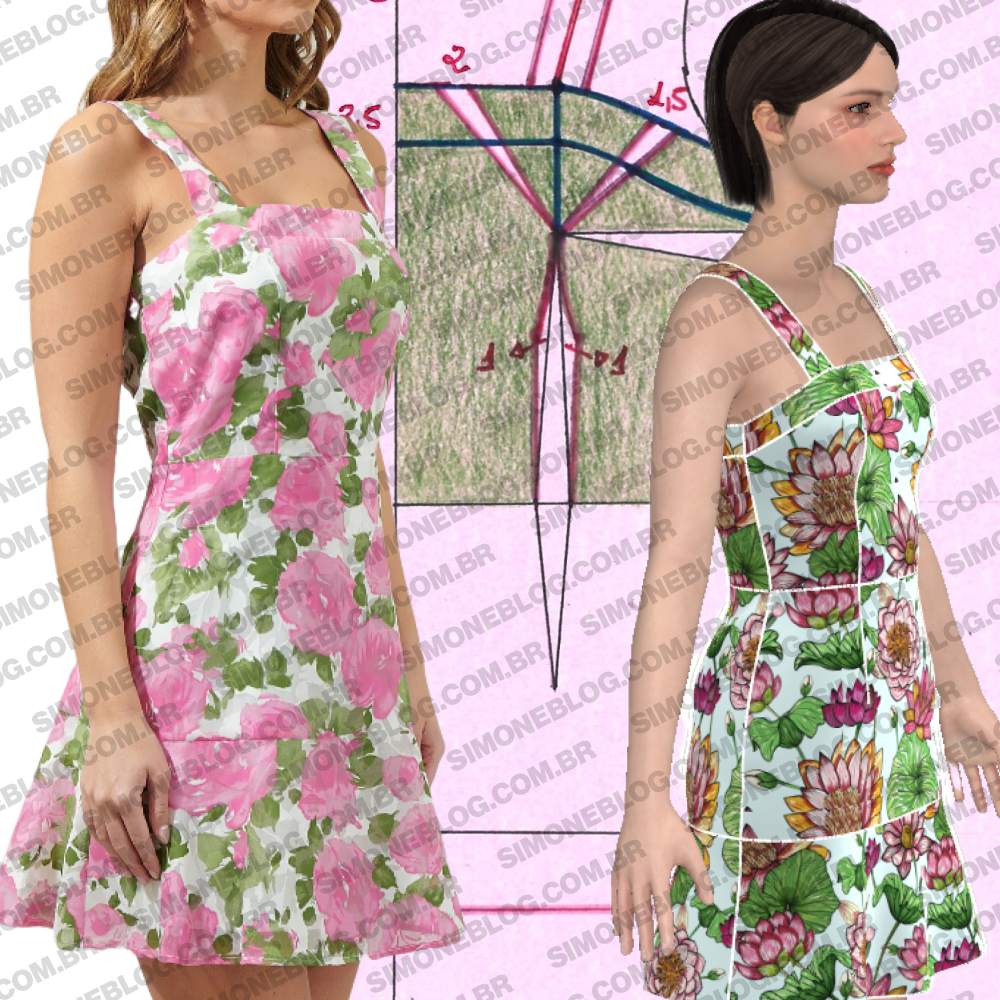
To create the pattern, I lowered the neckline by 10 cm and drew the cutout design with a height of 3.5 cm. I made adjustments of 2 cm and 1.5 cm. At the bust radius height, I adjusted 1 cm on each side because my dart is 2 cm wide. I also kept the strap width at 3.5 cm. From the hips down, I marked 5 cm to separate the ruffle section.
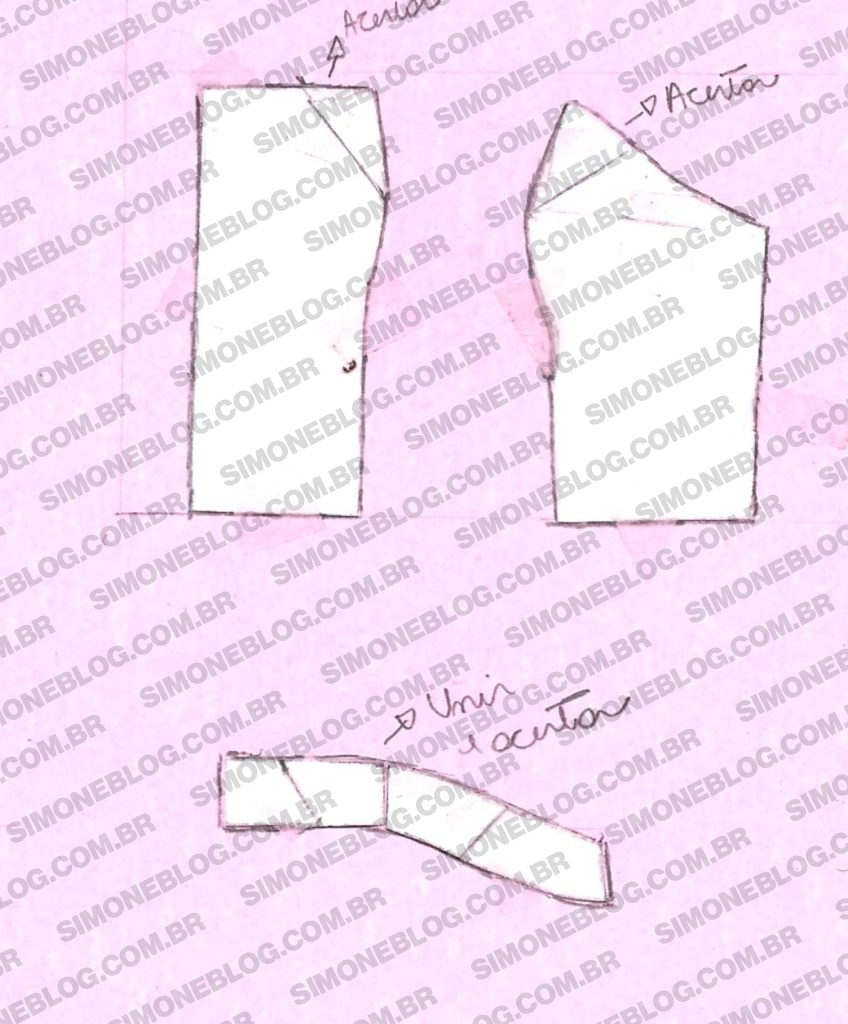
I cut the pattern, separated the cutout part, and made adjustments.
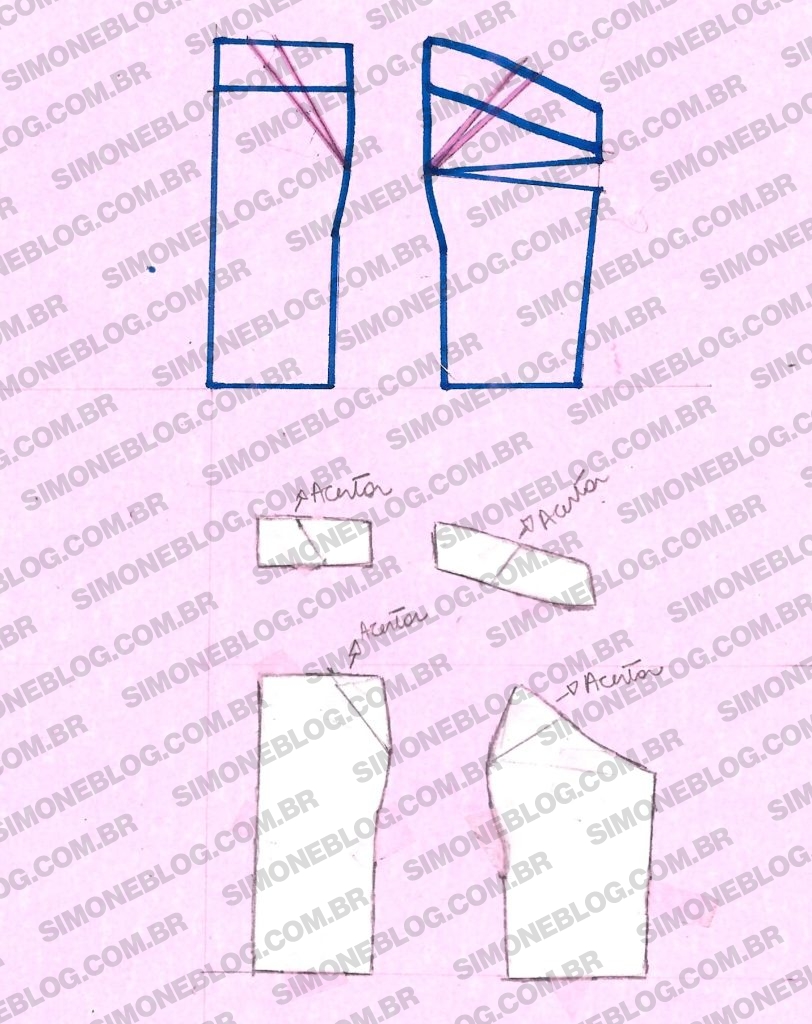
I joined the cutout part and refined it.
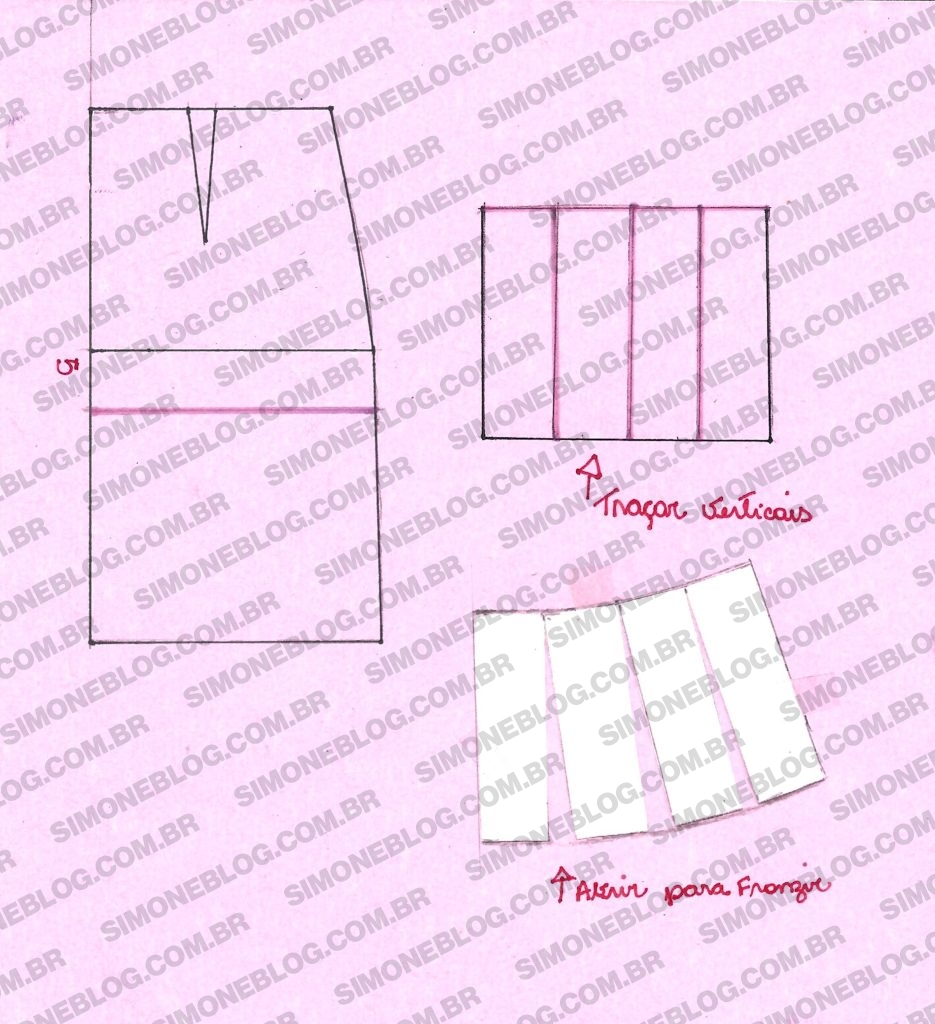
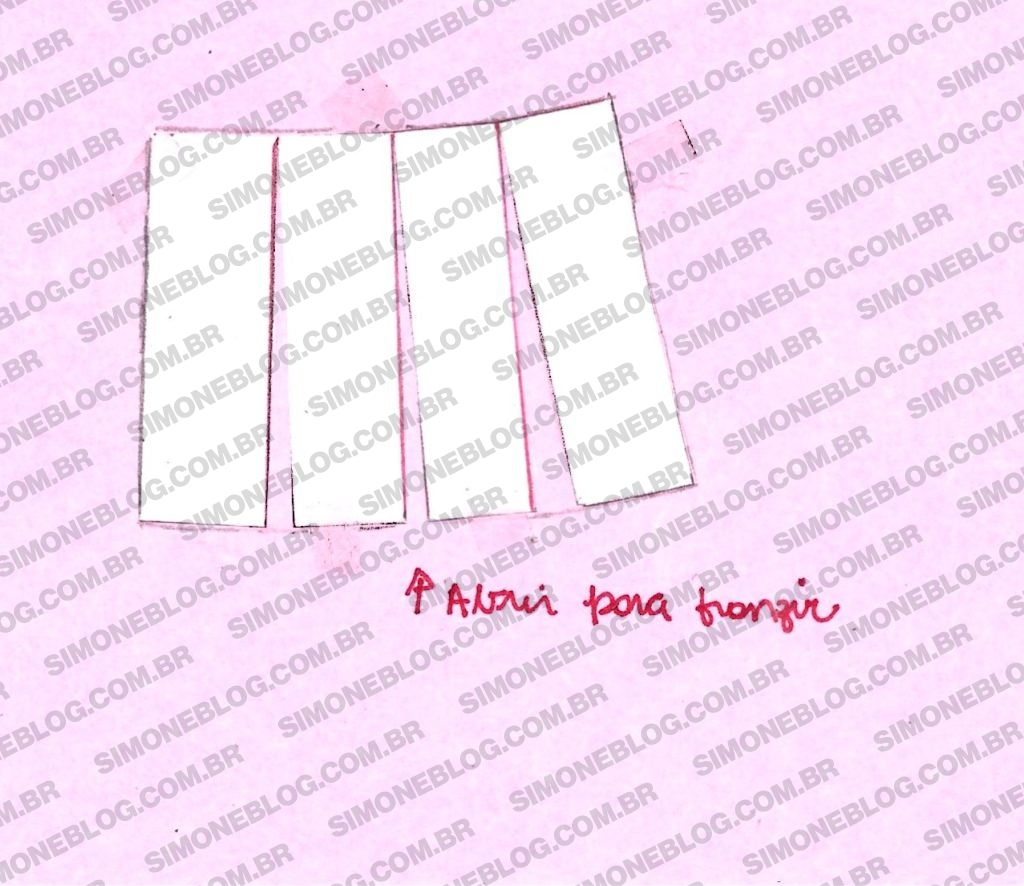
For the skirt, I lowered the cut 5 cm below the hips, separated the ruffle part, and left it 20 cm high. I drew vertical lines, opened 3 cm in each opening, and made adjustments. I only added 3 cm because the image shows that the gathering is minimal.
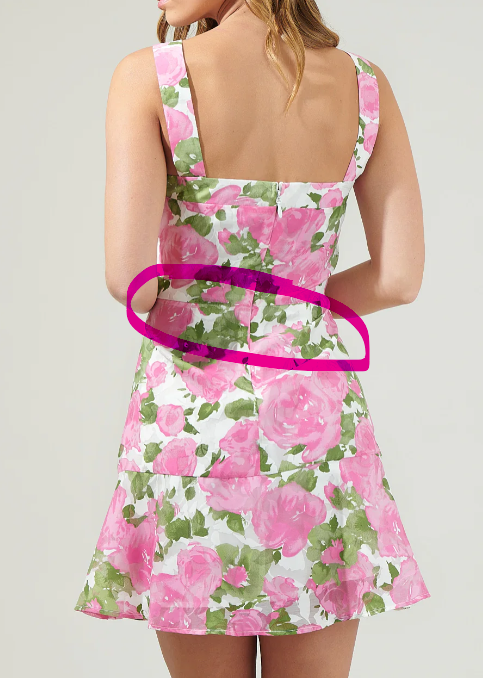
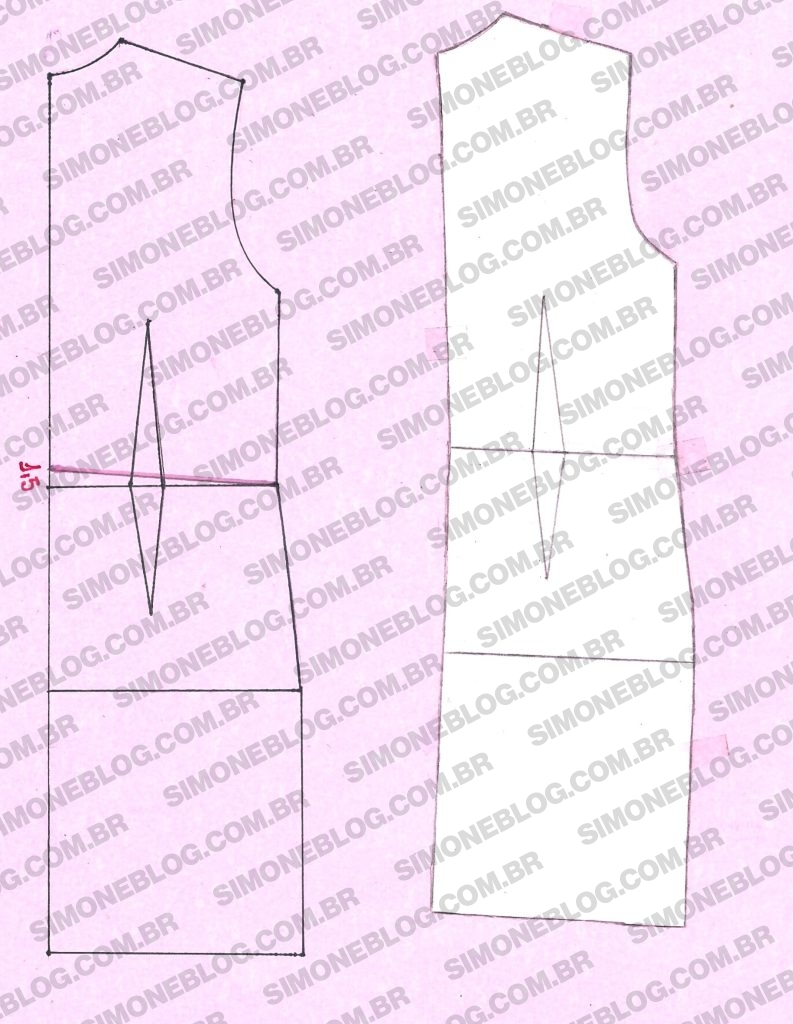
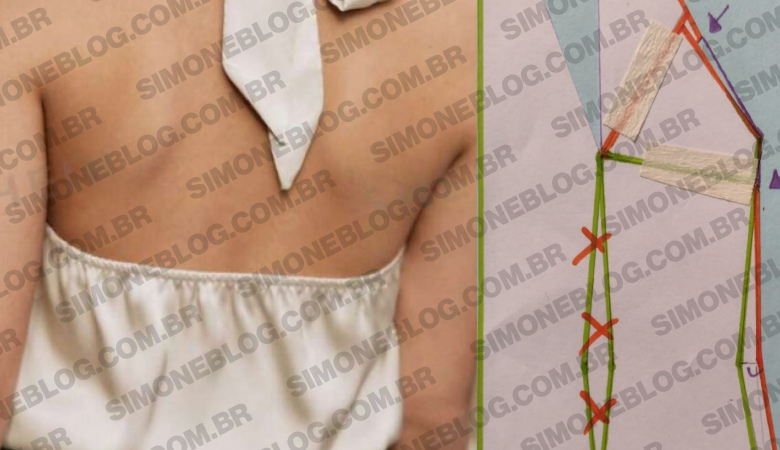
For the back pattern, it’s necessary to adjust the center back. In my base, I need a 1.5 cm adjustment at the waist. It came out a bit uneven in the image I made on paper and digitized, but in the other image, it’s clearer. The armhole adjustment isn’t necessary for this model, so I didn’t include it, just the waist adjustment.
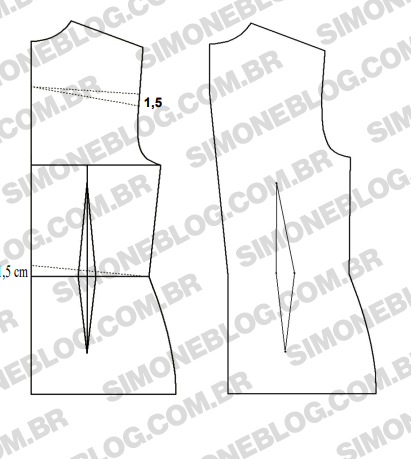
I kept the strap at 3.5 cm as in the front, drew the cutout design with a height of 3.5 cm, and made a 1 cm adjustment on each side.
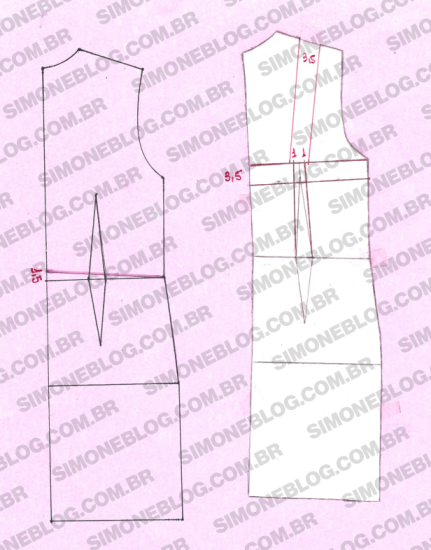
I closed the adjustment and refined it. Then, I separated the cutout part.
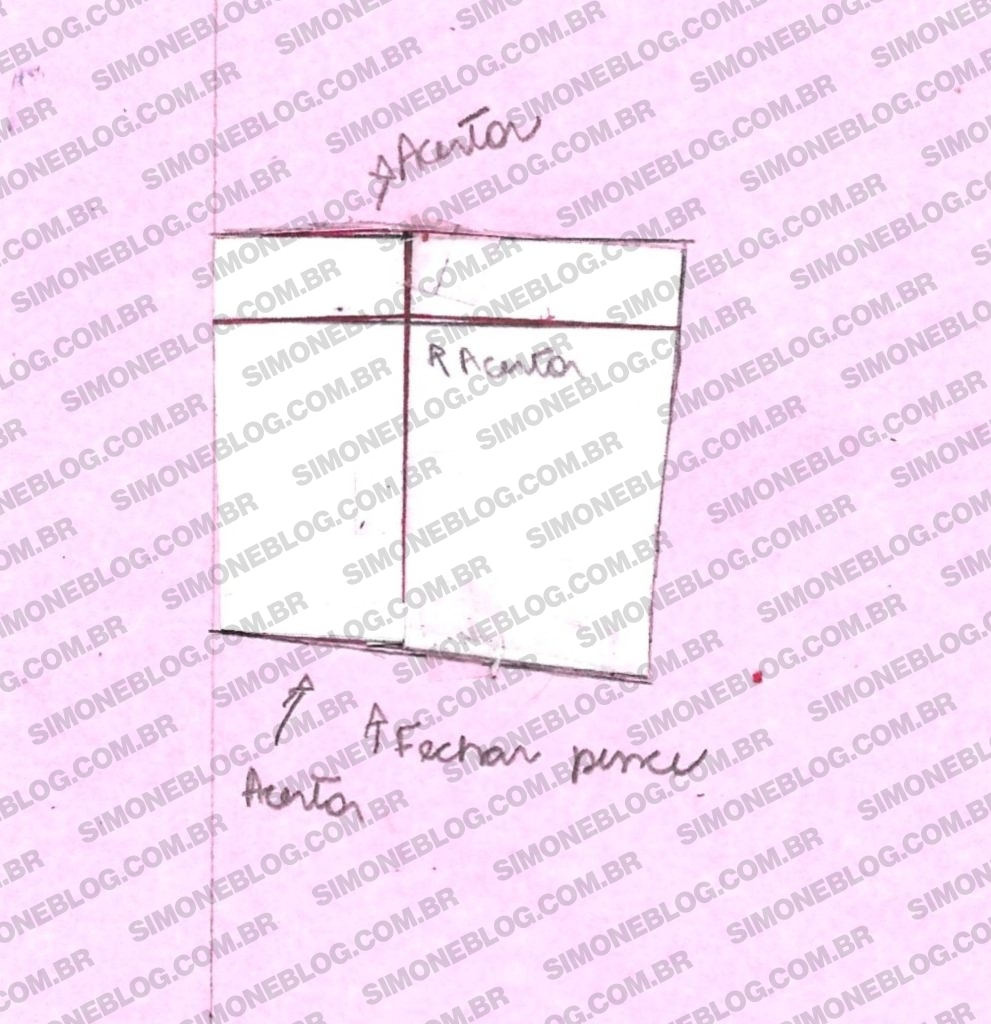
For the skirt, I lowered it 5 cm below the hips.
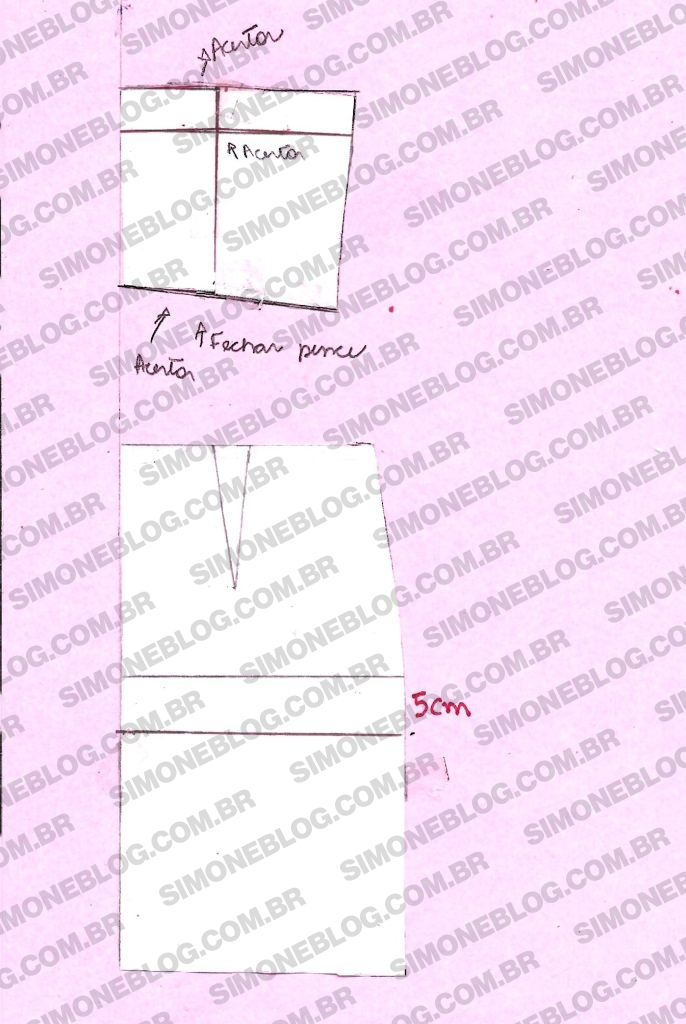
I separated the ruffle part and drew vertical lines.
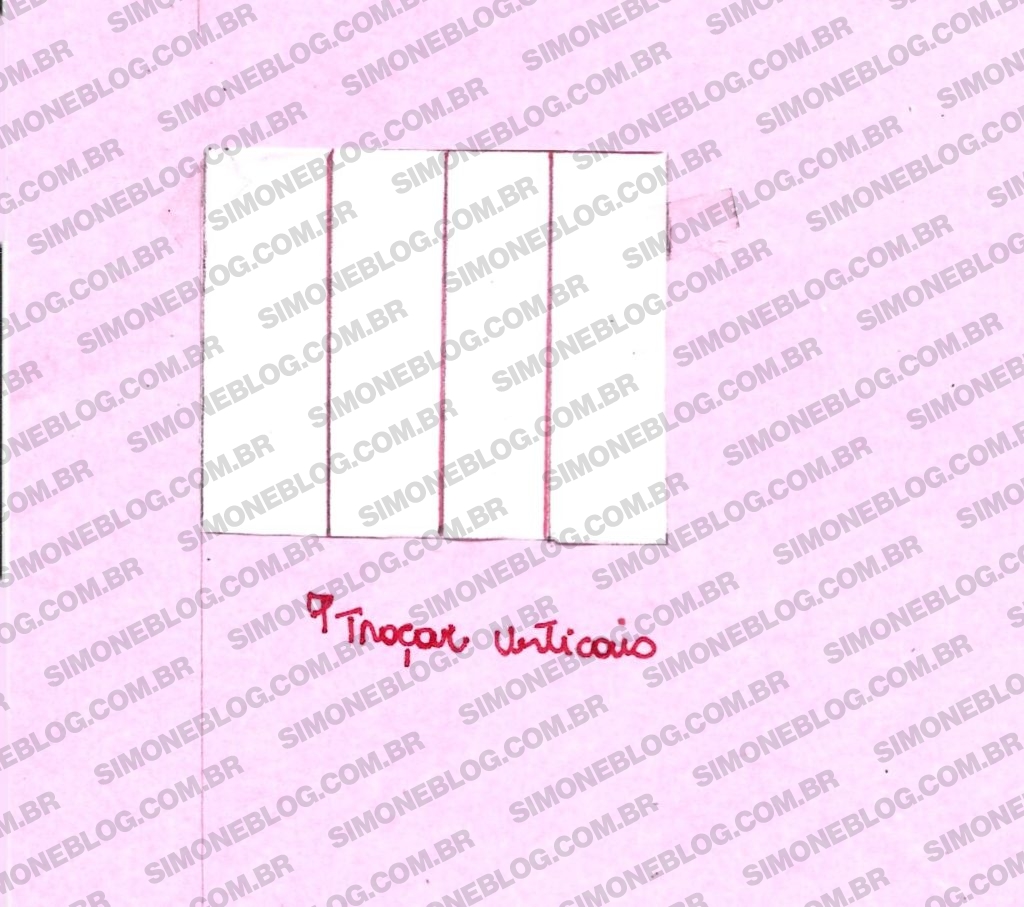
Then, I opened and adjusted.
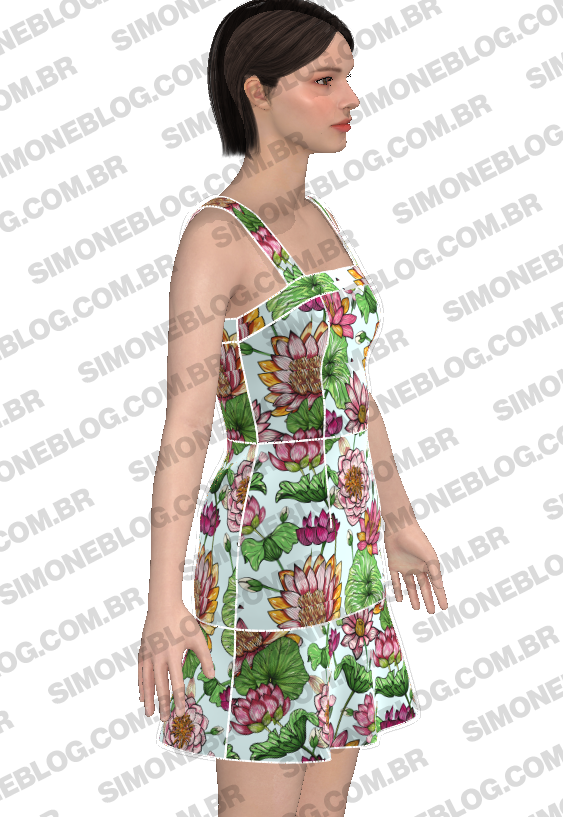
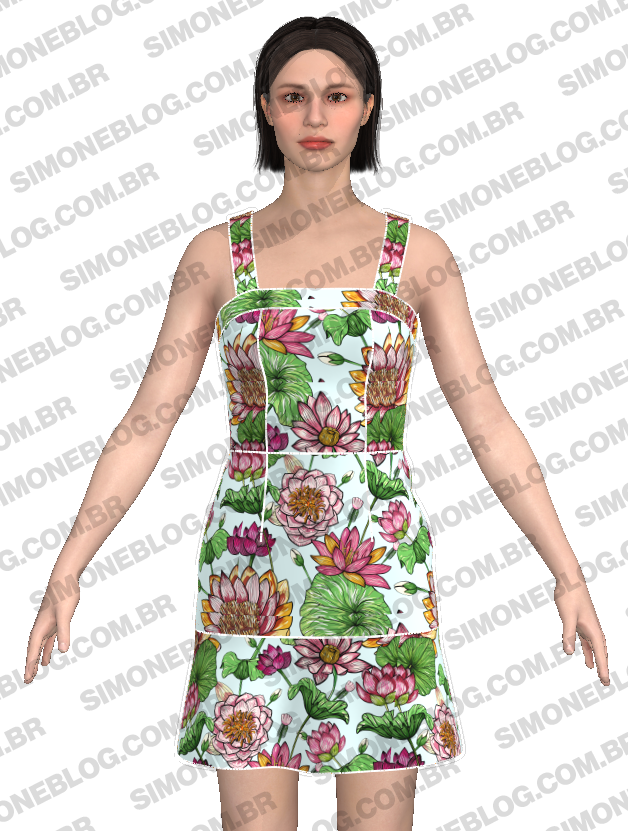
This was the result of the model tested in 3D.
I hope the tip helped and see you in the next post.





Deixe um comentário